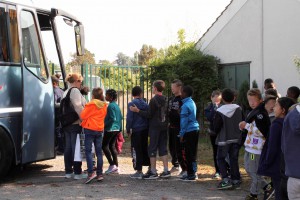
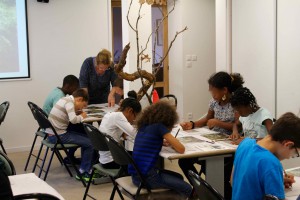
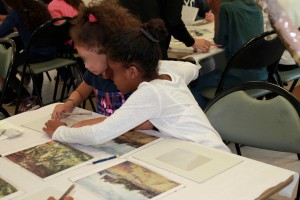
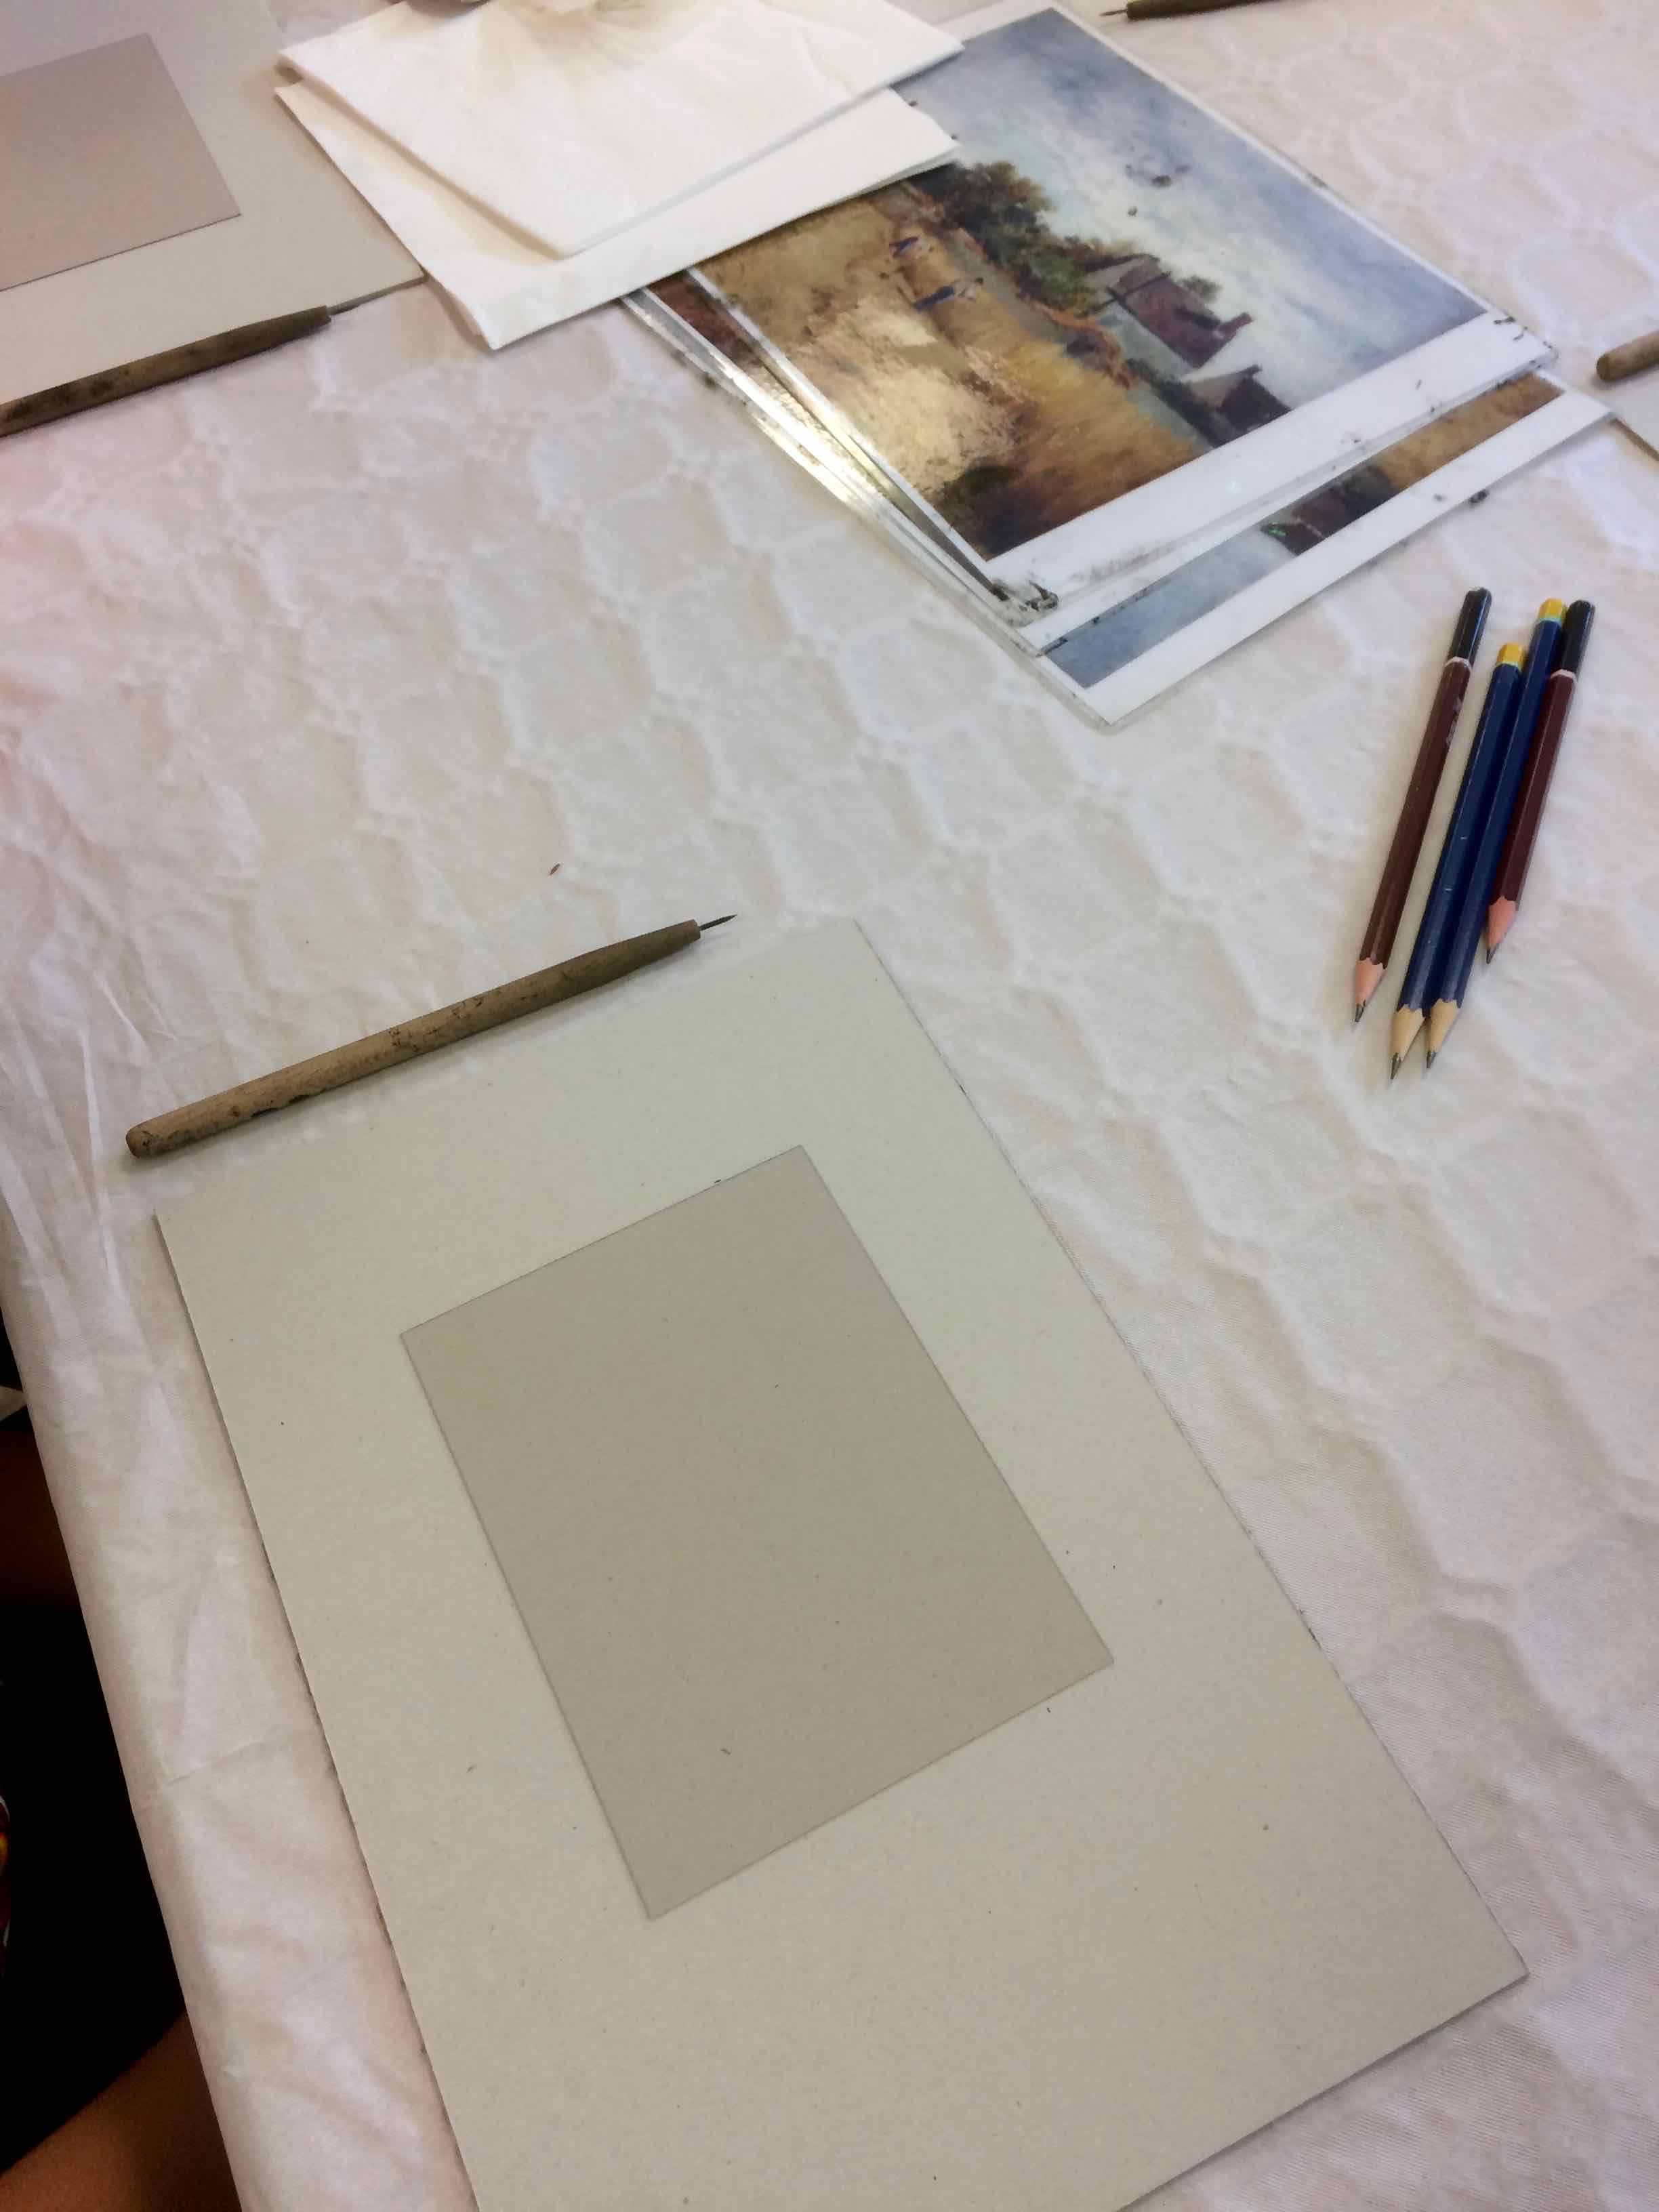
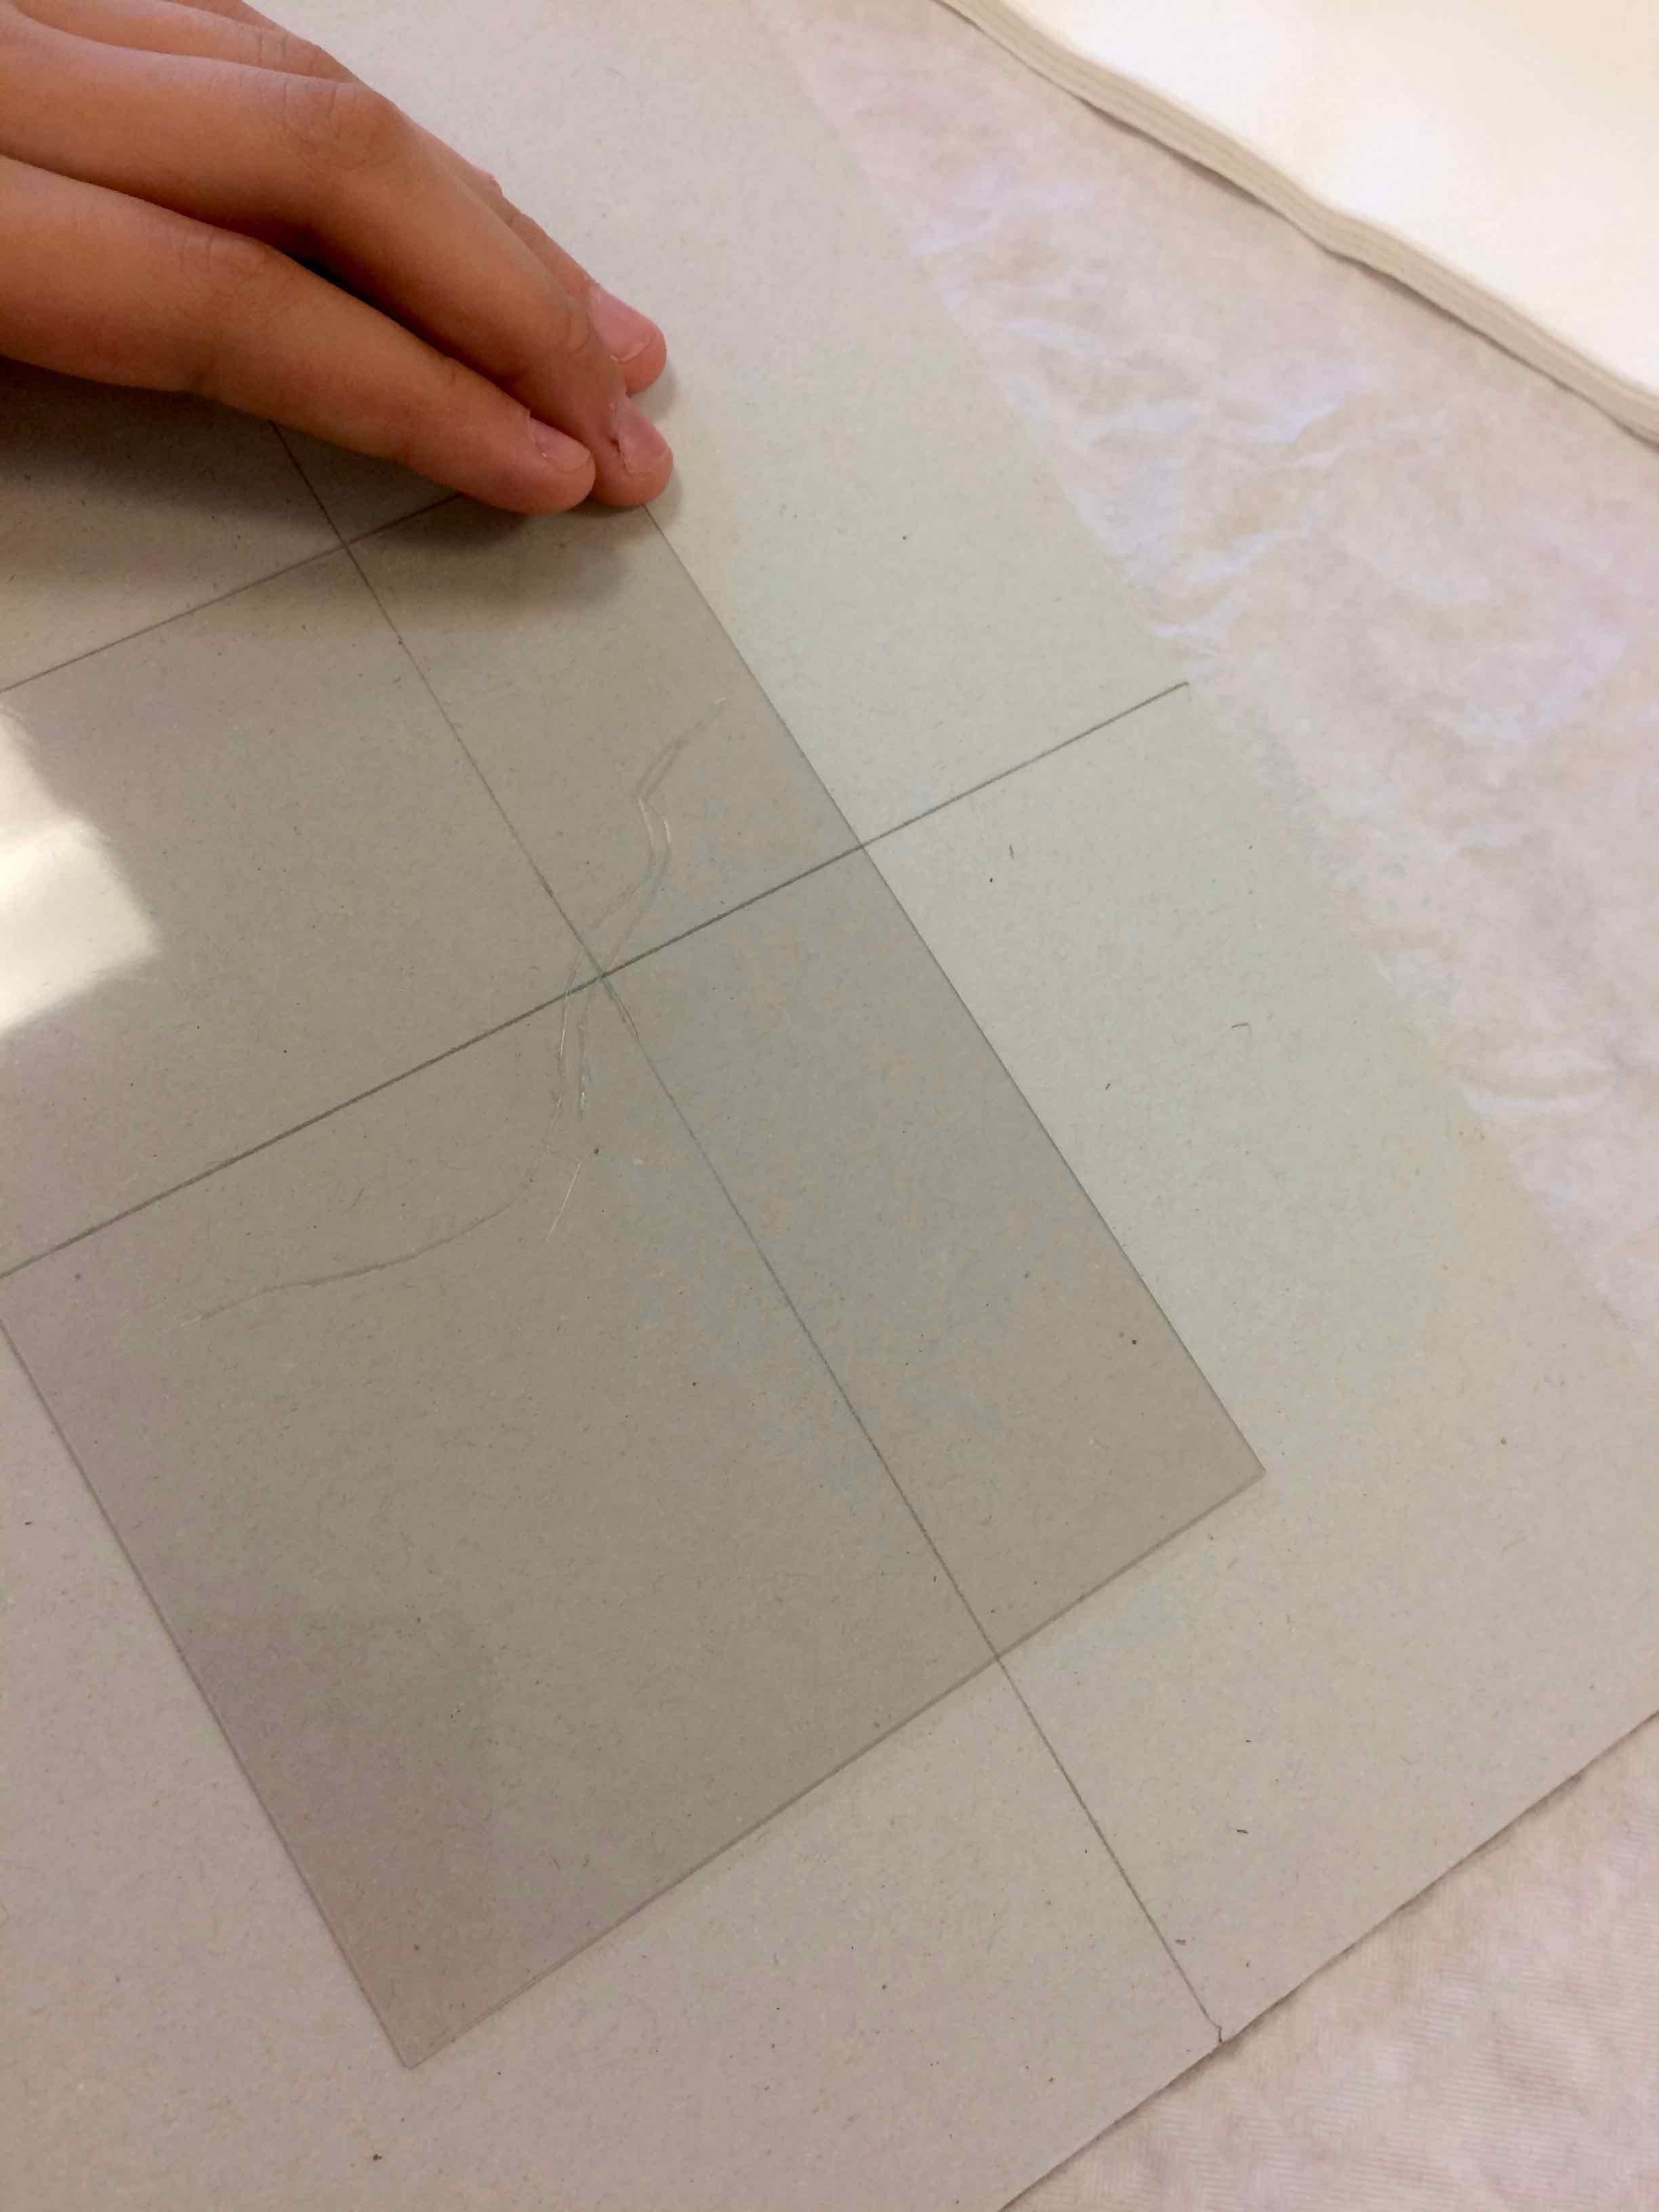
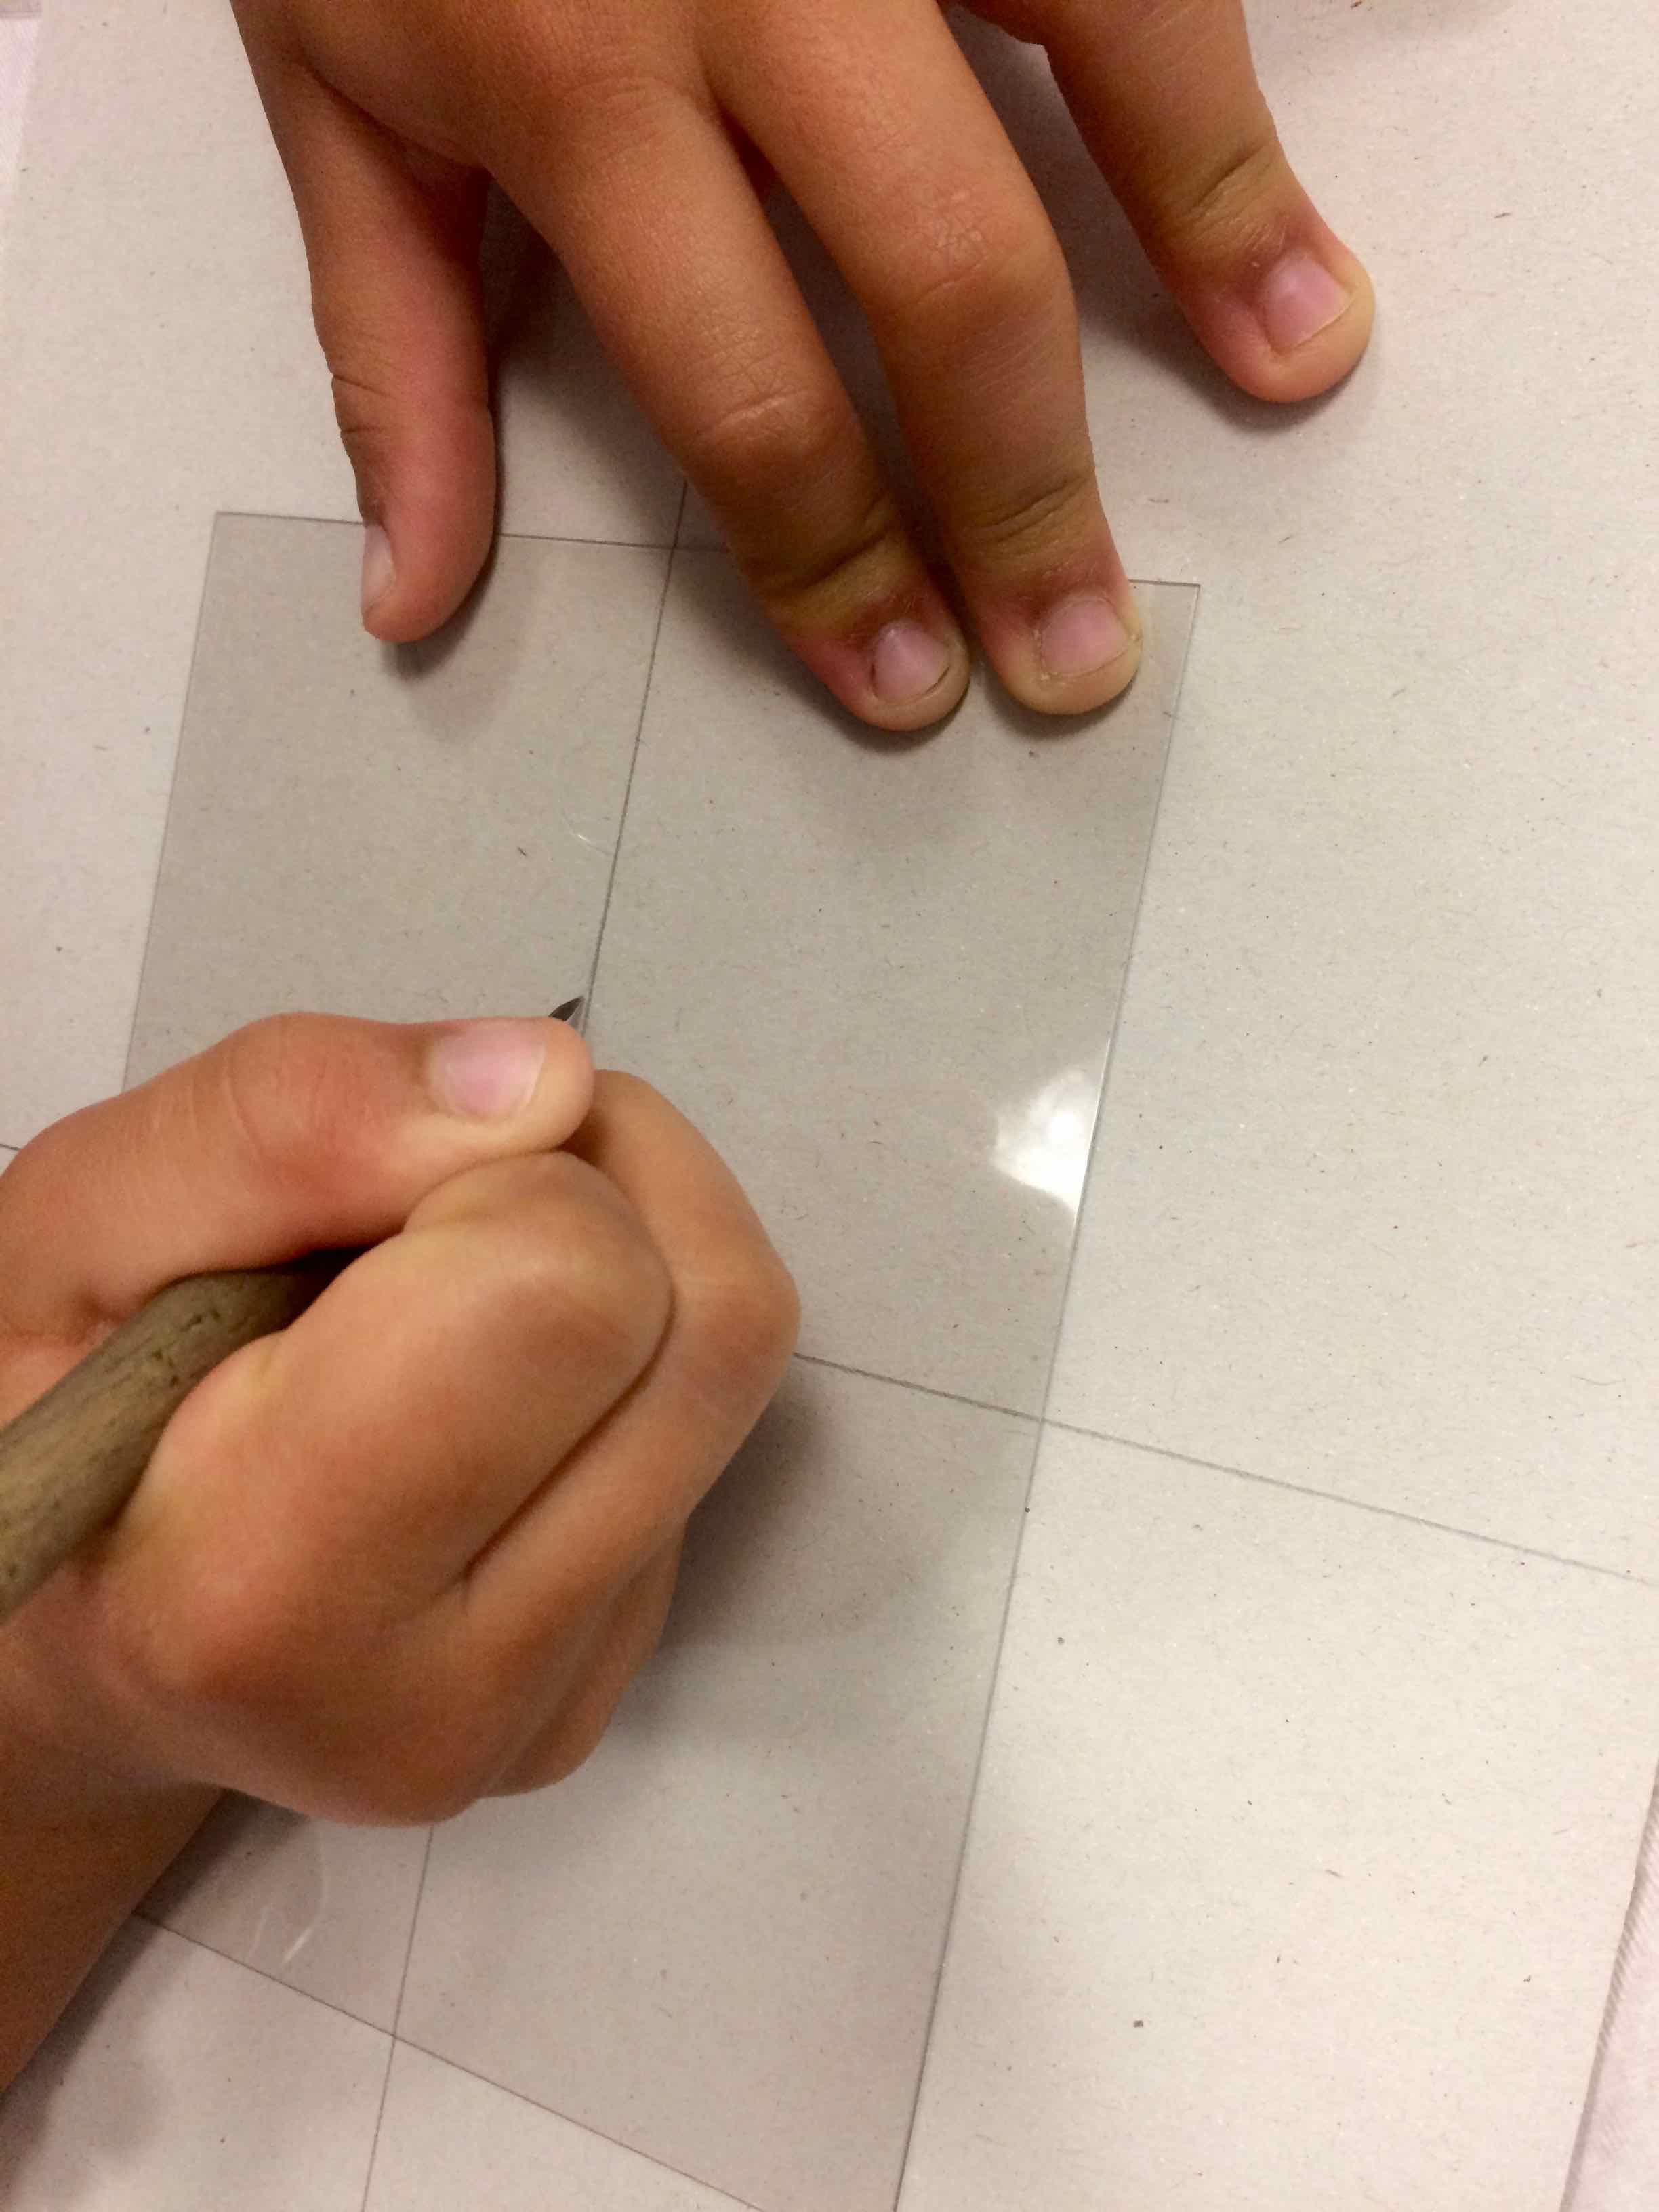
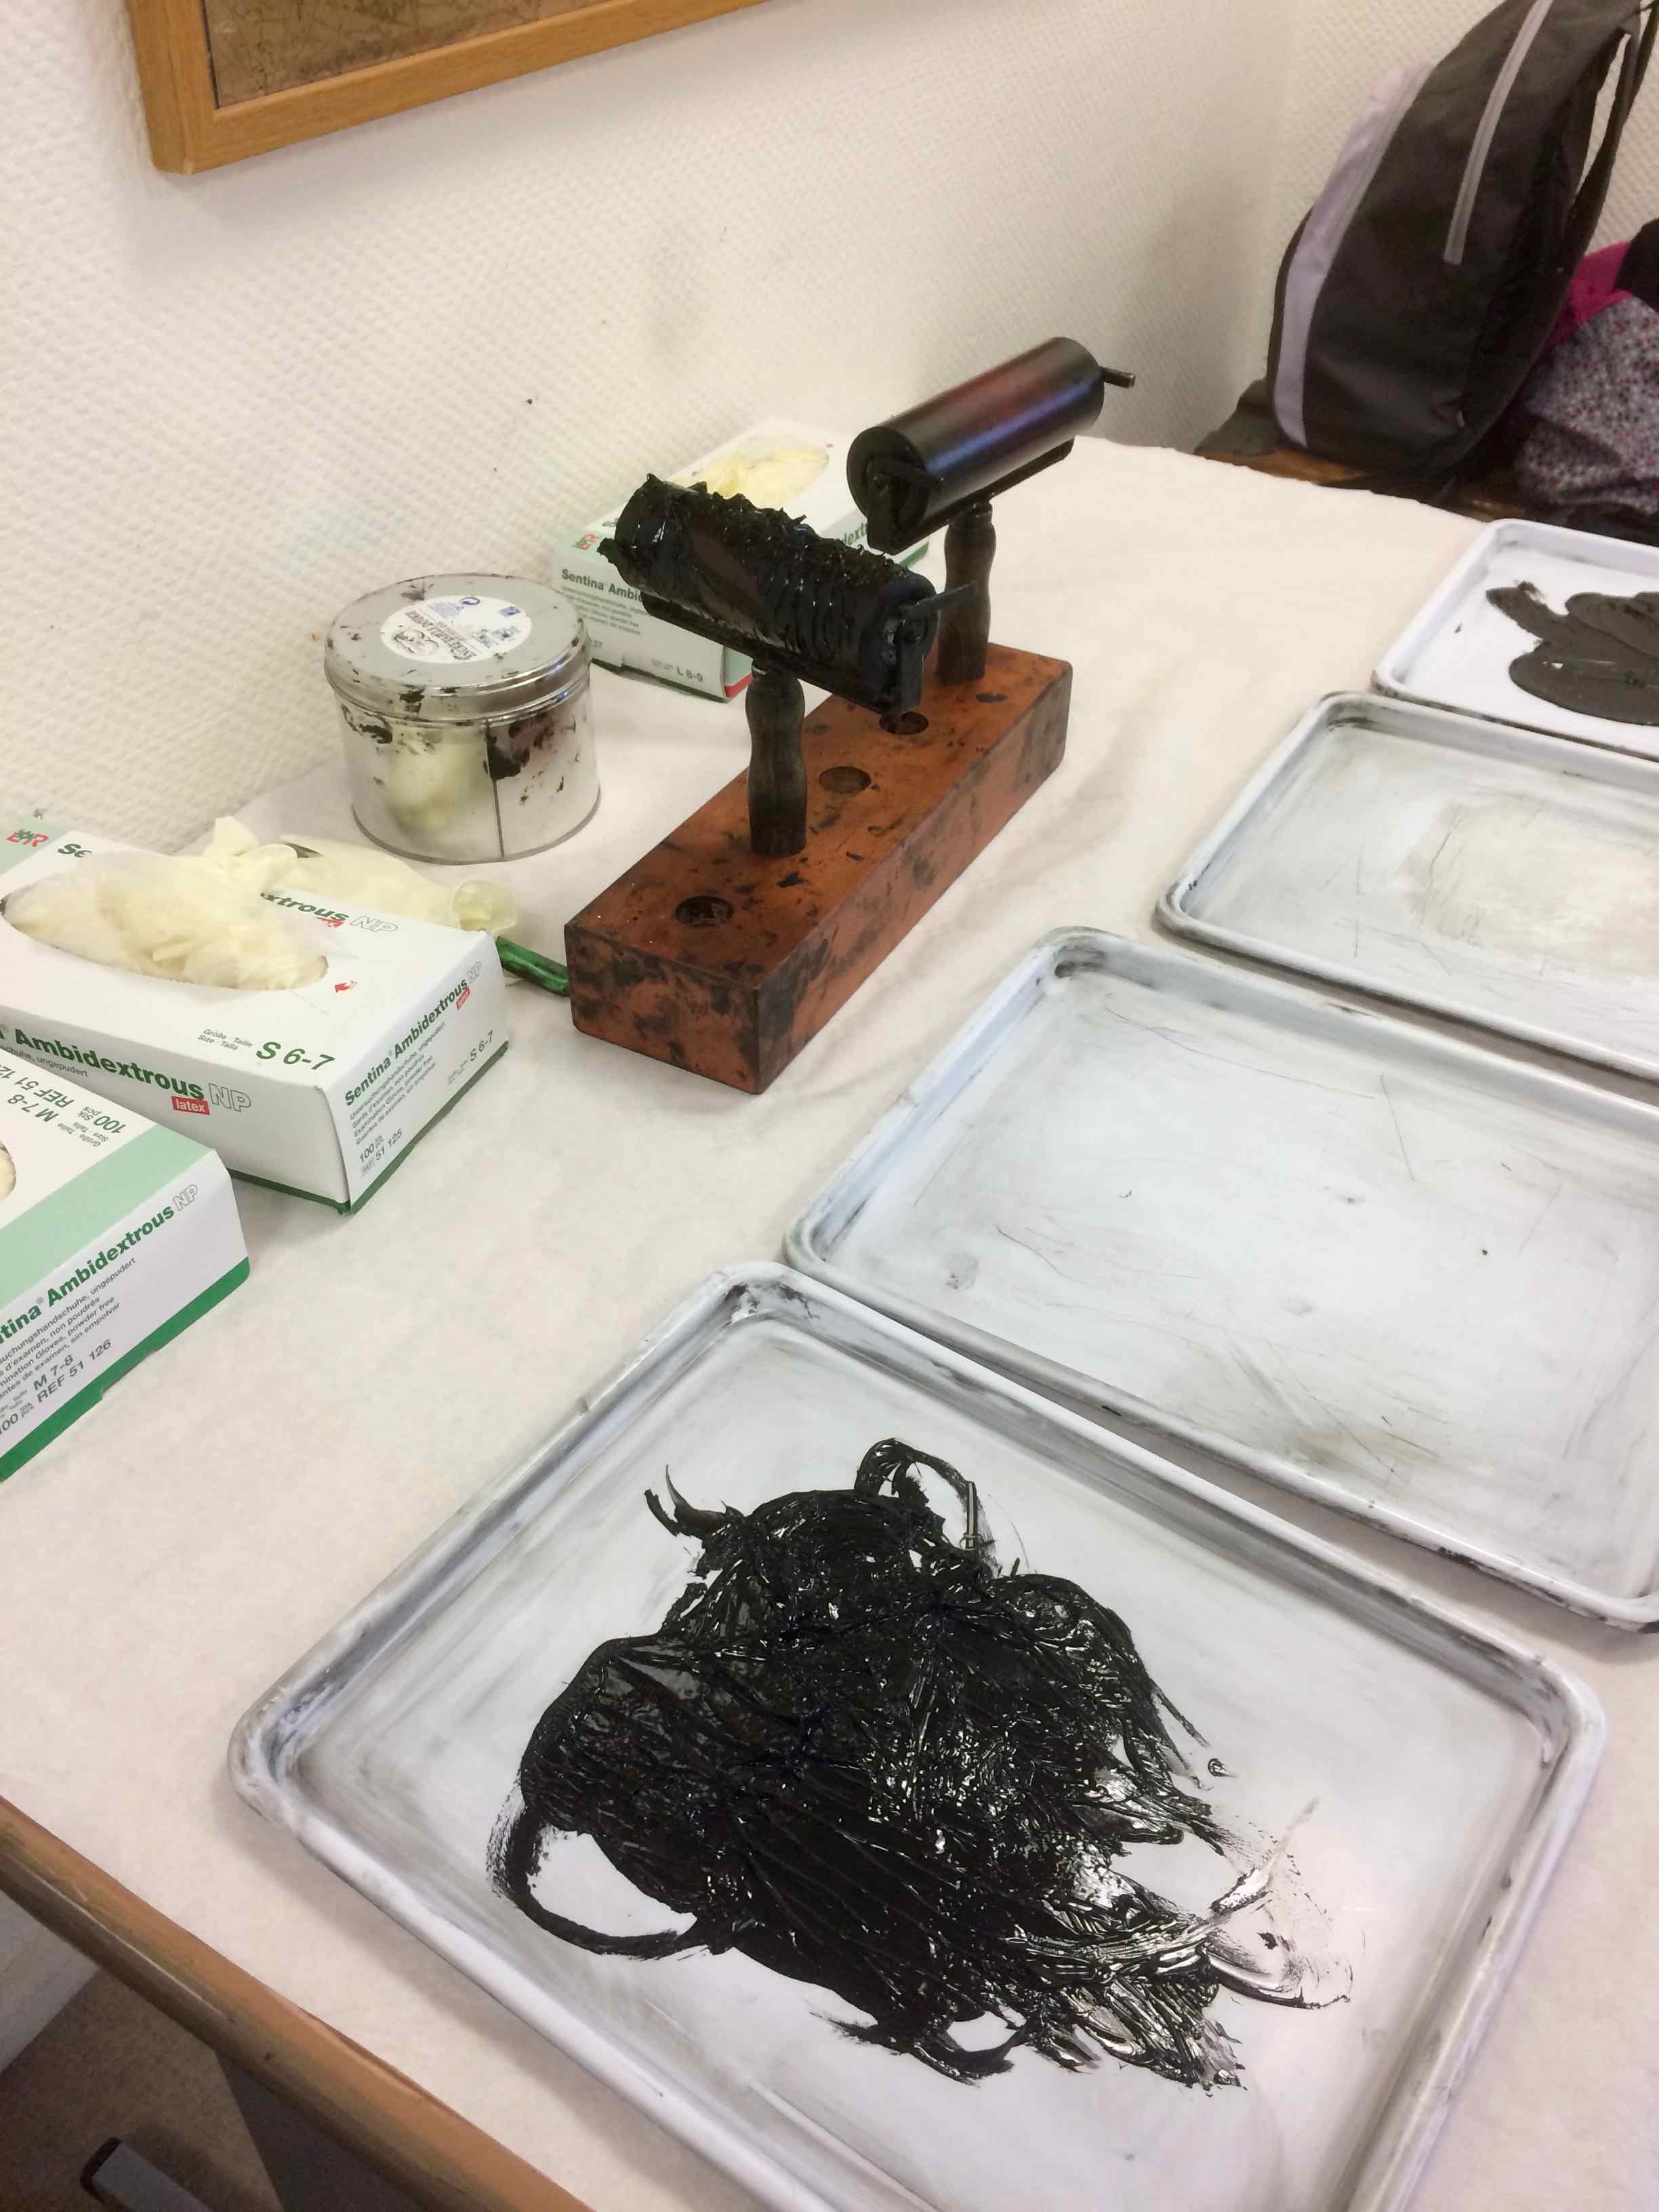
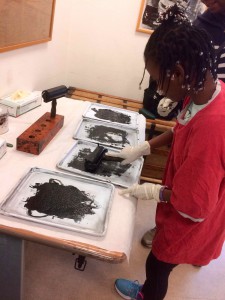
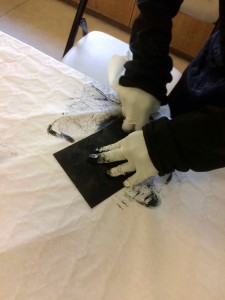
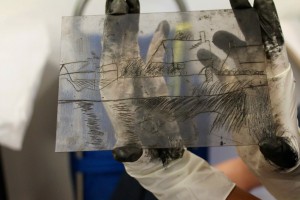
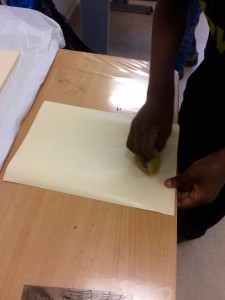
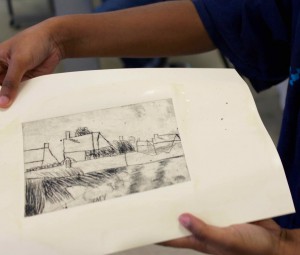
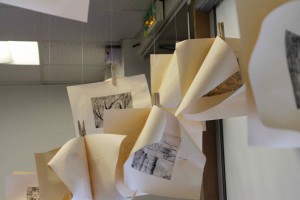
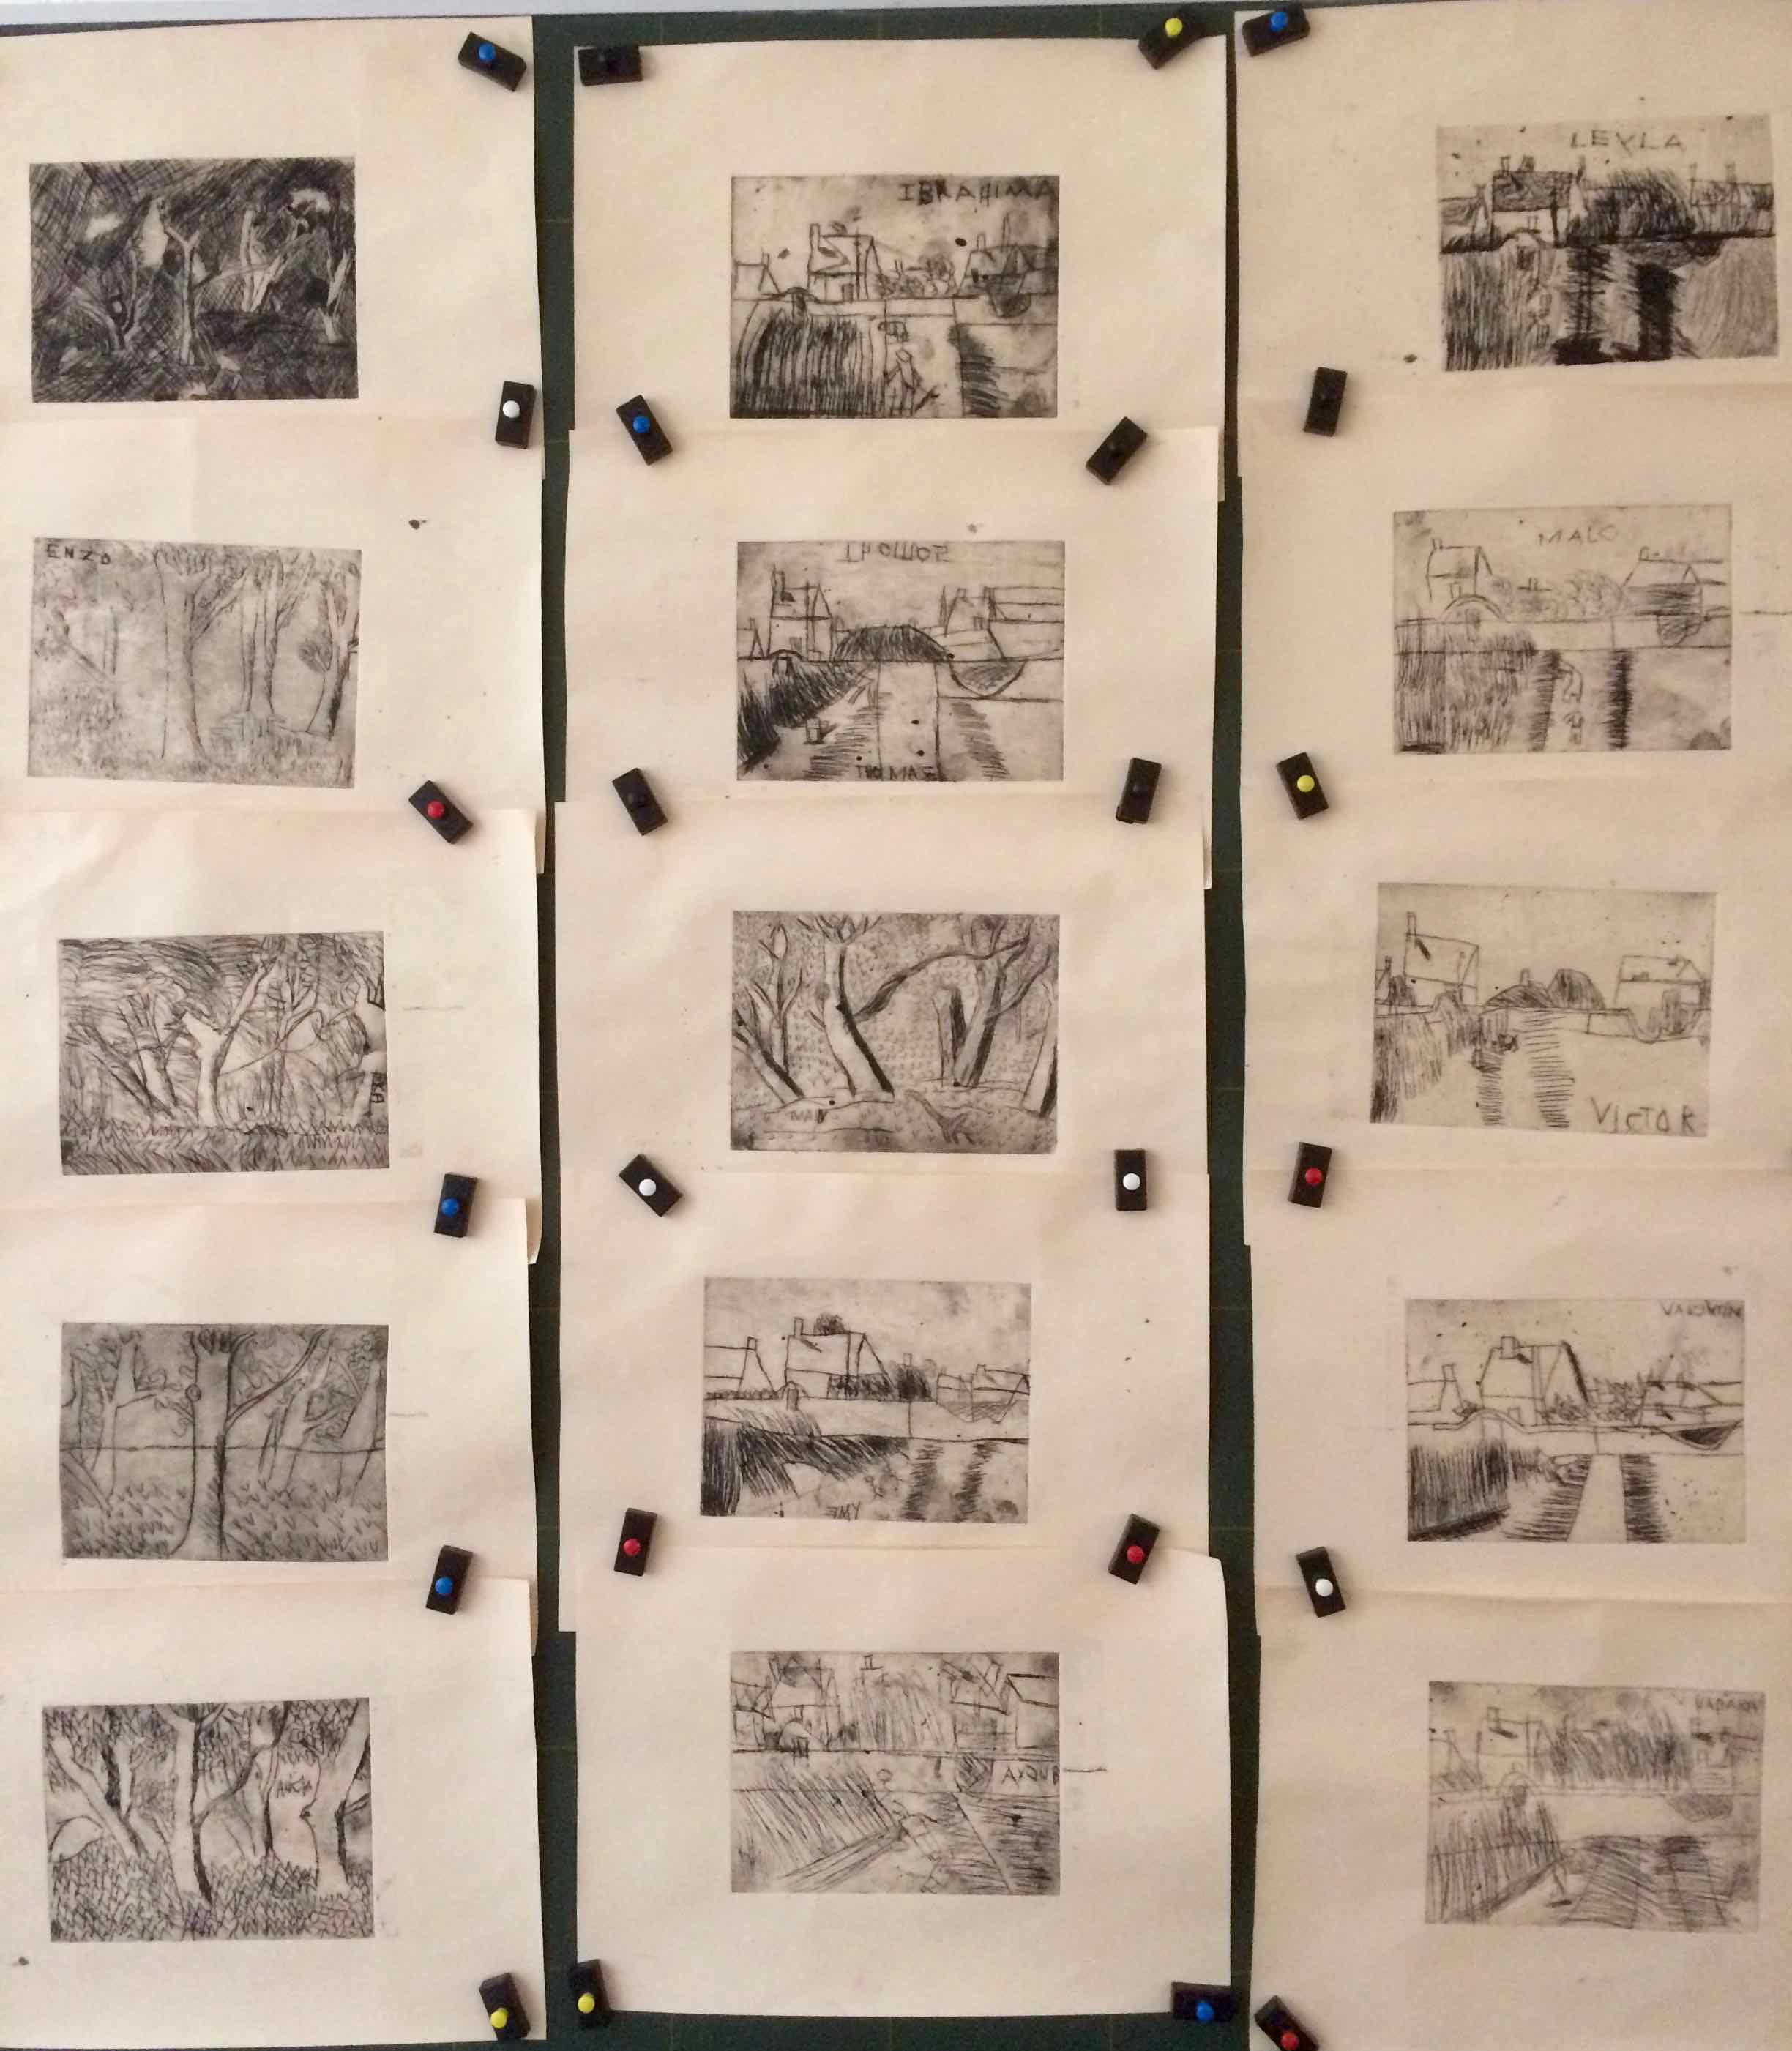
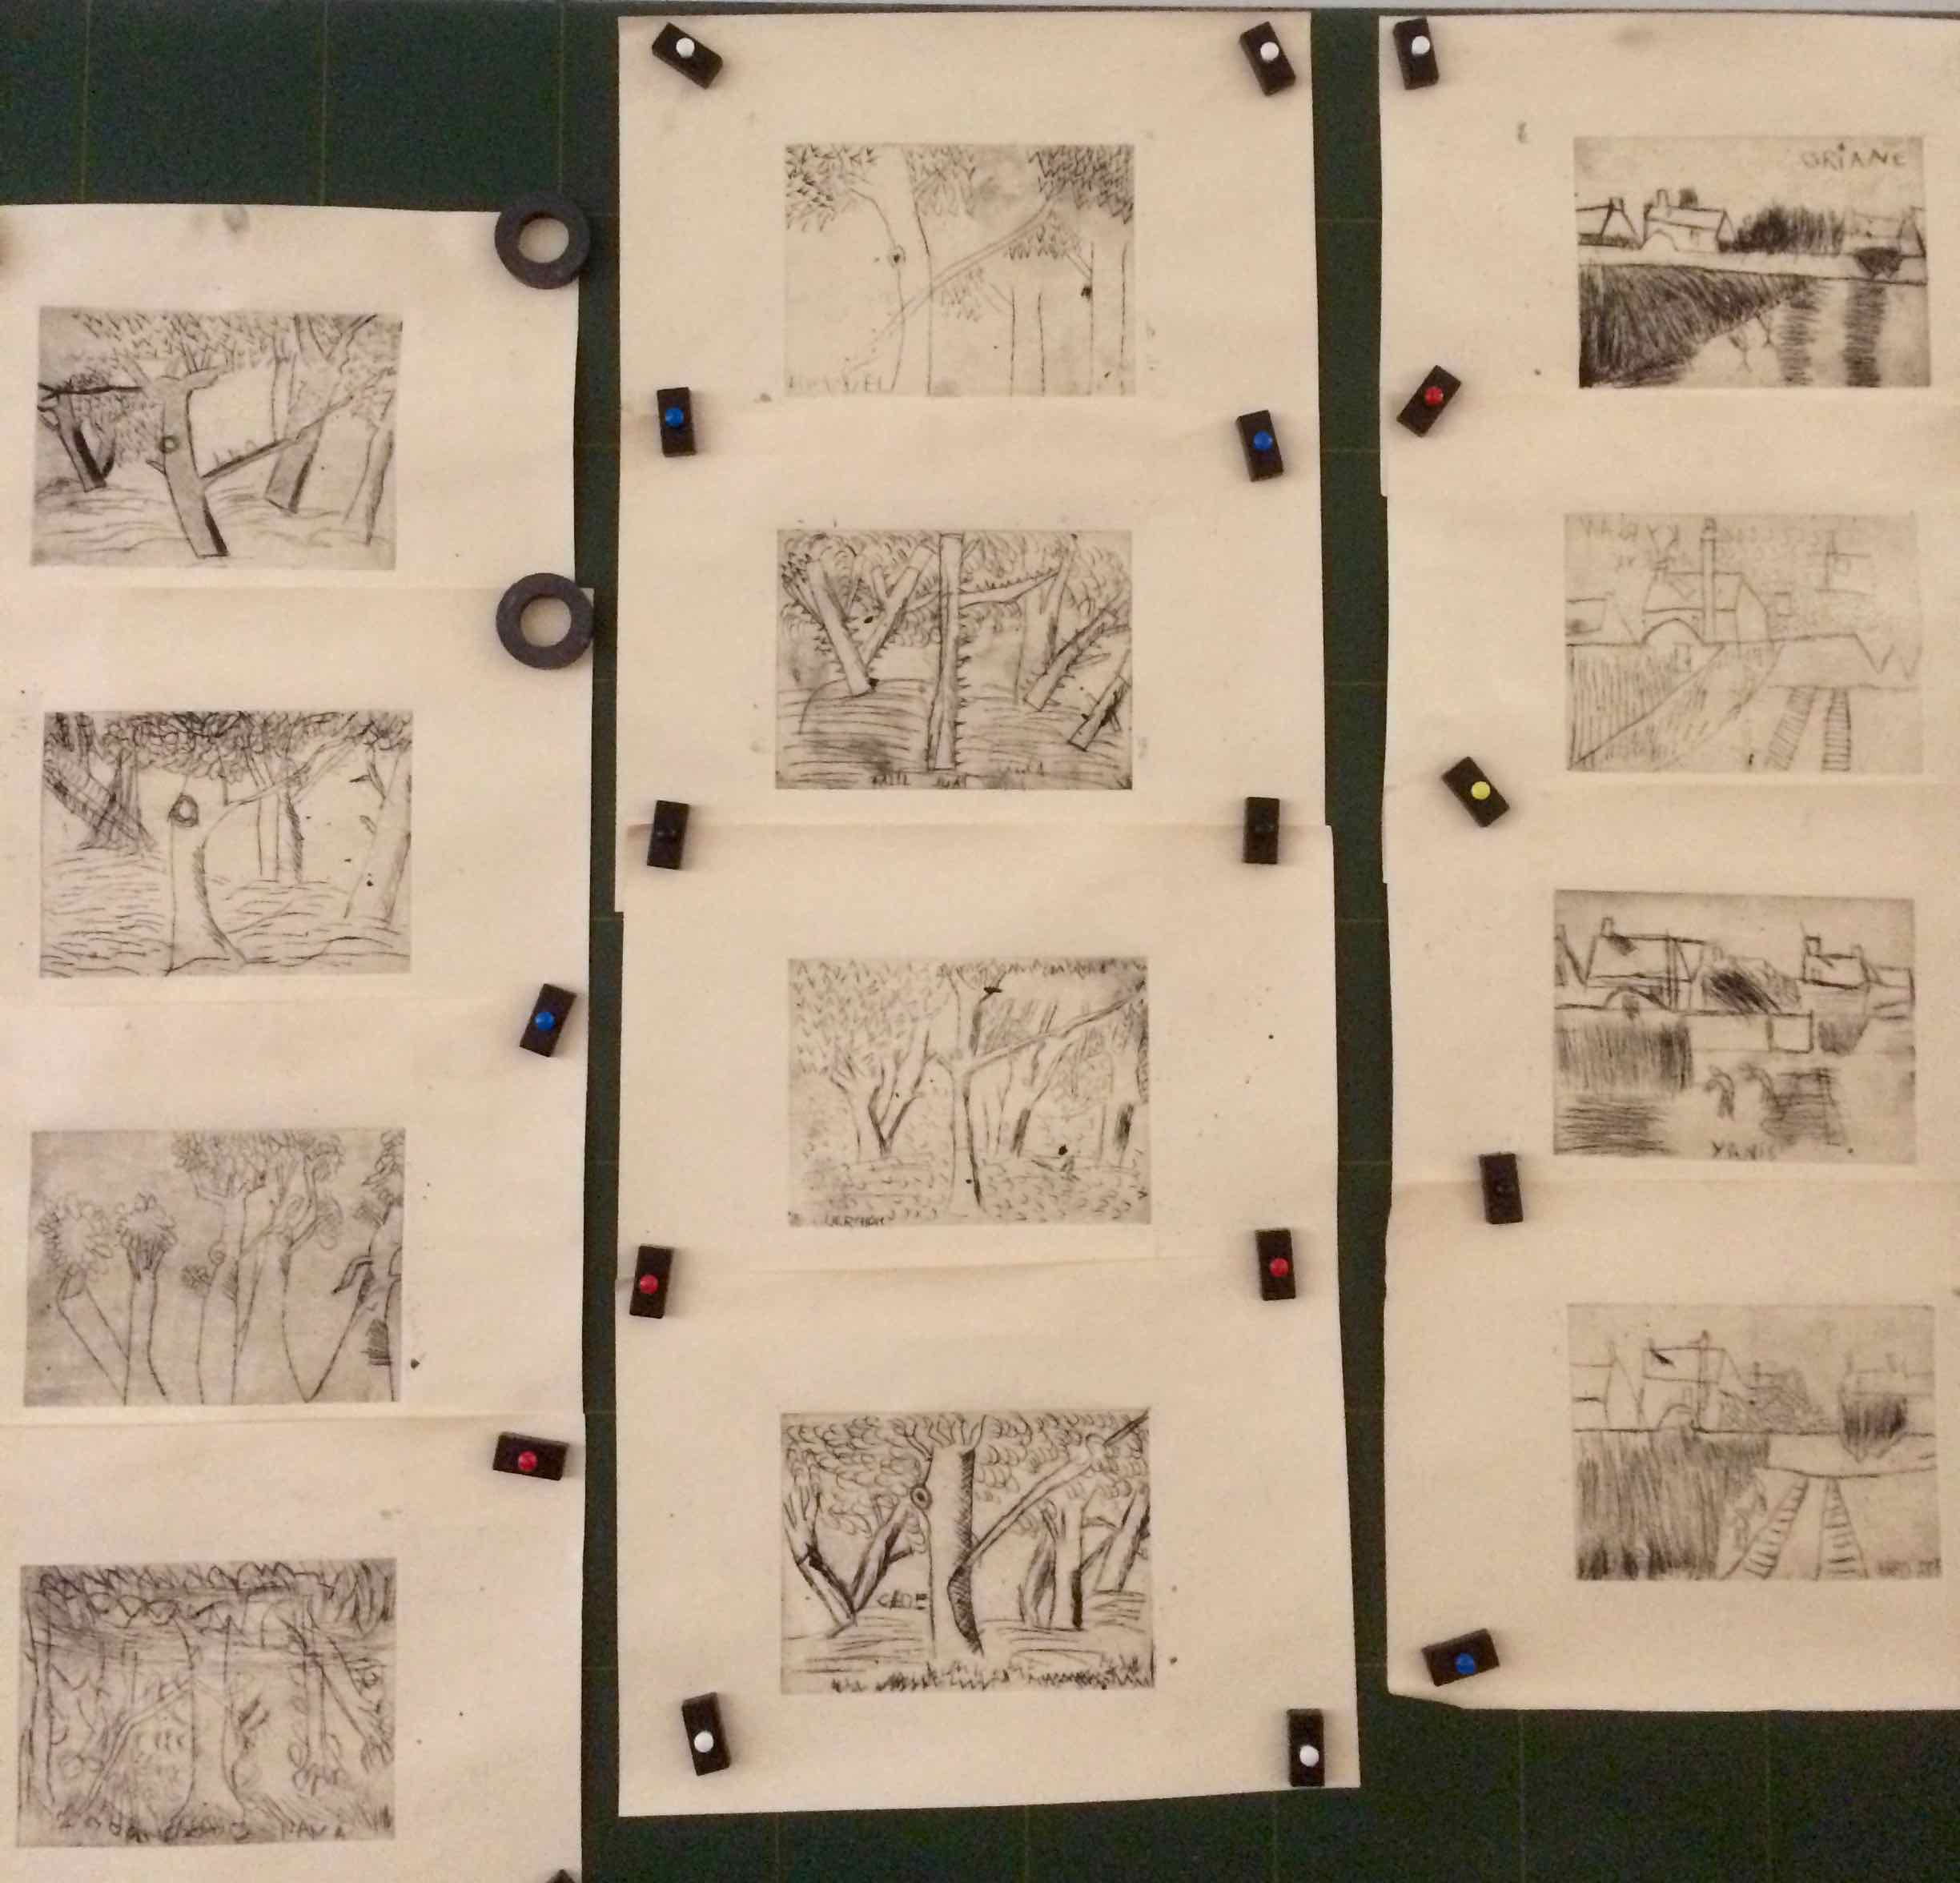
Les élèves de cm2 (5e année) de l’école Joliot-Curie se sont rendus à Barbizon afin de participer à un atelier gravure.
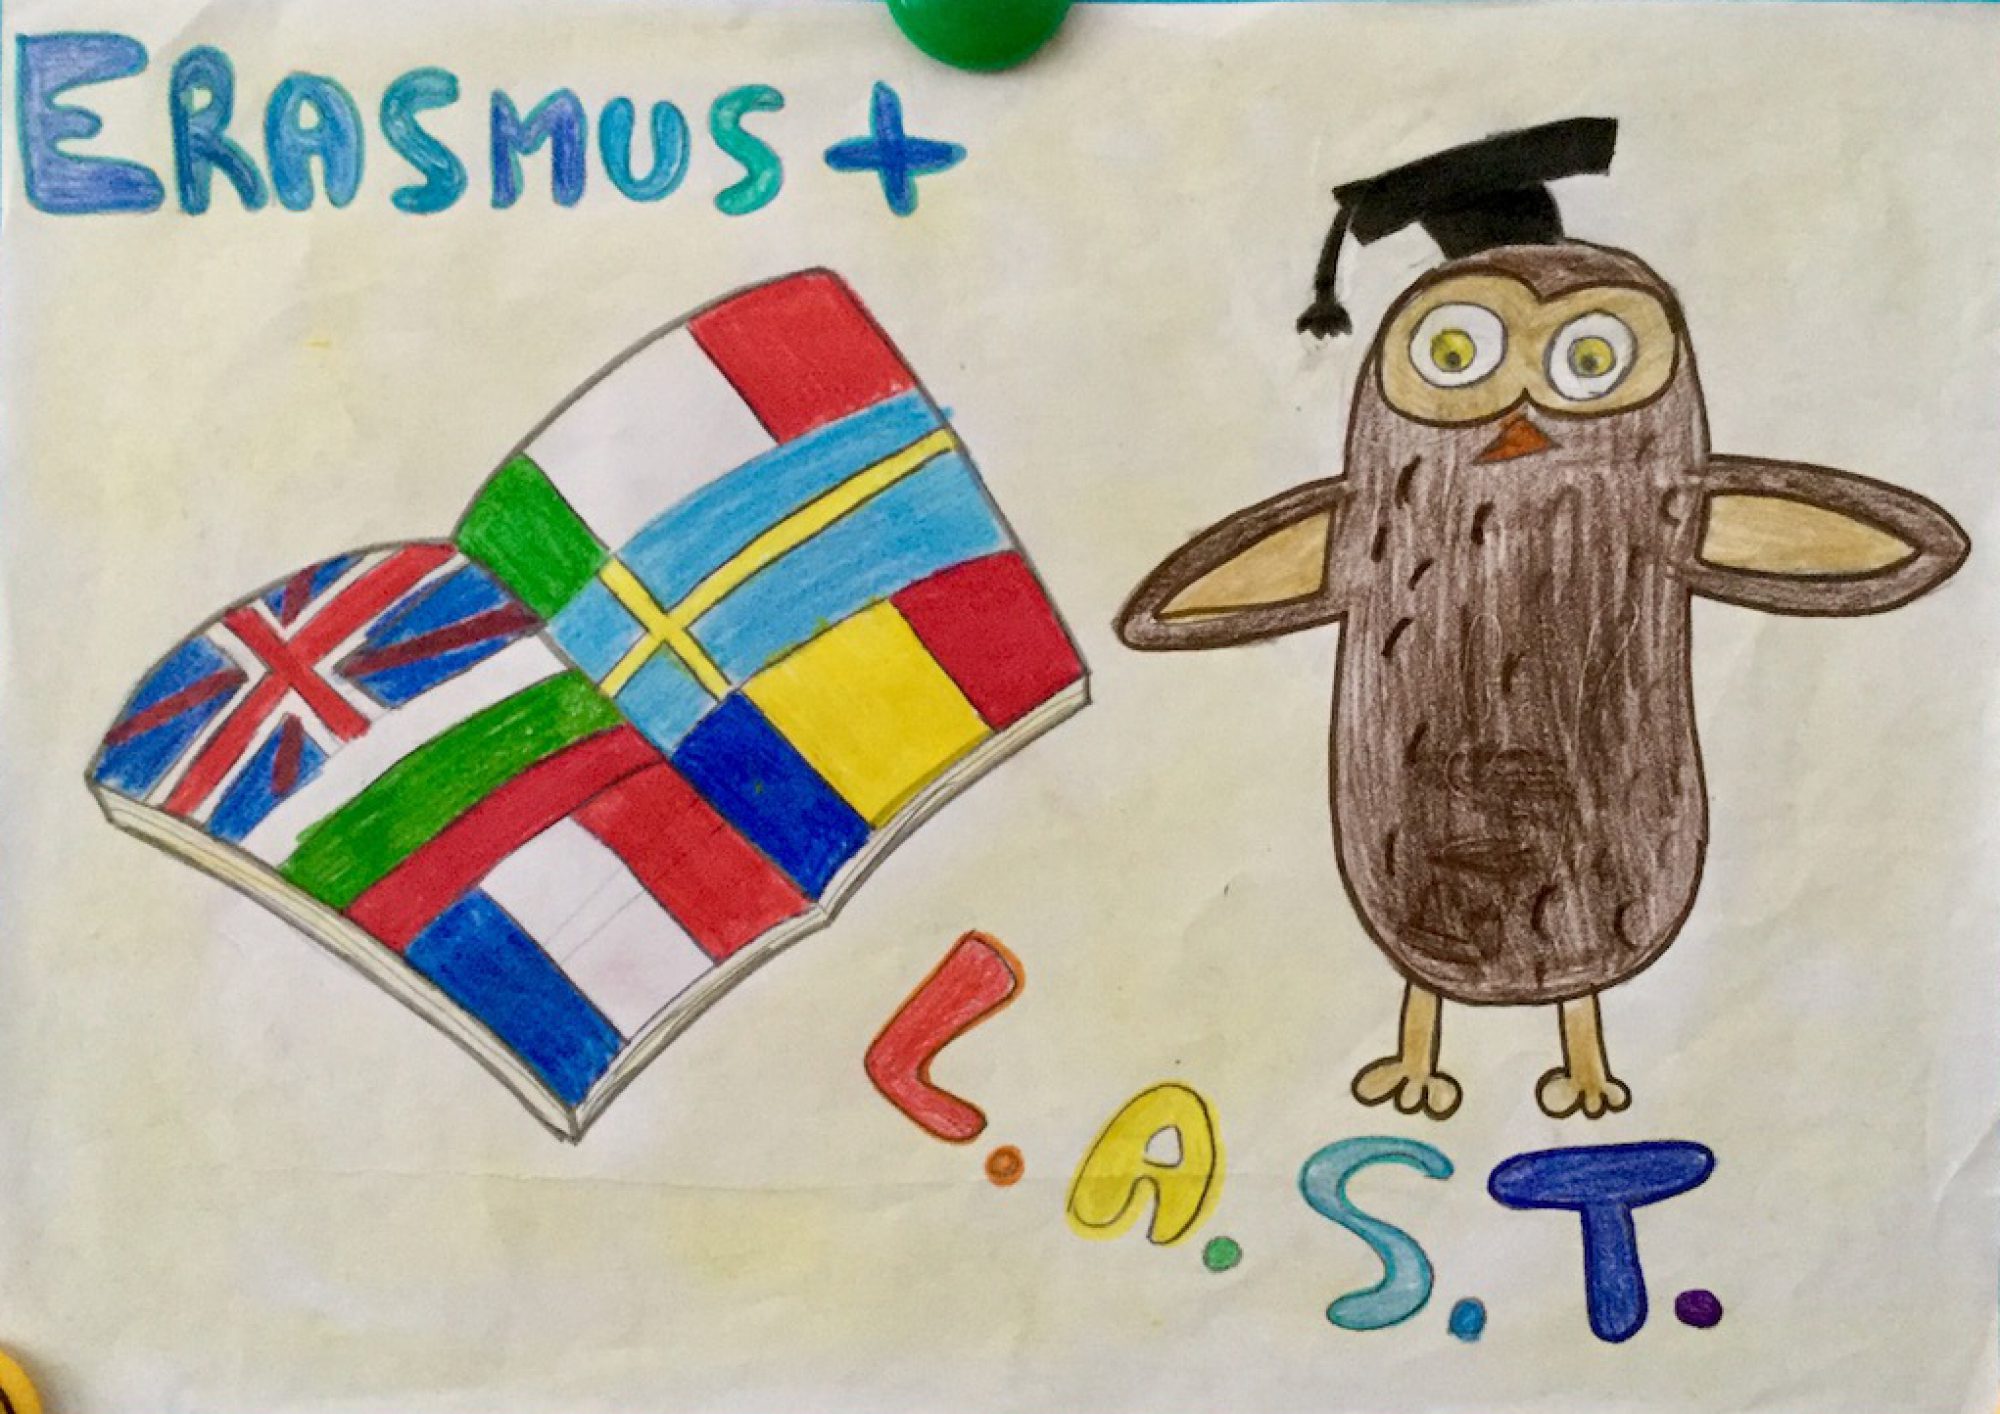
Des enseignants de six pays européens travaillent ensemble
Les élèves de cm2 (5e année) de l’école Joliot-Curie se sont rendus à Barbizon afin de participer à un atelier gravure.
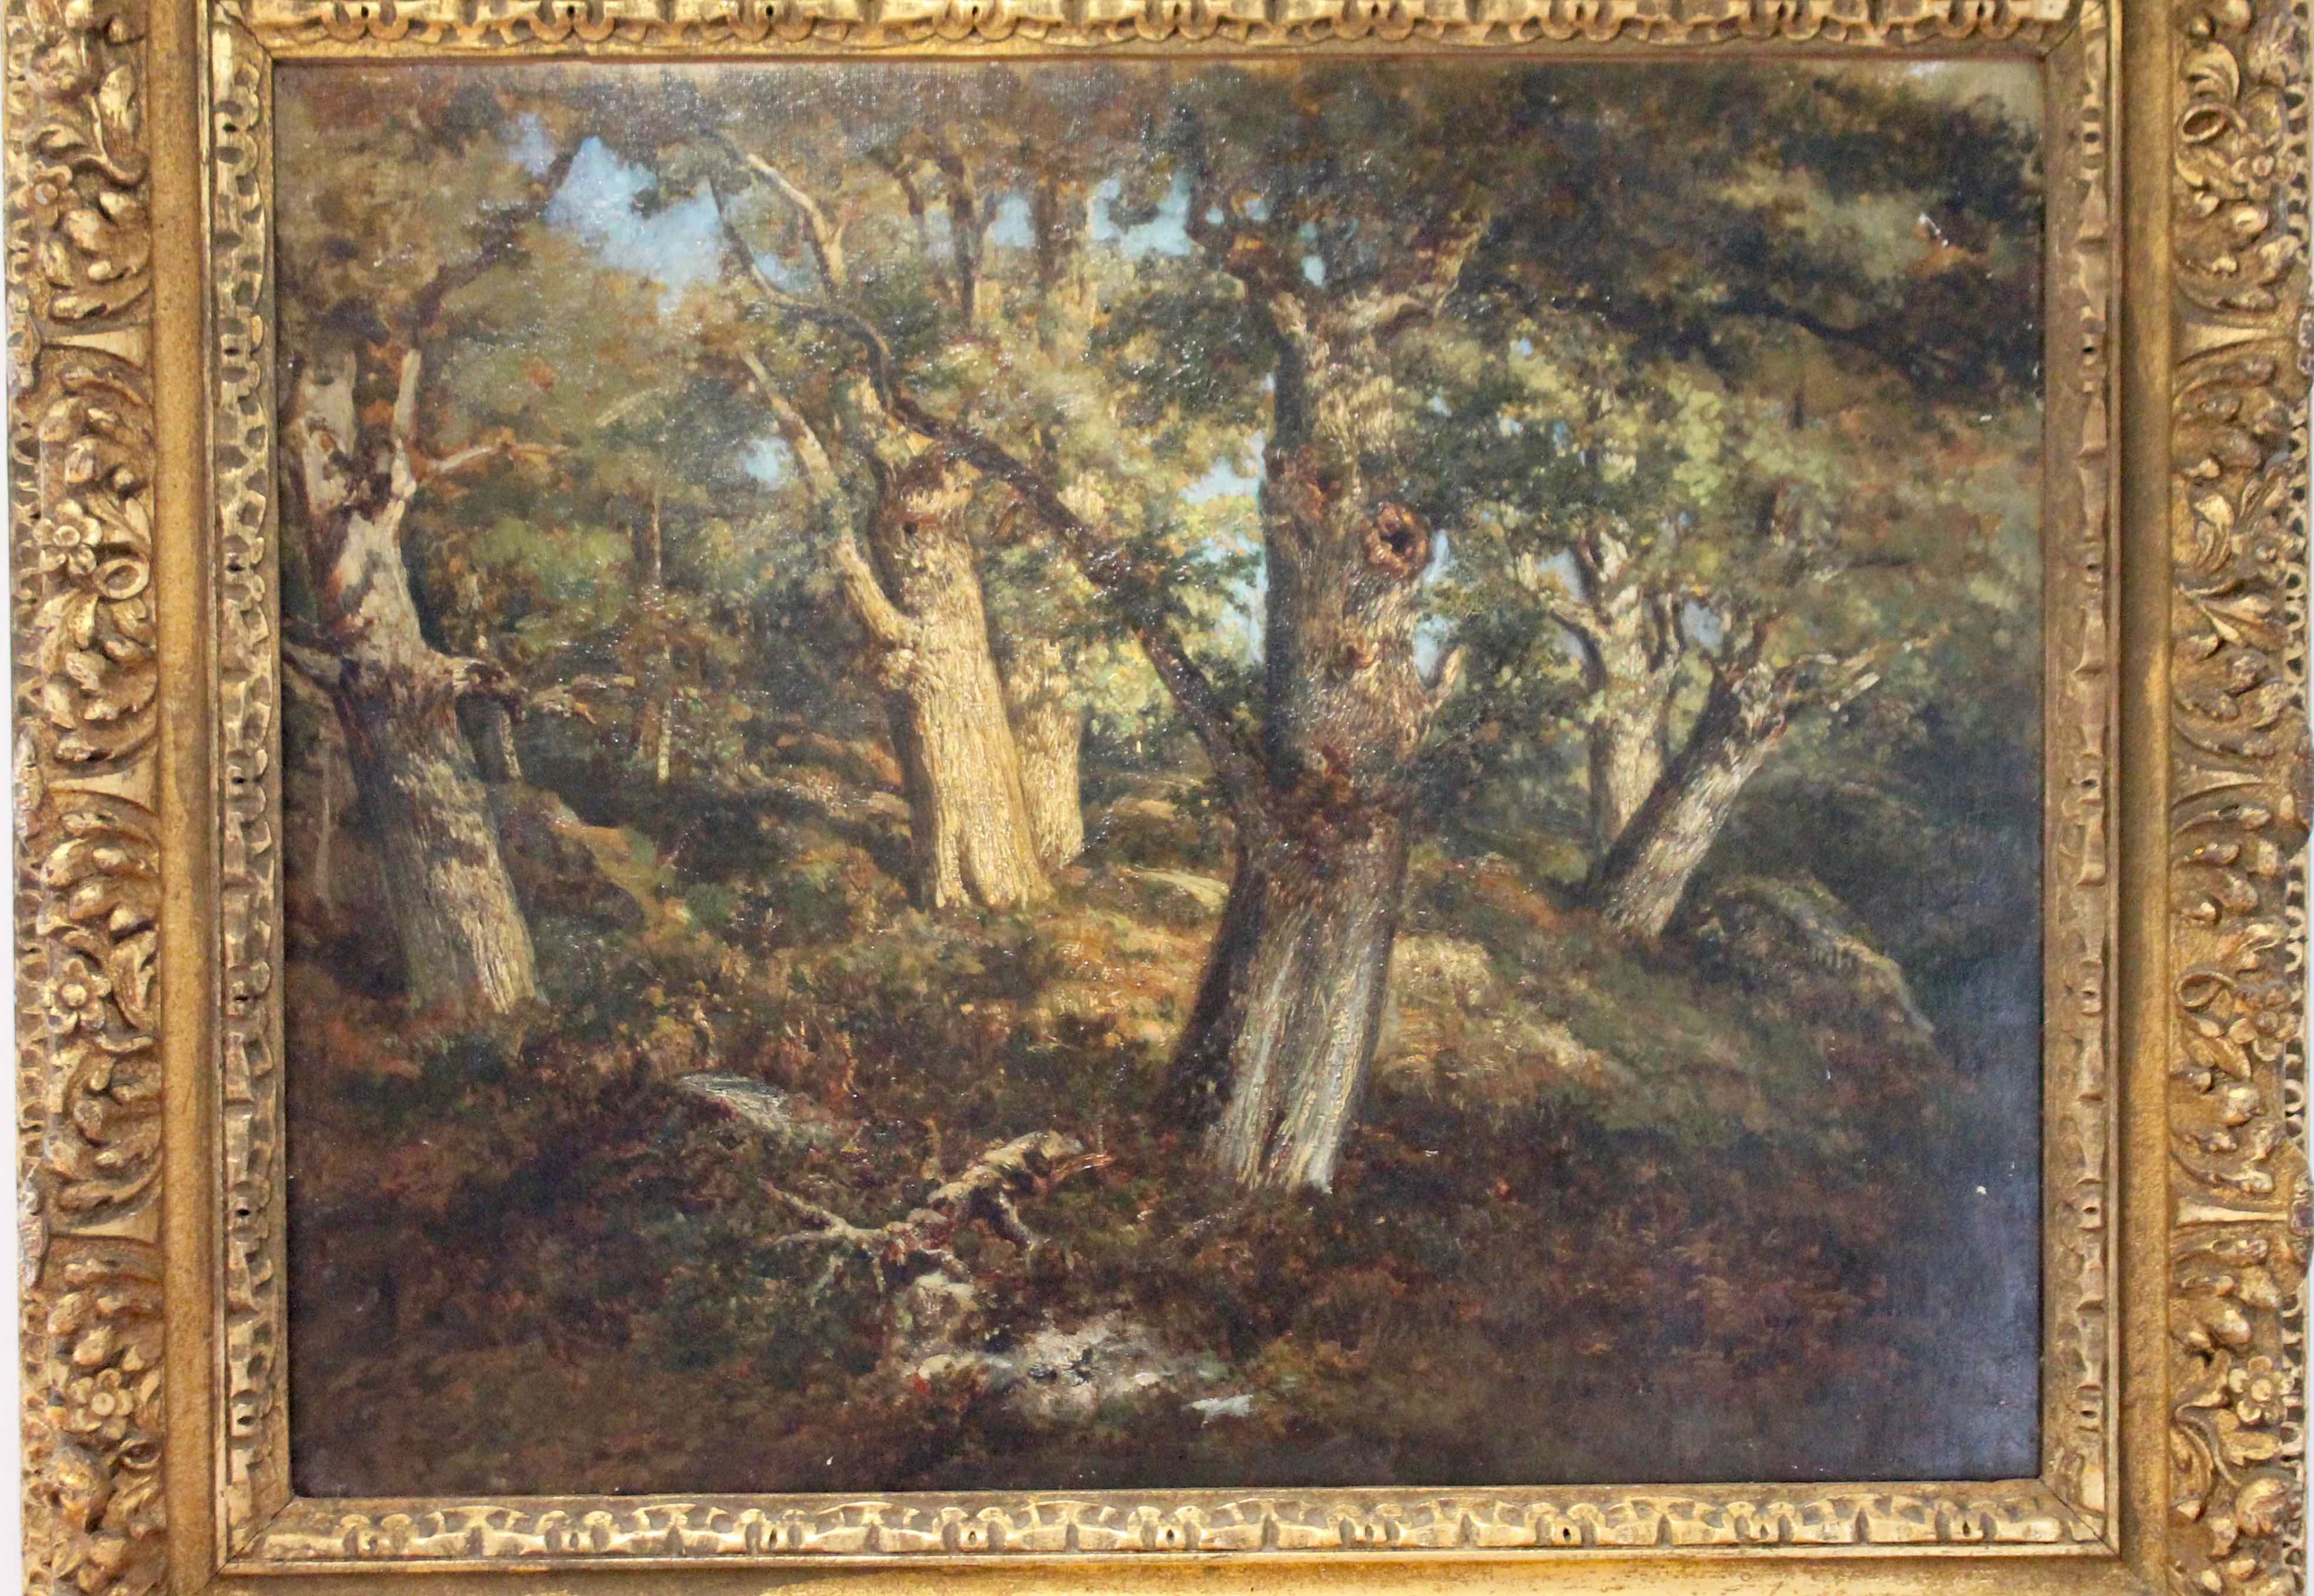
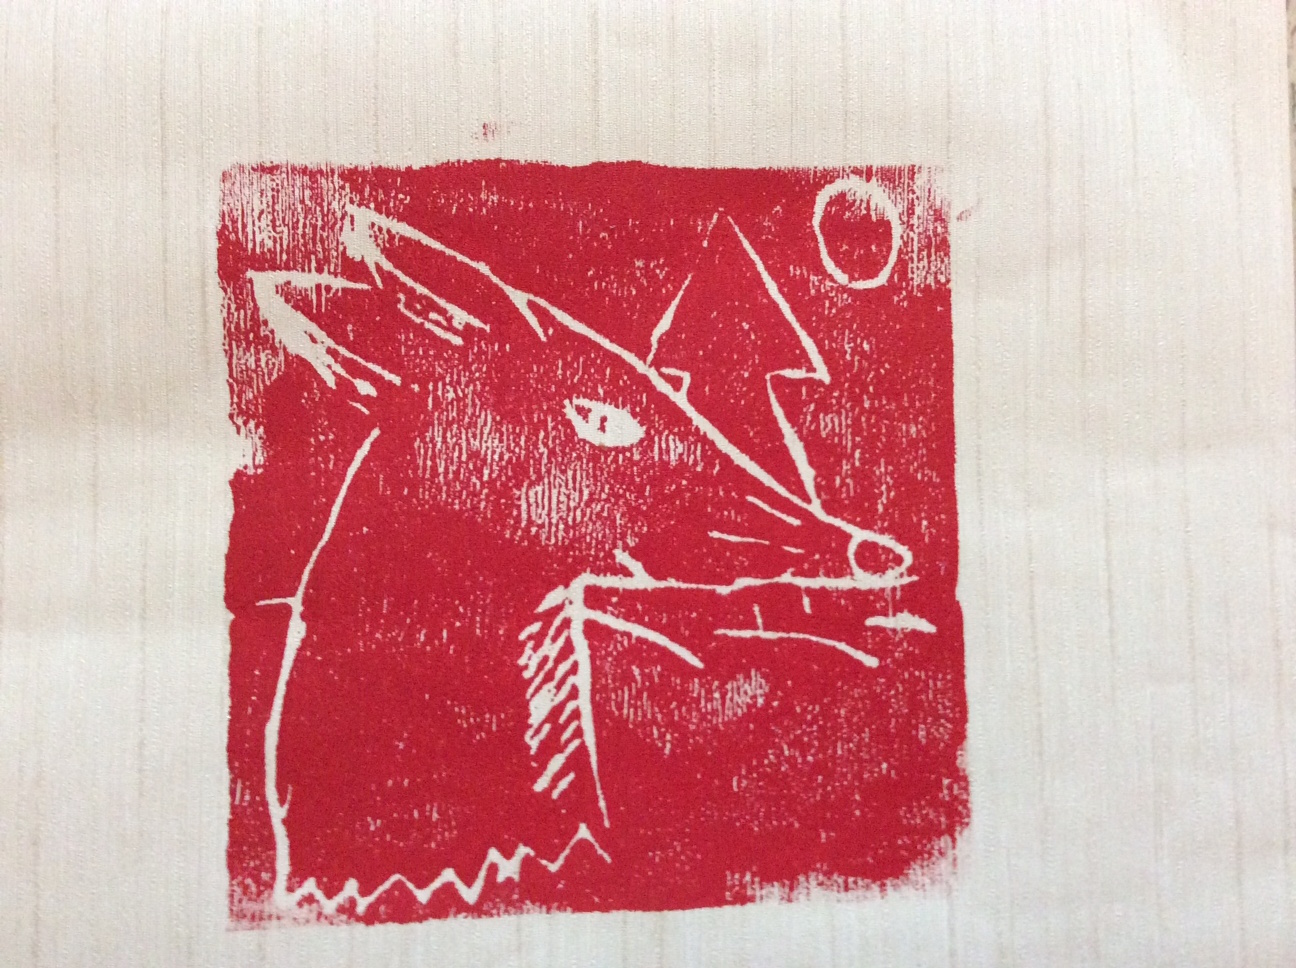
Le centre de la Finlande est célèbre pour son art moderne et ses artistes graphistes. Lors de la réunion en Finlande, les enseignants ont rendu visite à Kirsi Neuvonen, une artiste locale.
Elle nous a parlé de sa vie d’artiste et de la gravure en tant que technique.
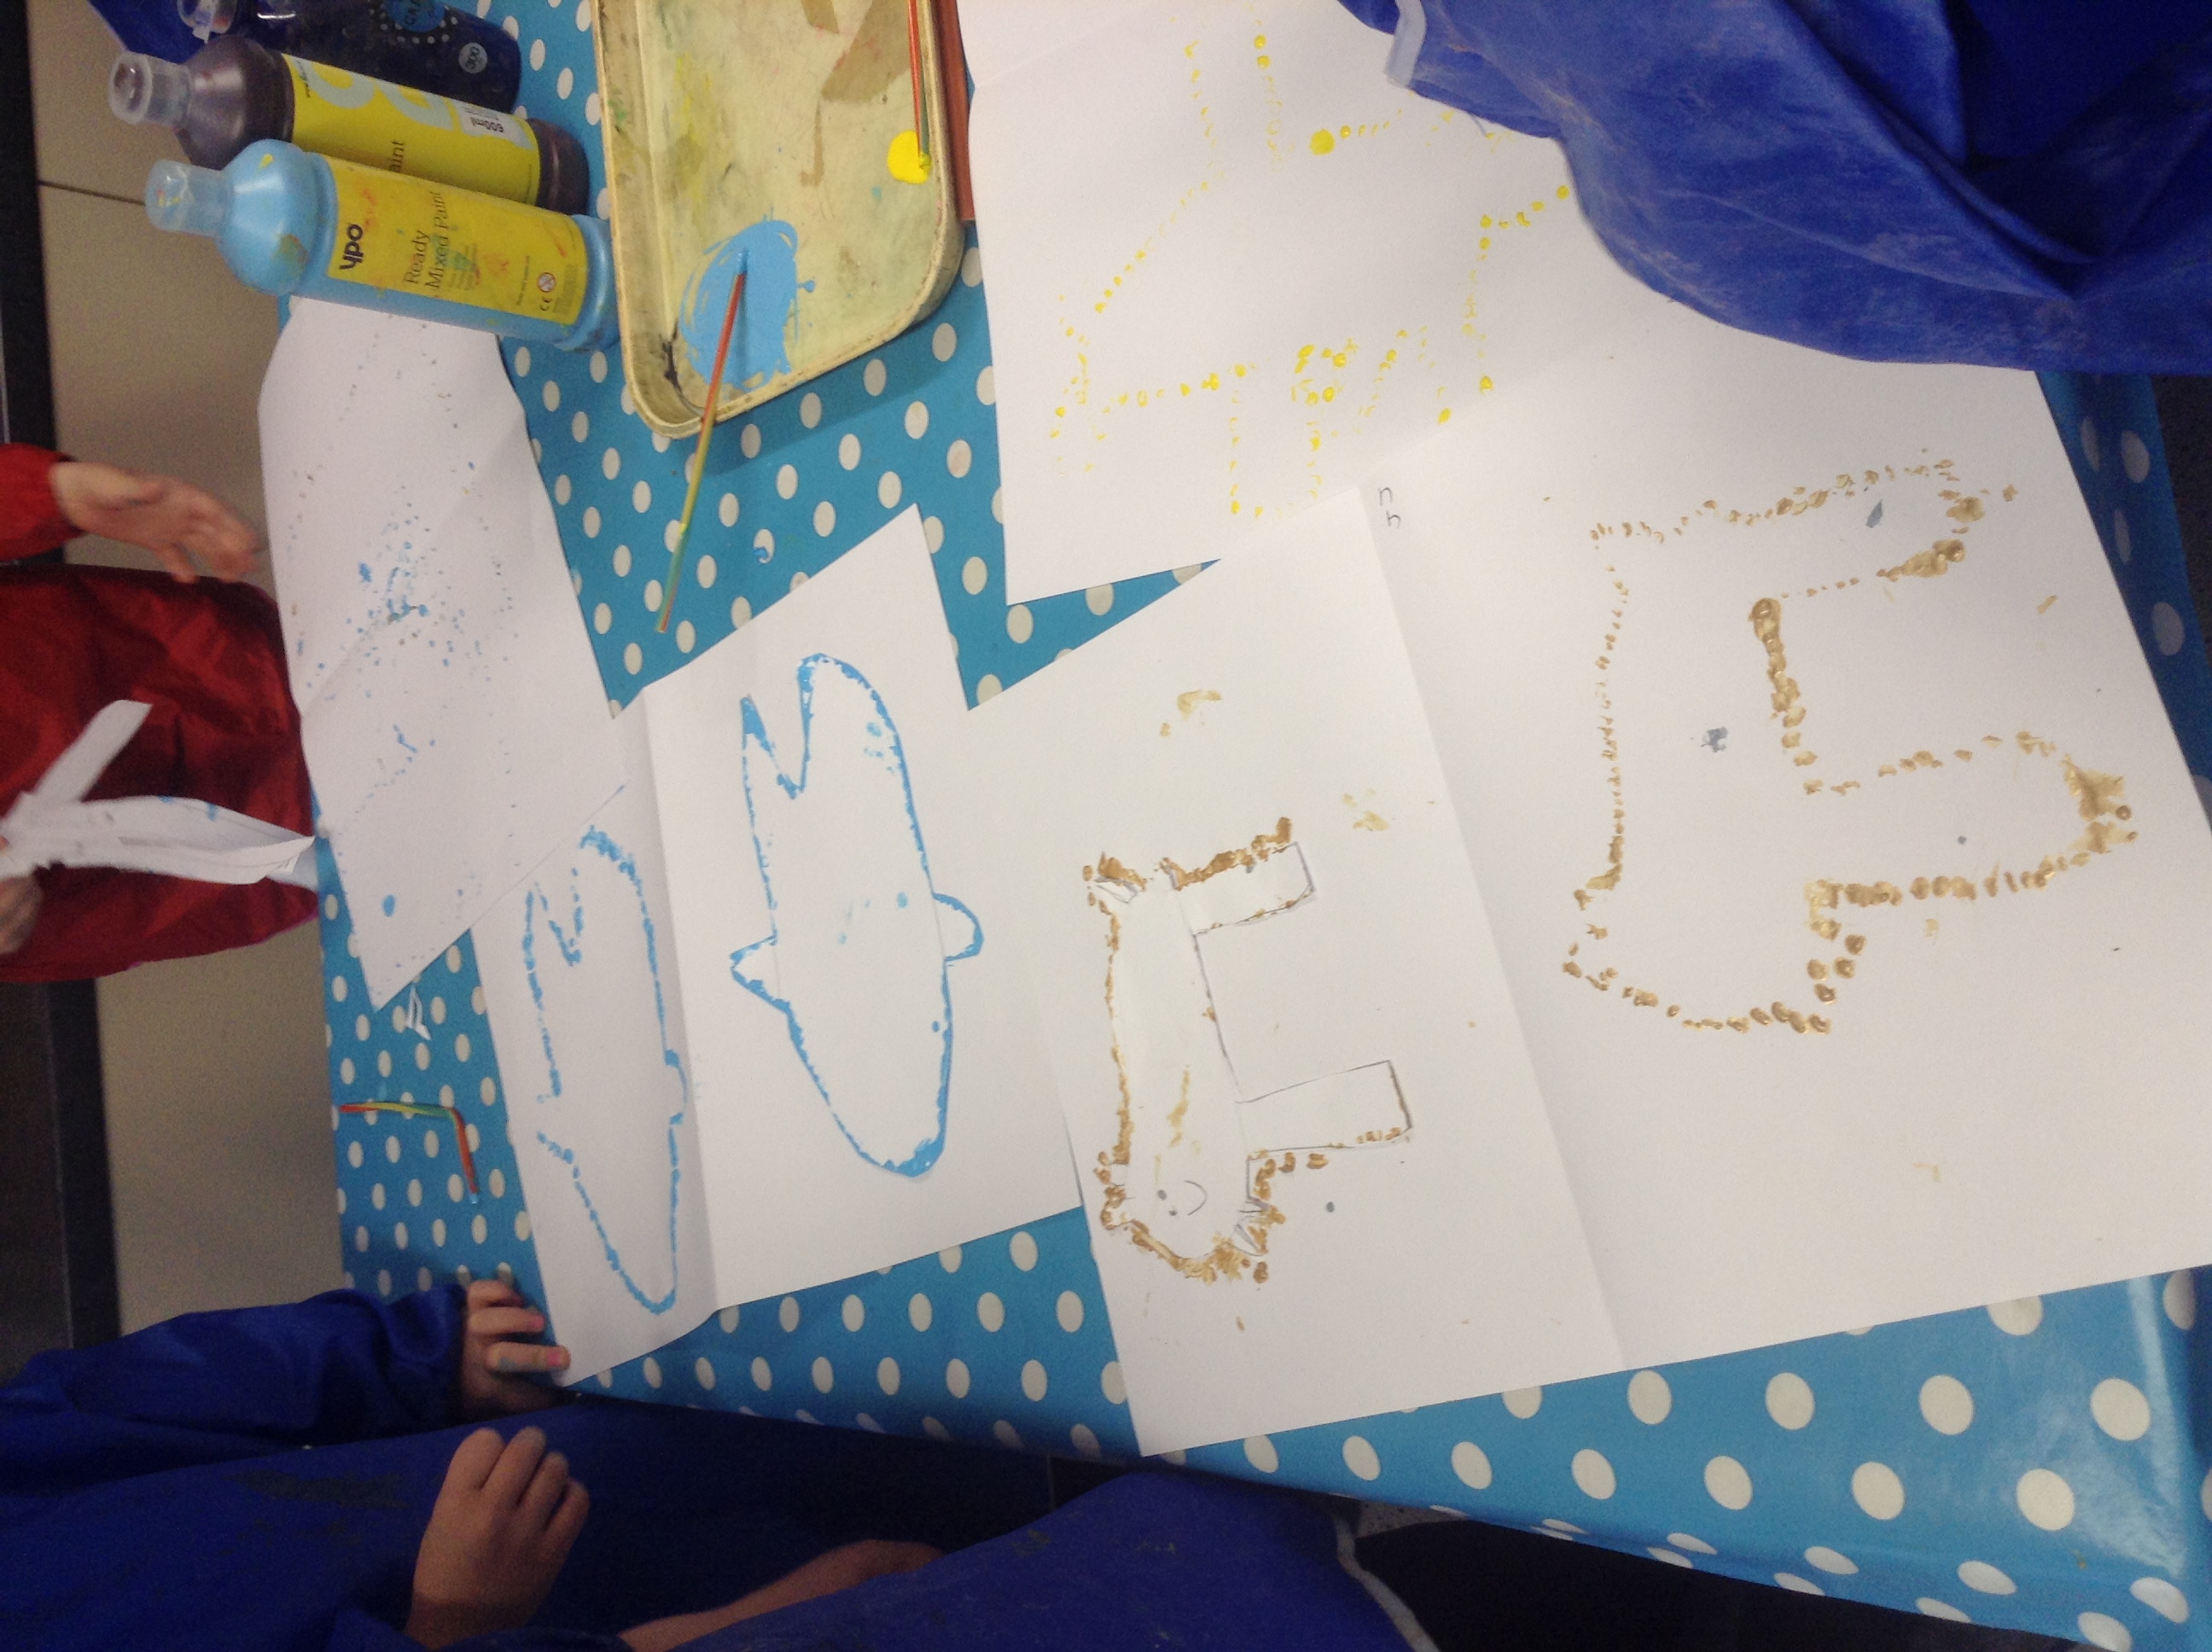
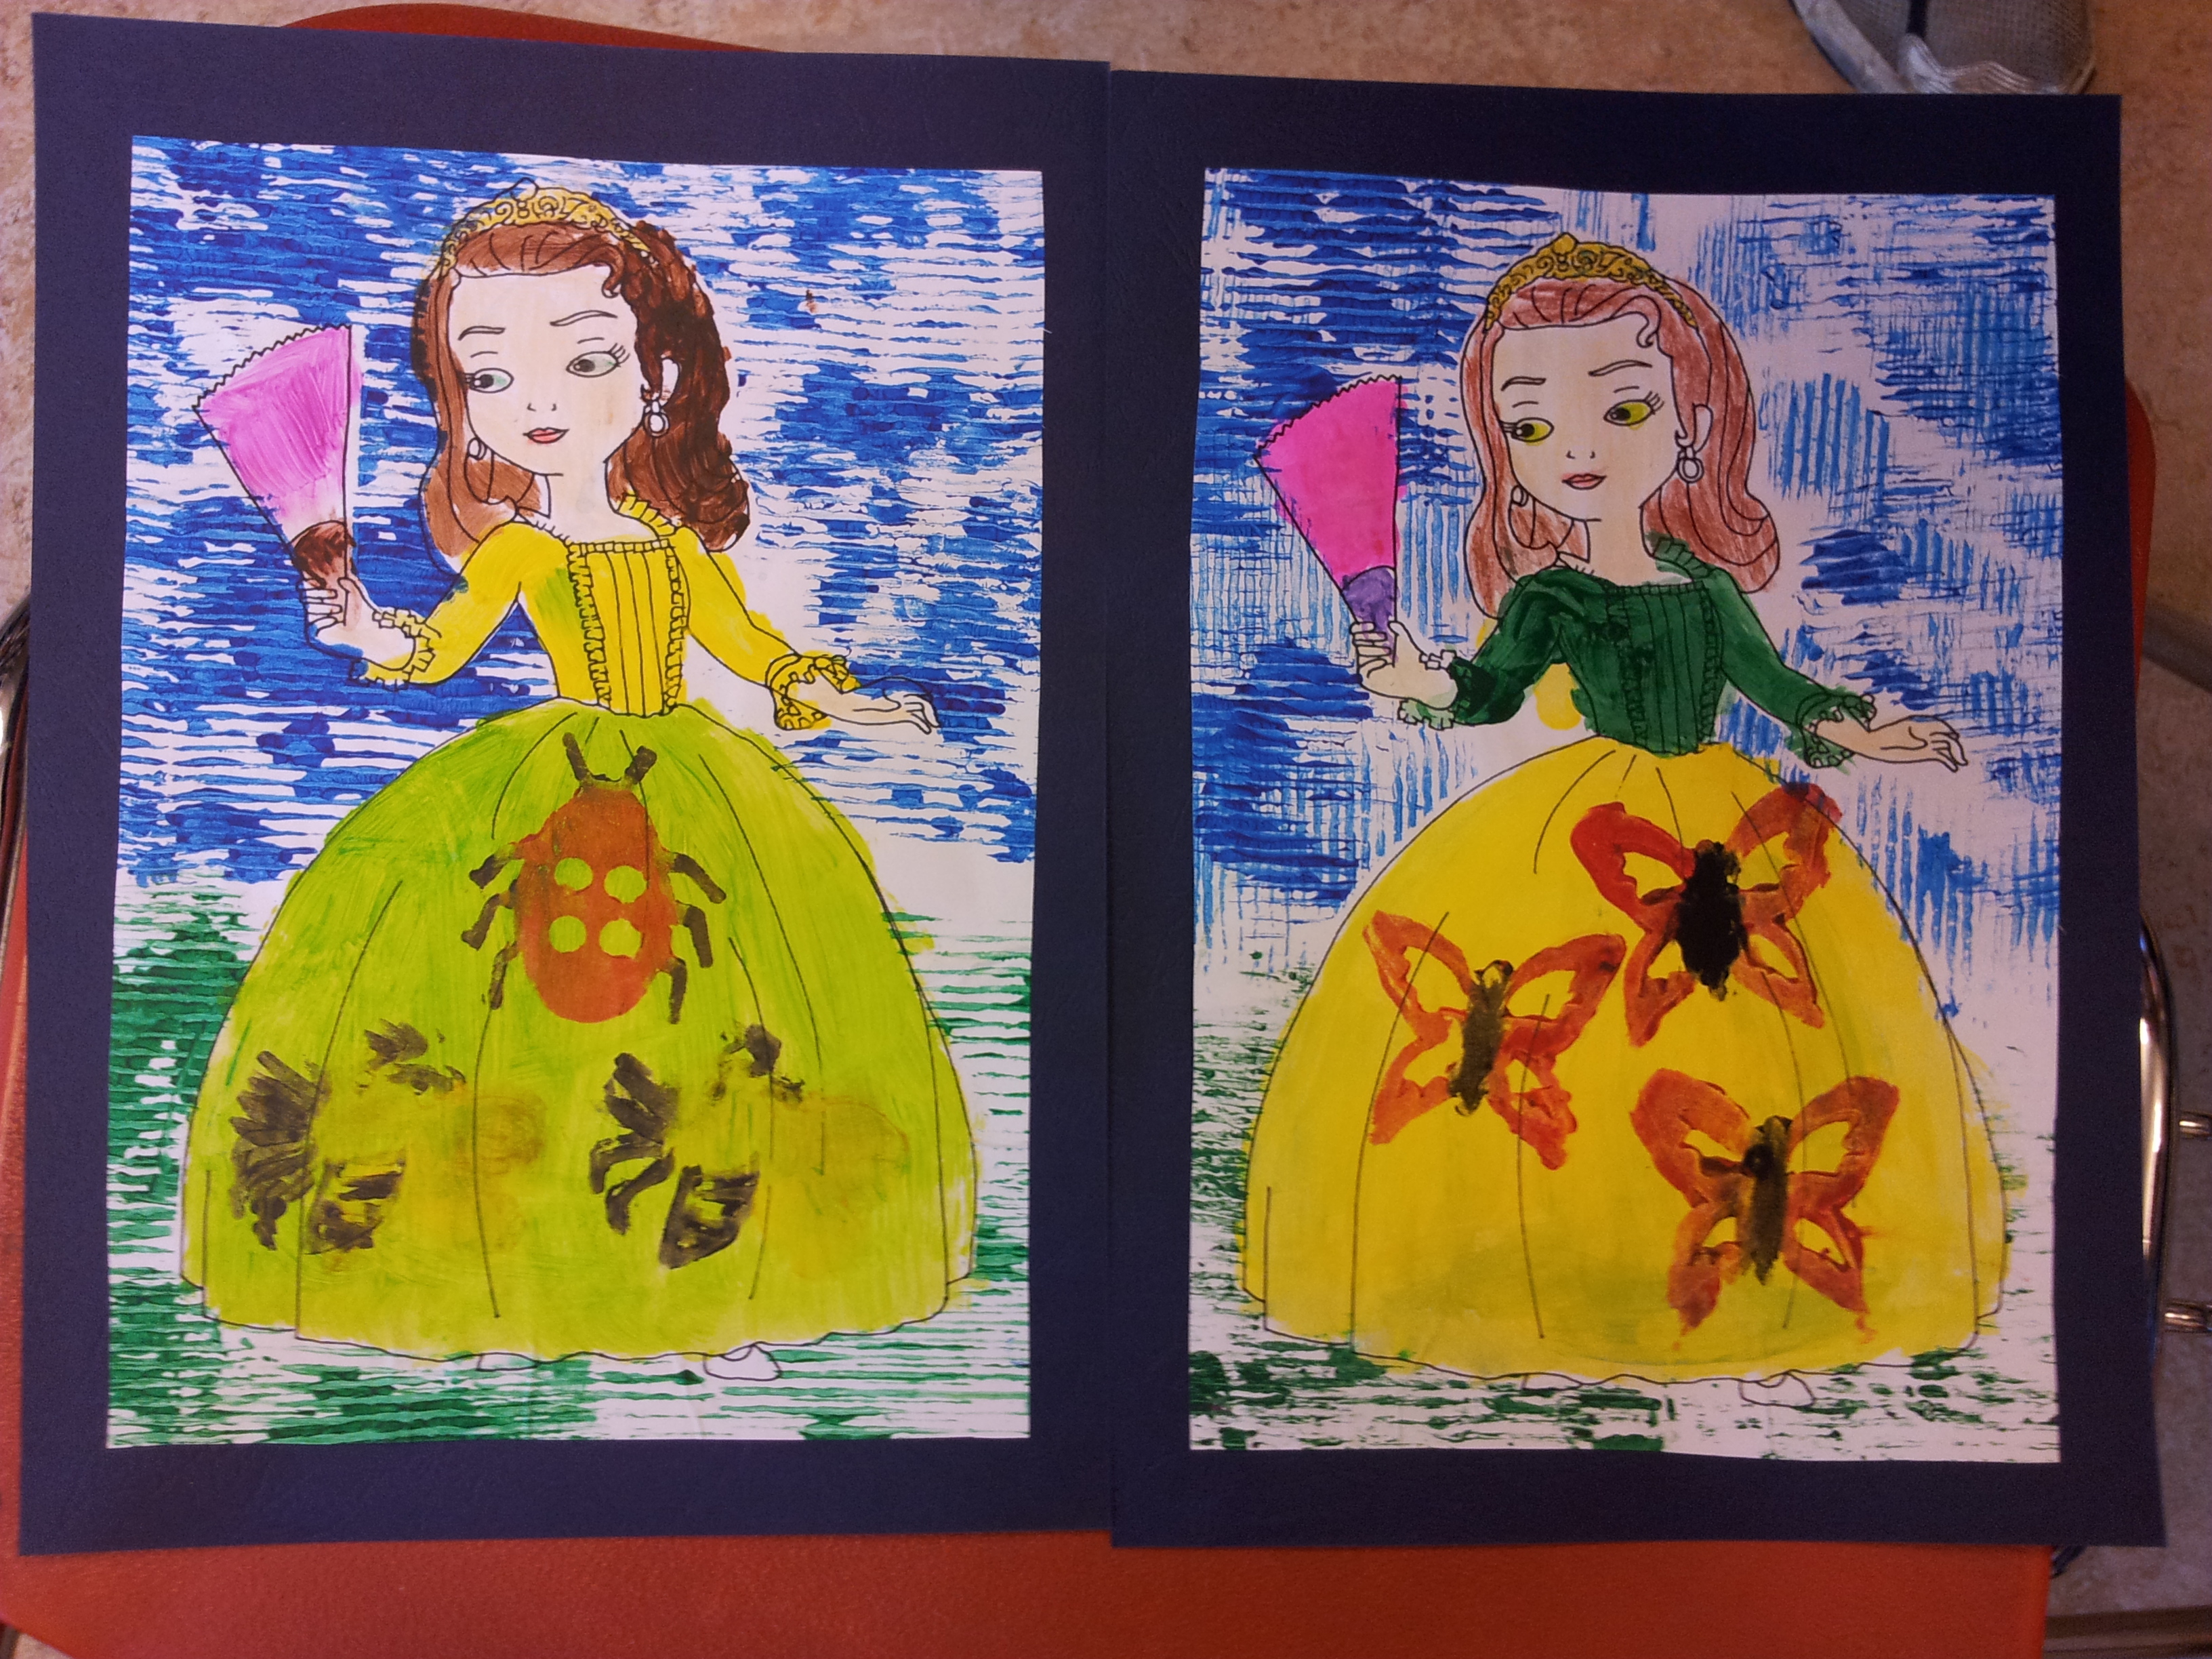
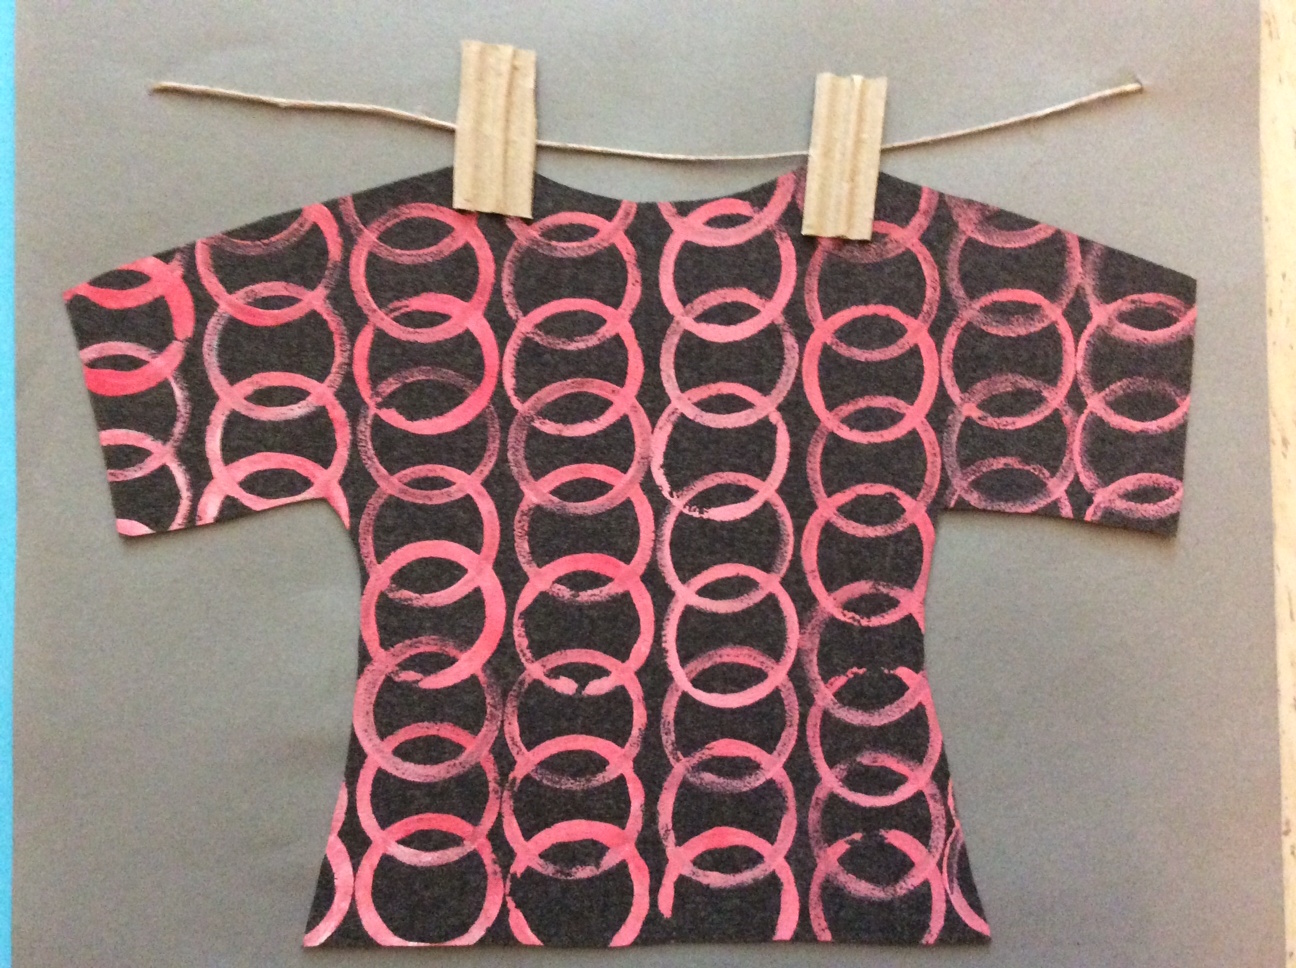
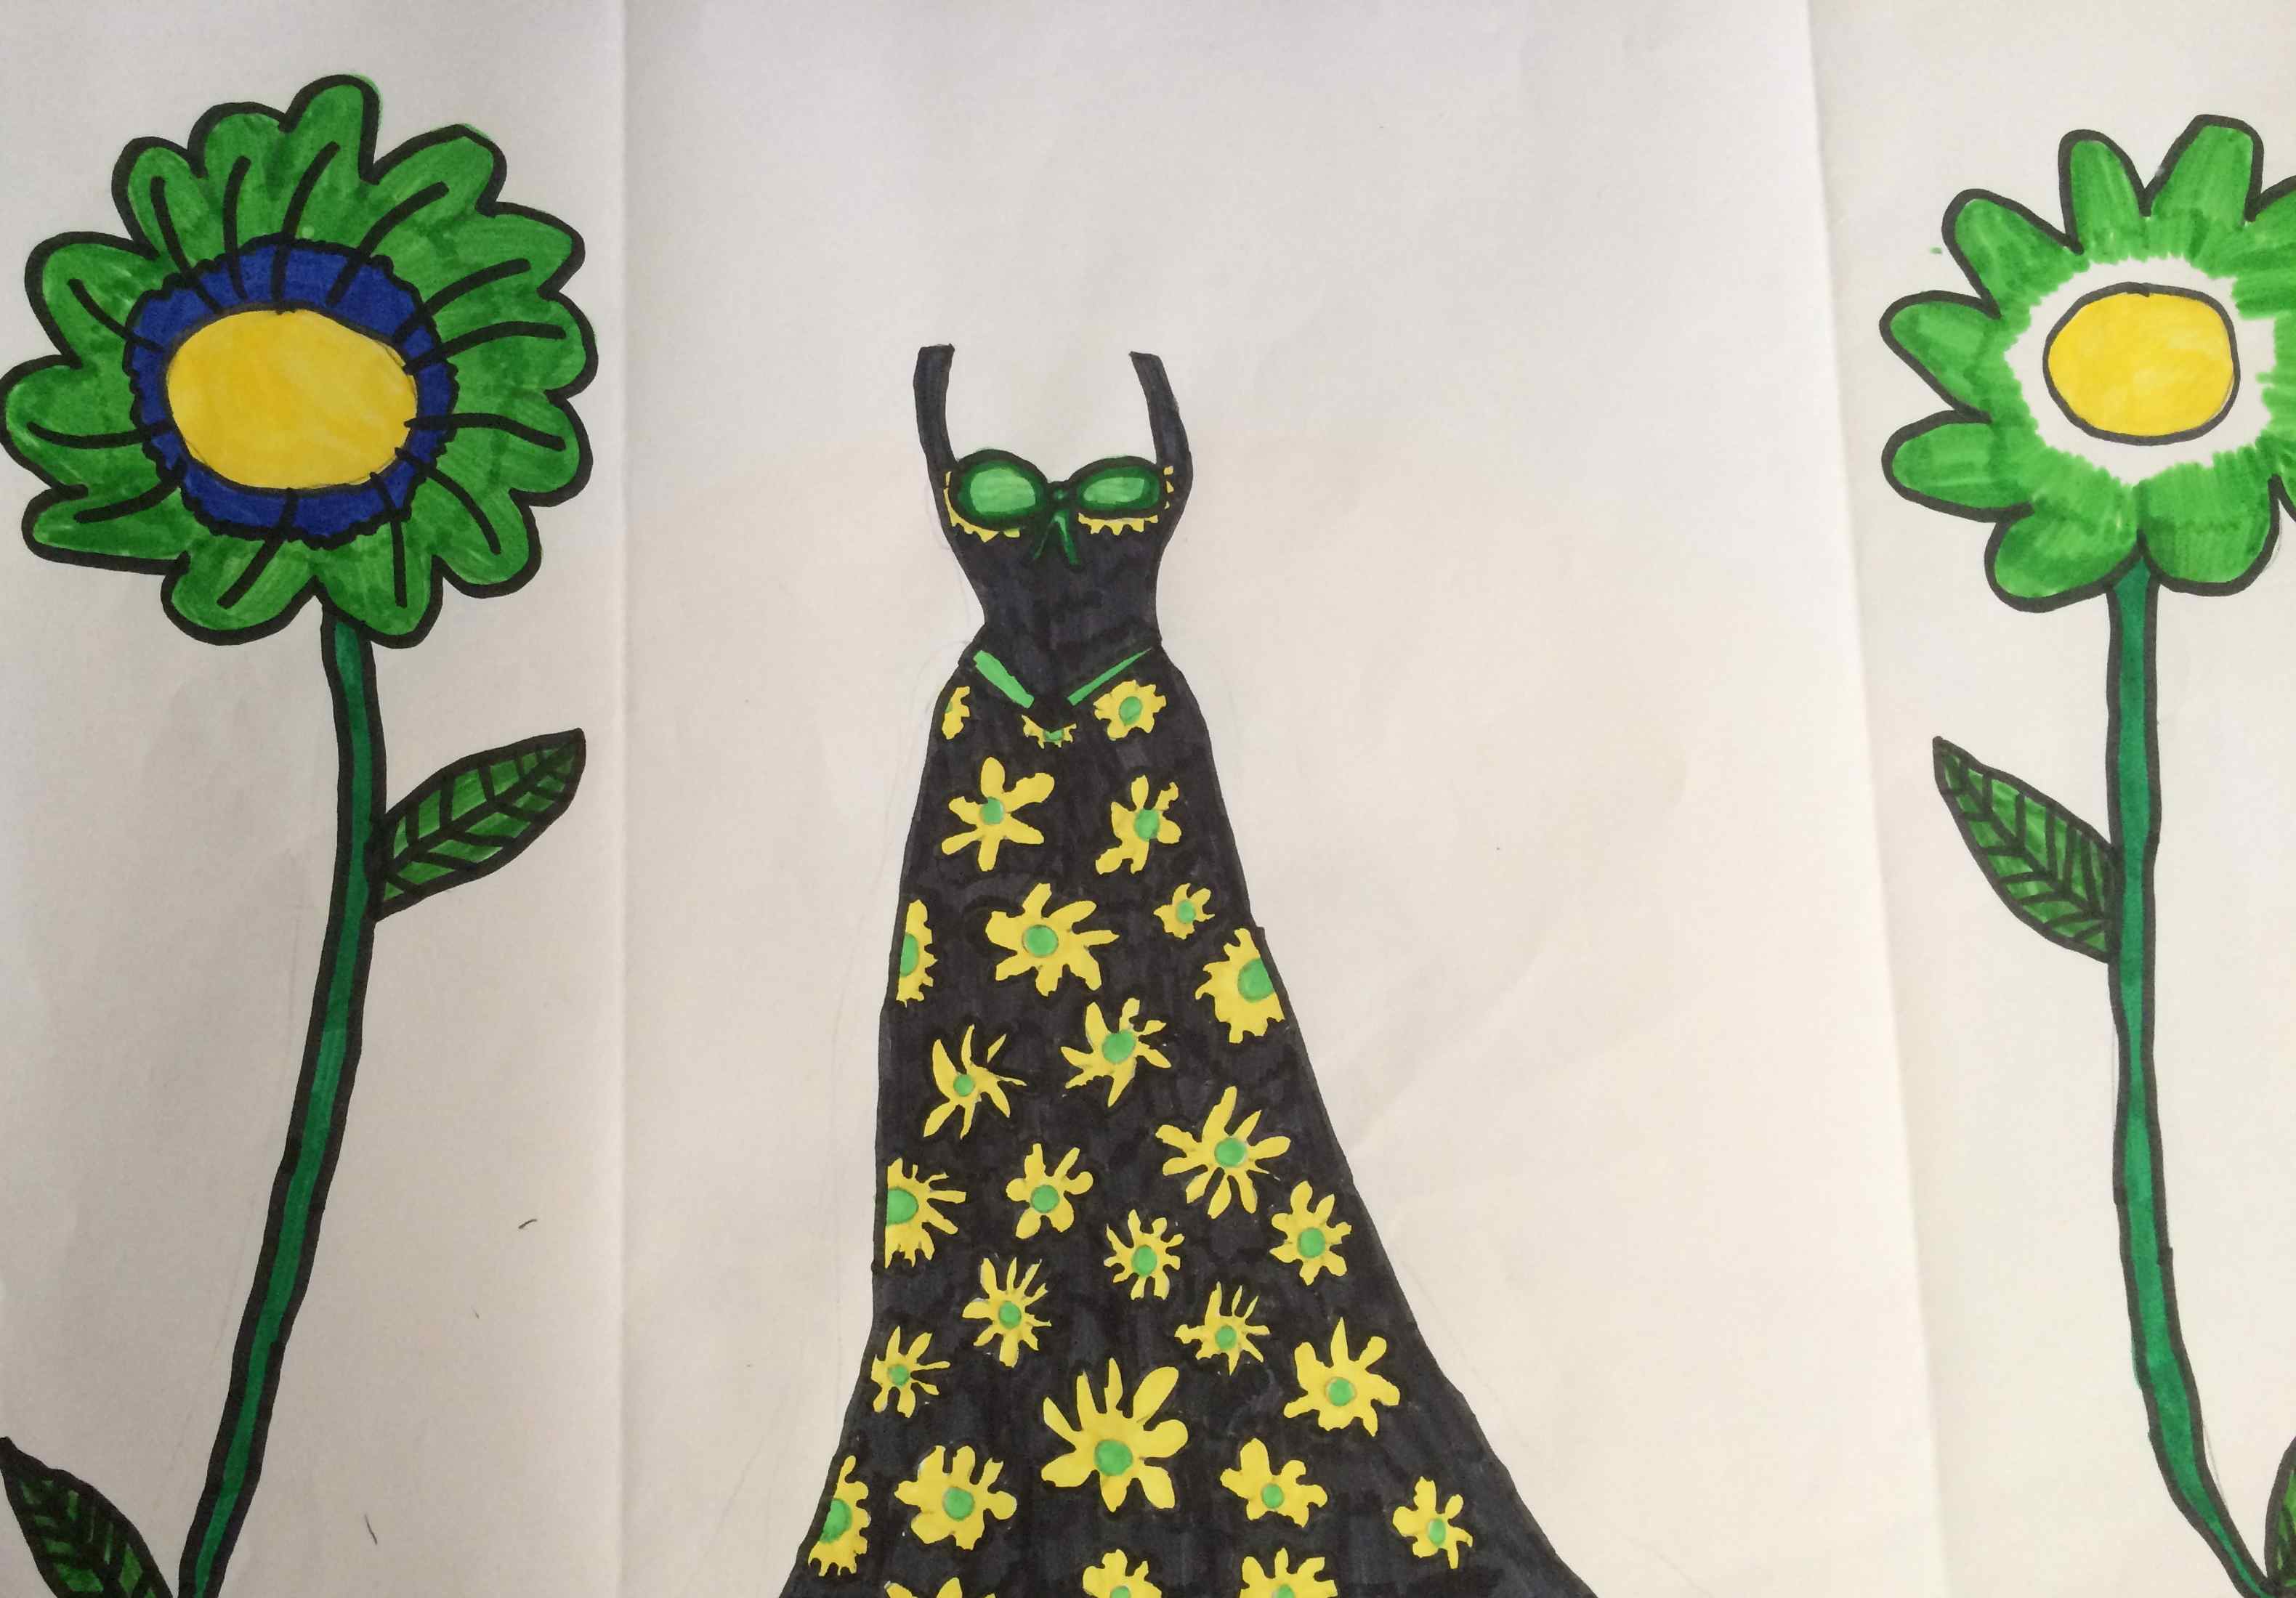
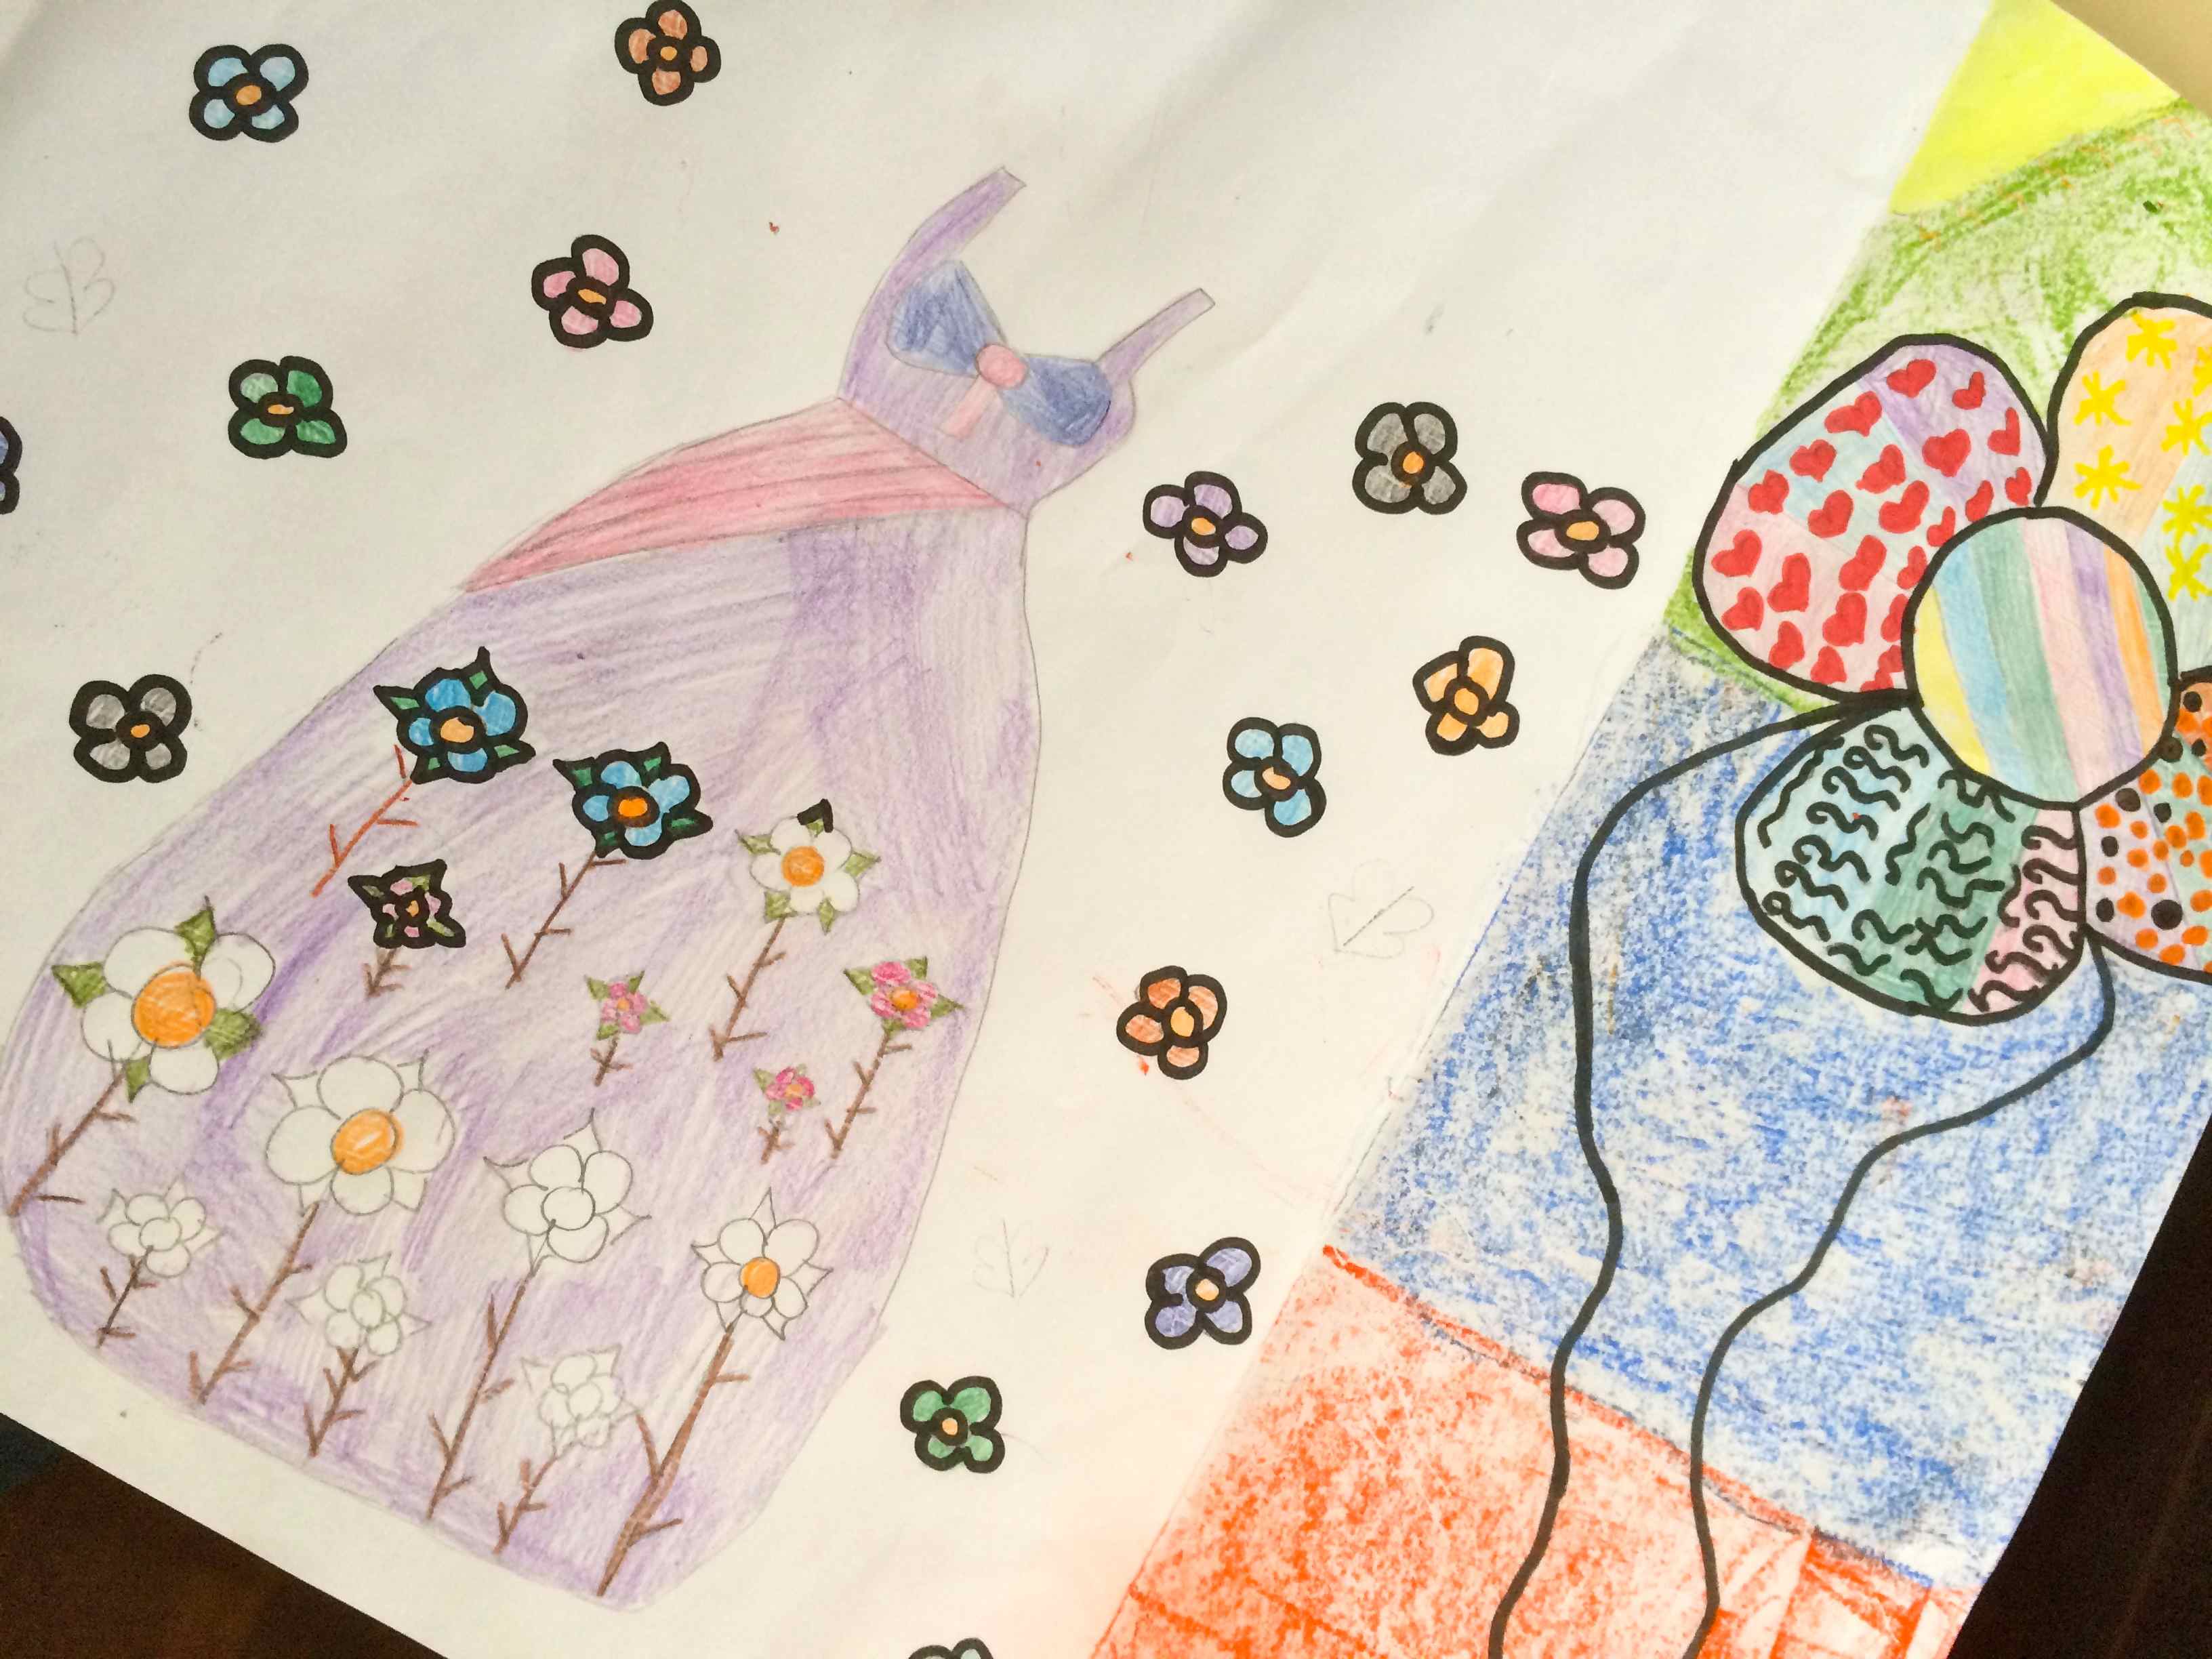
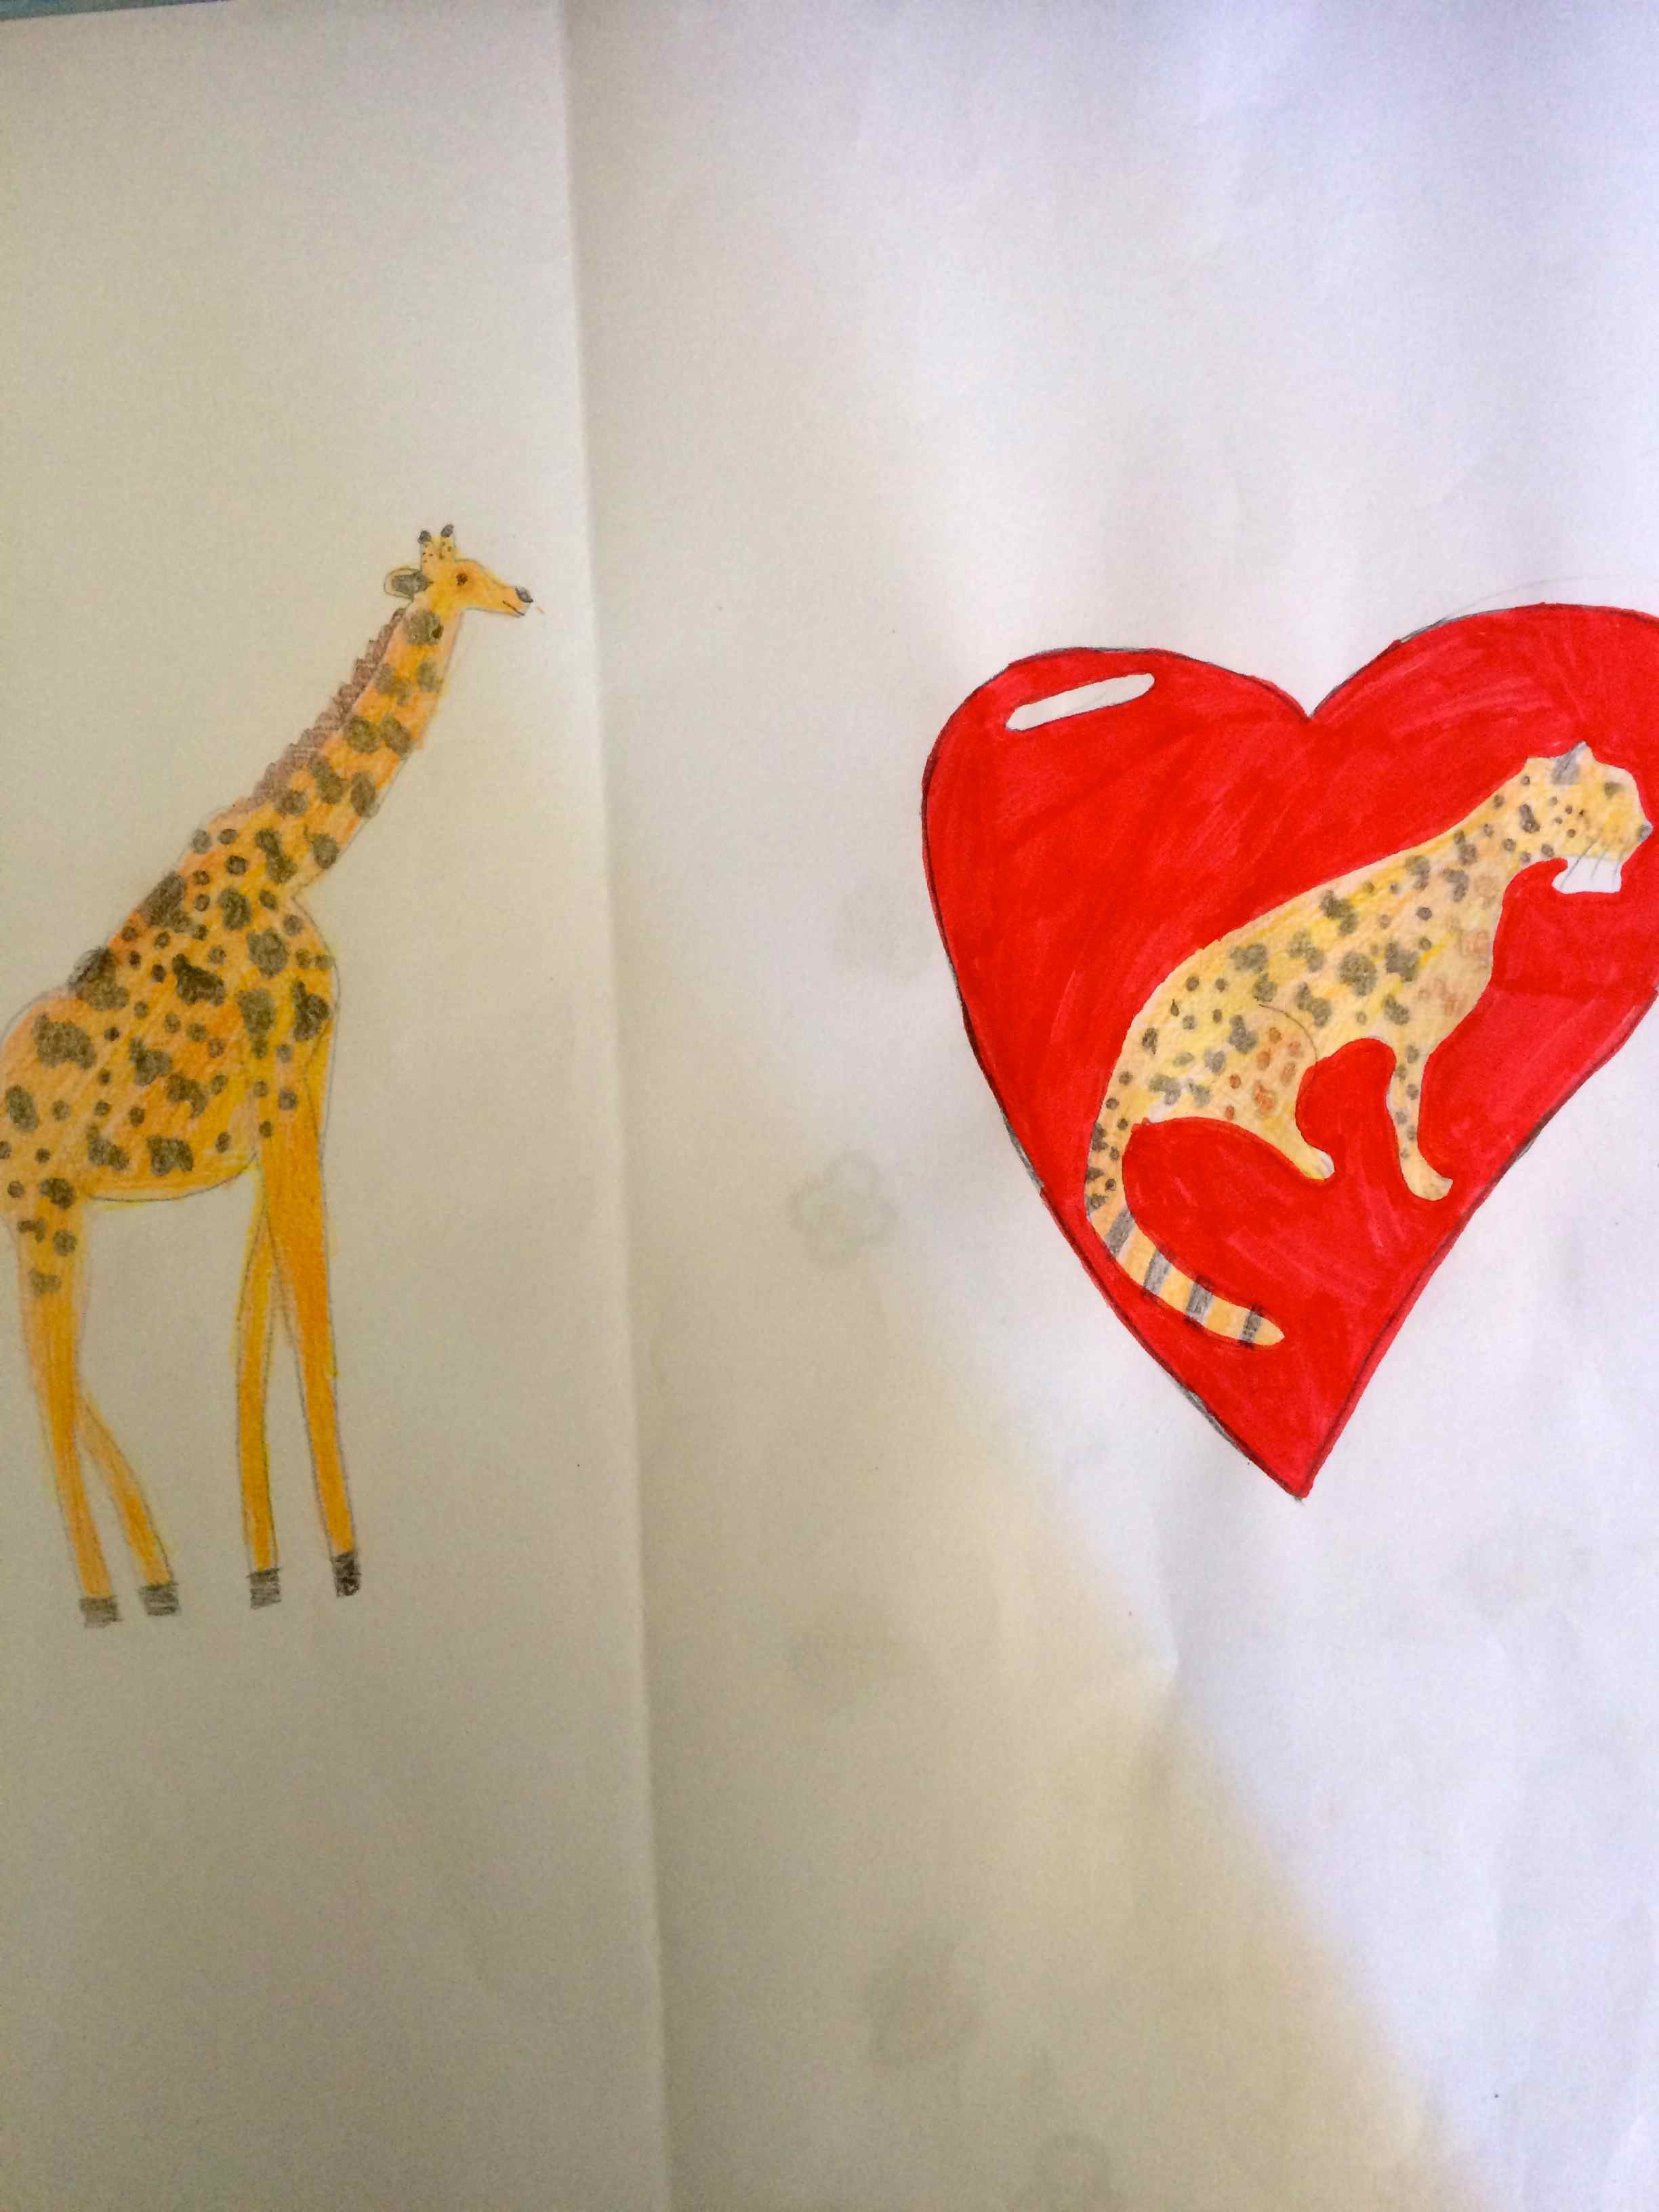
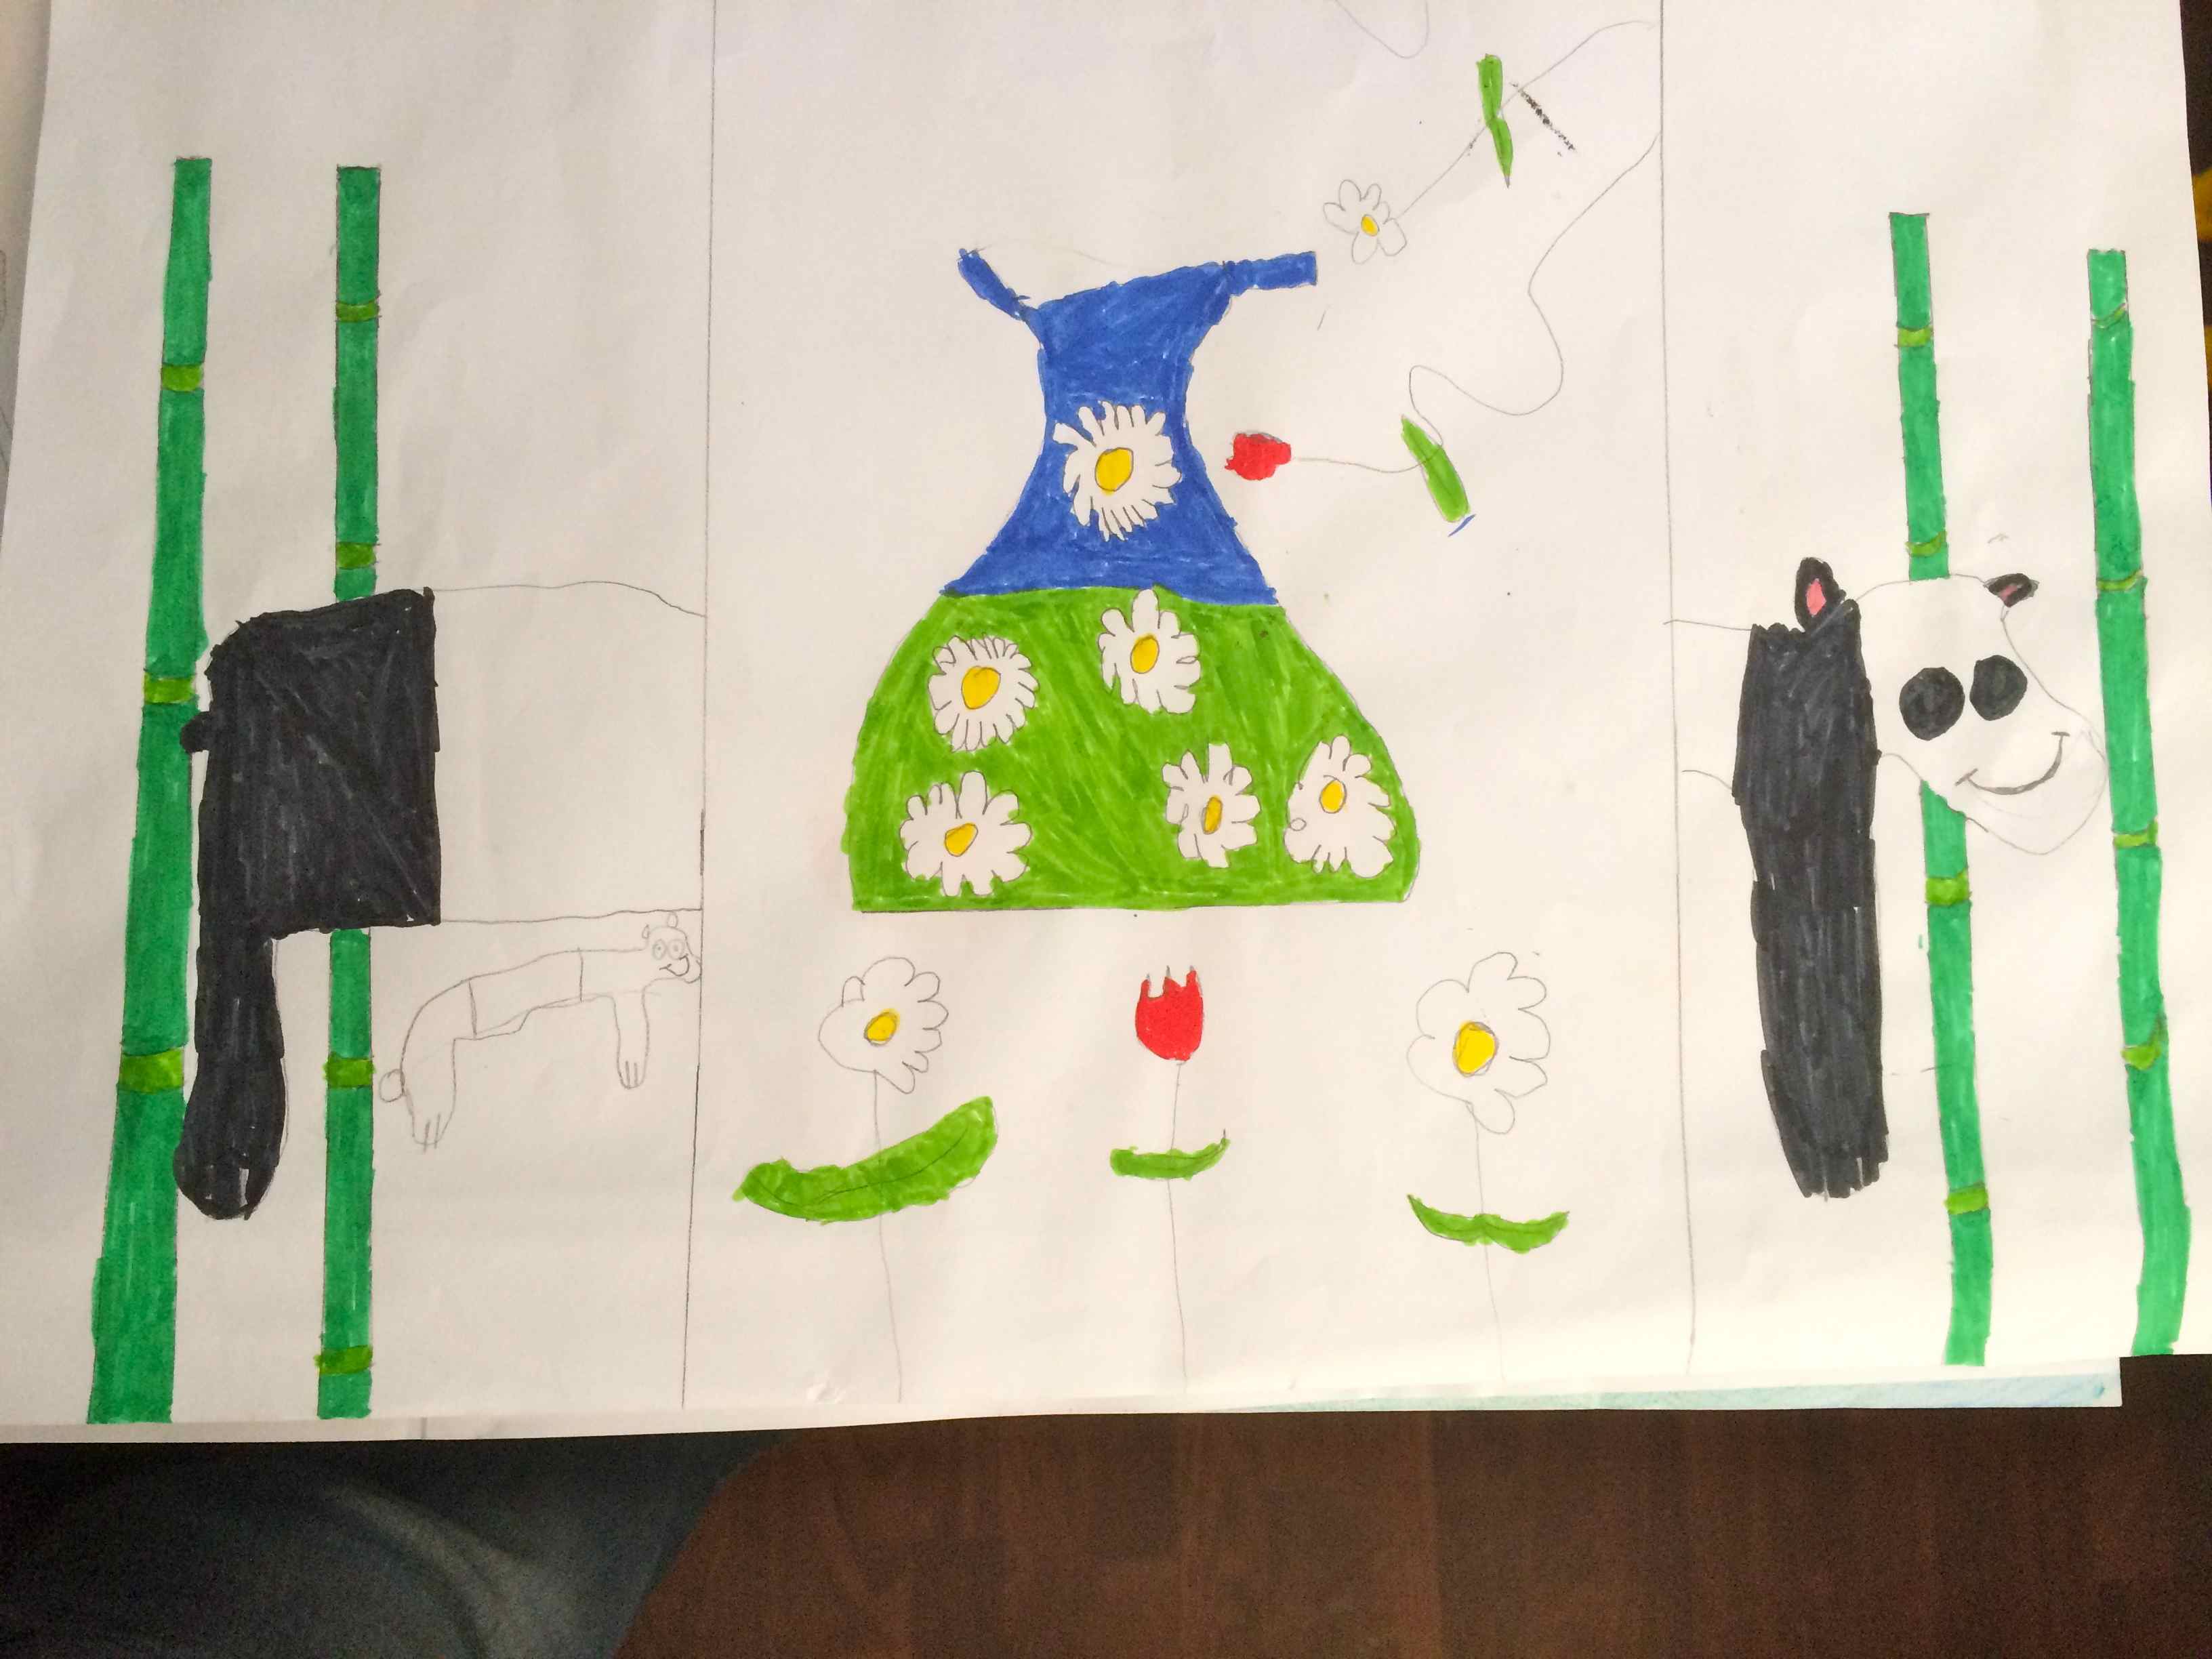
Nous avons étudié différents types de techniques de gravure avec les élèves. Les thèmes travaillés étaient les animaux et la mode dans chaque pays.
Les élèves de cm2 (10 ans) ont fait du graphisme en utilisant des gravures d’animaux de la forêt finlandaise.
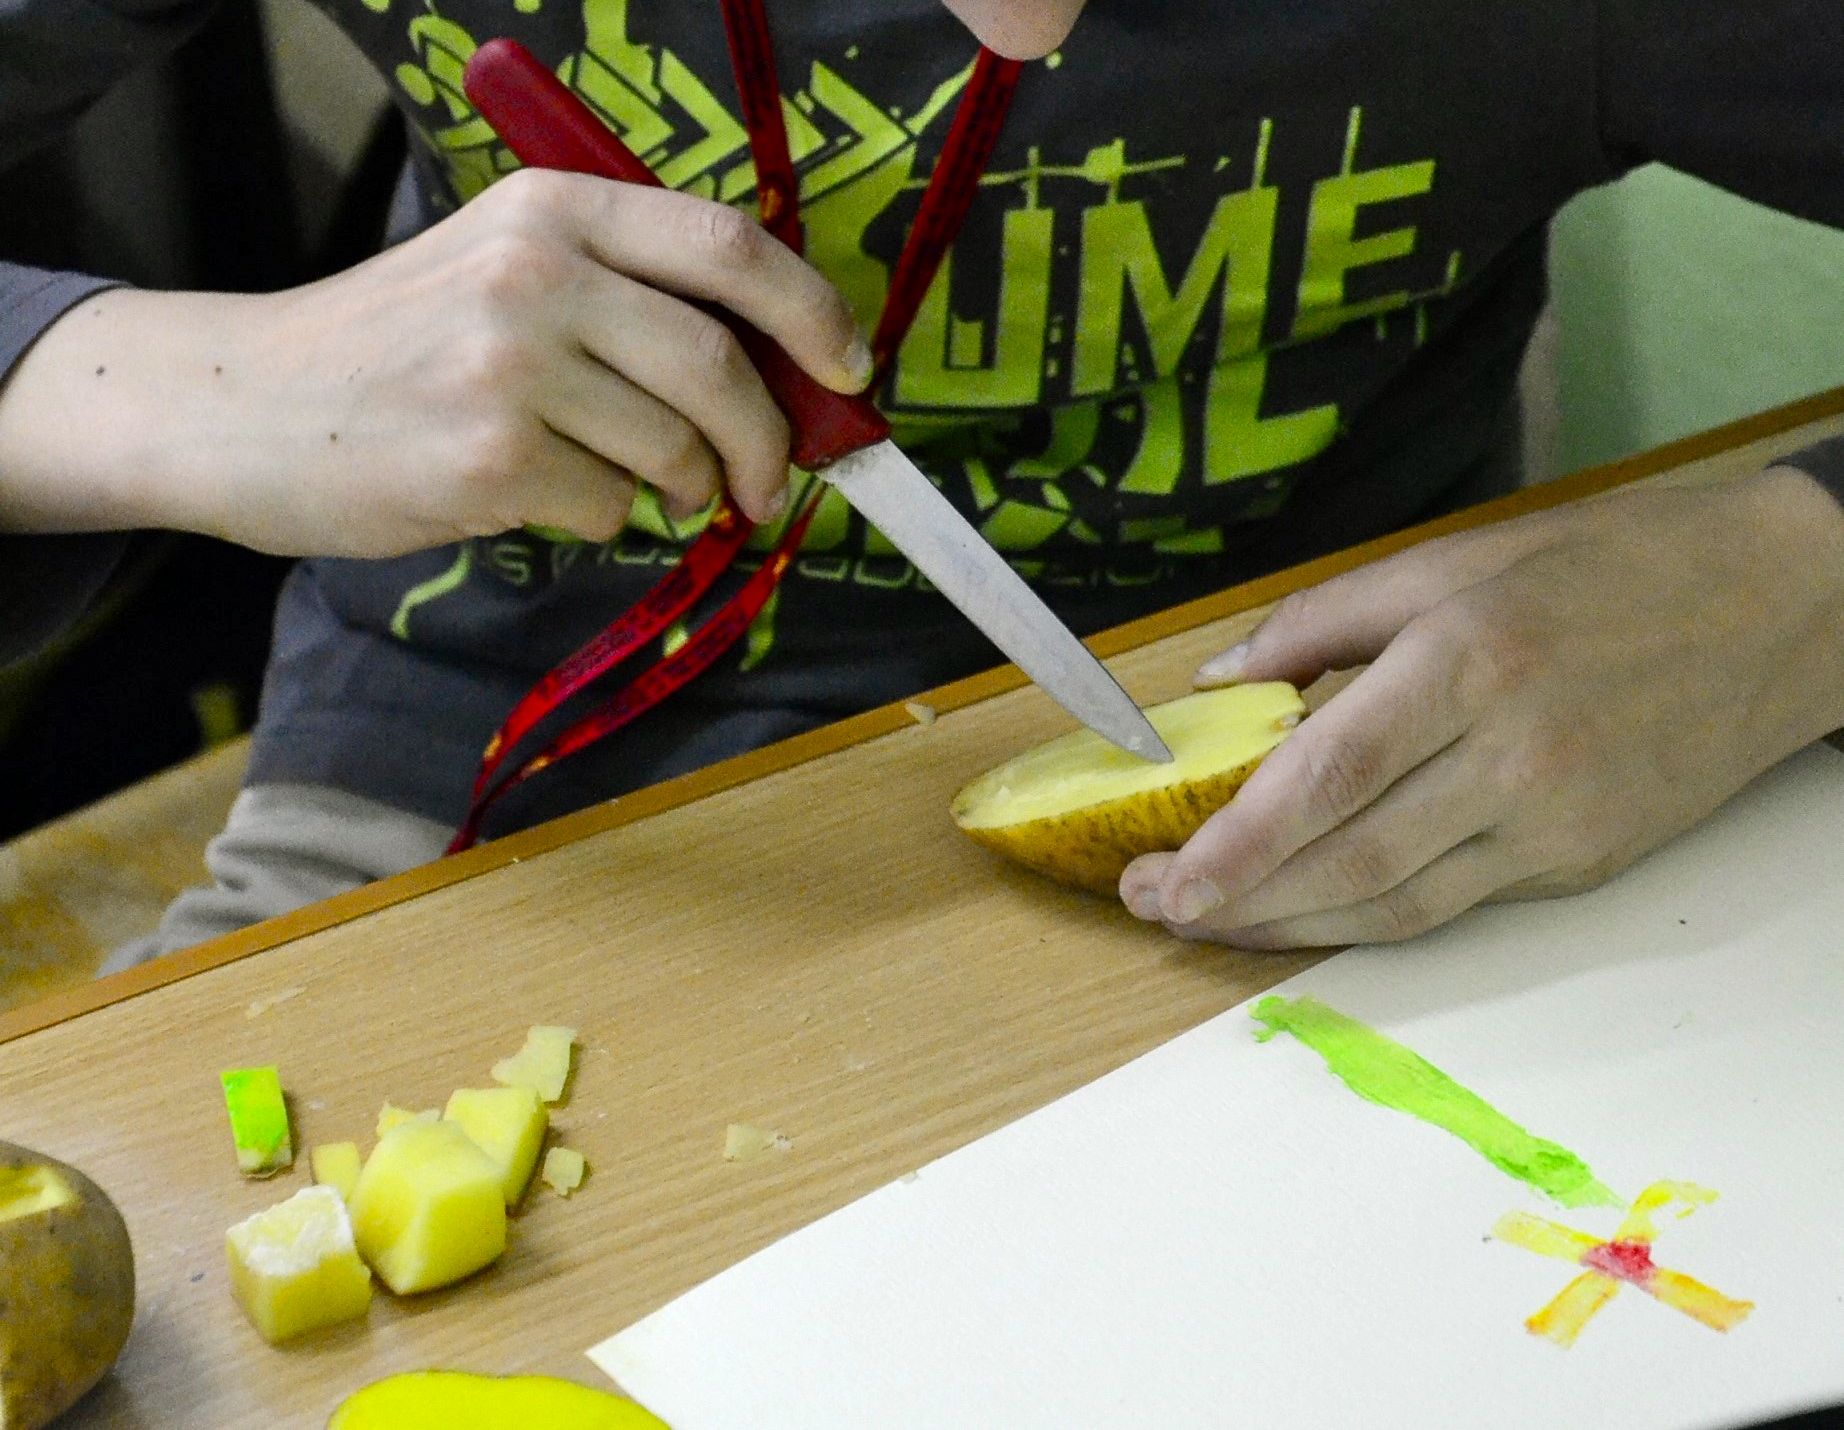
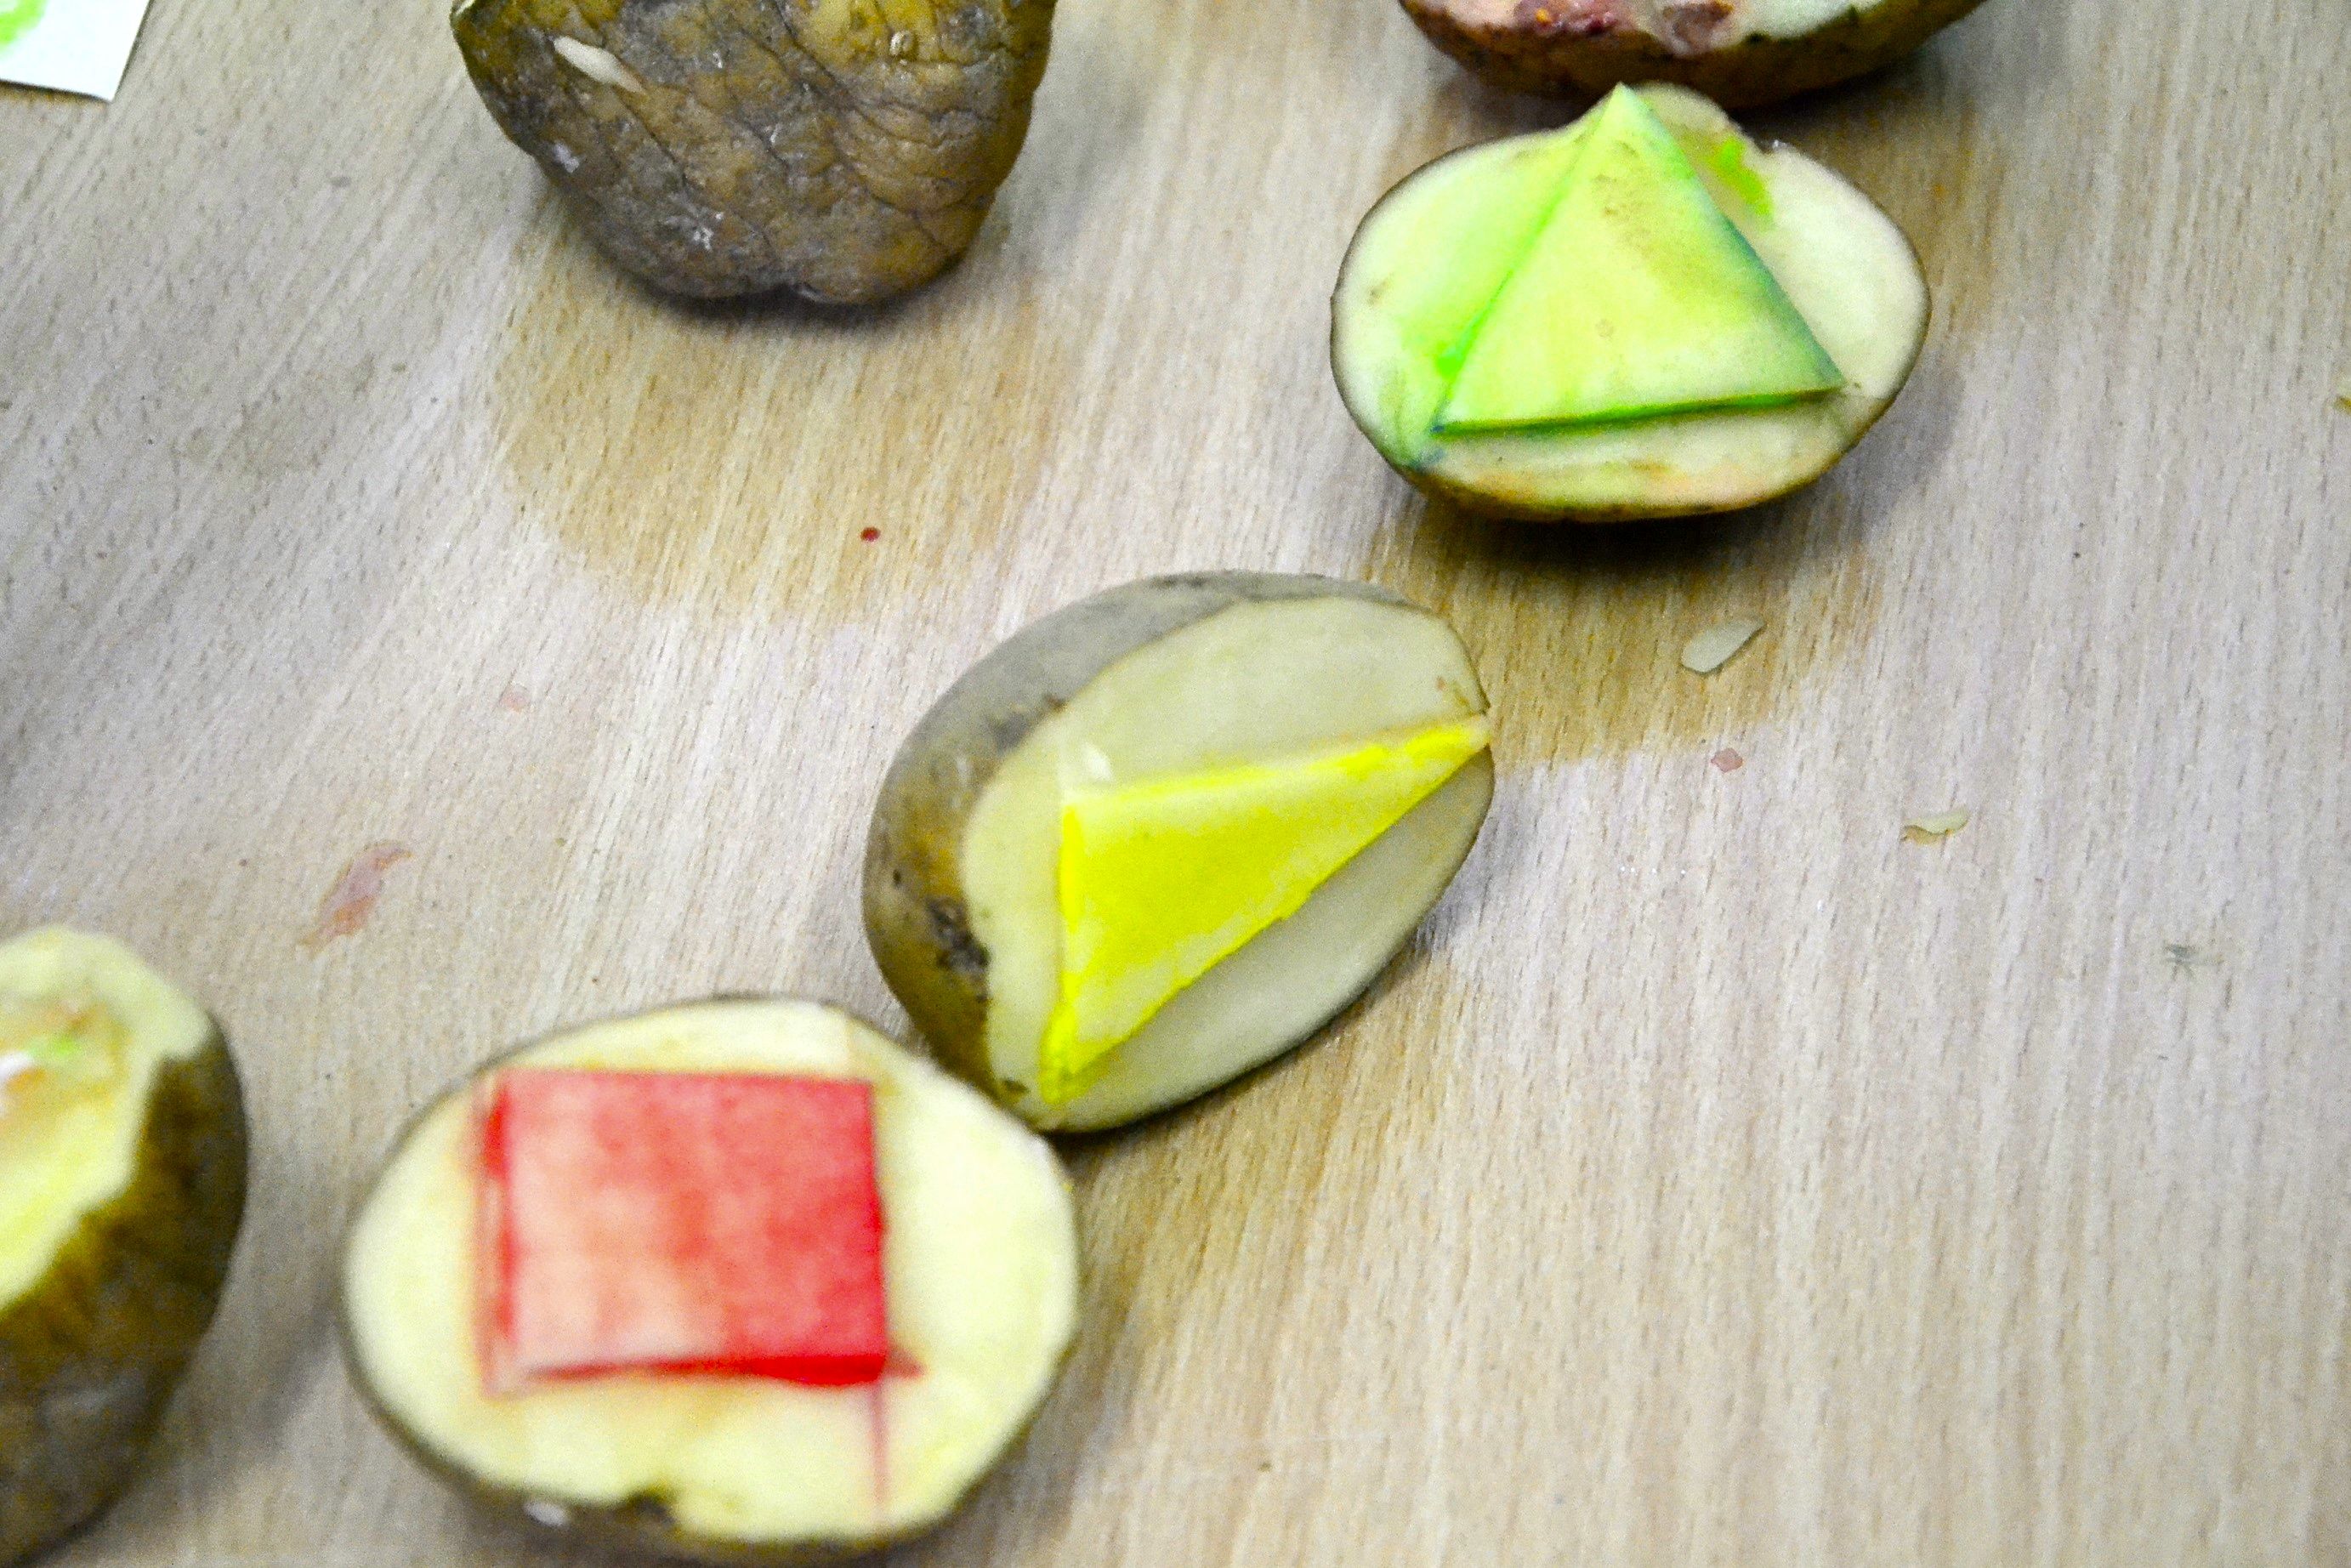
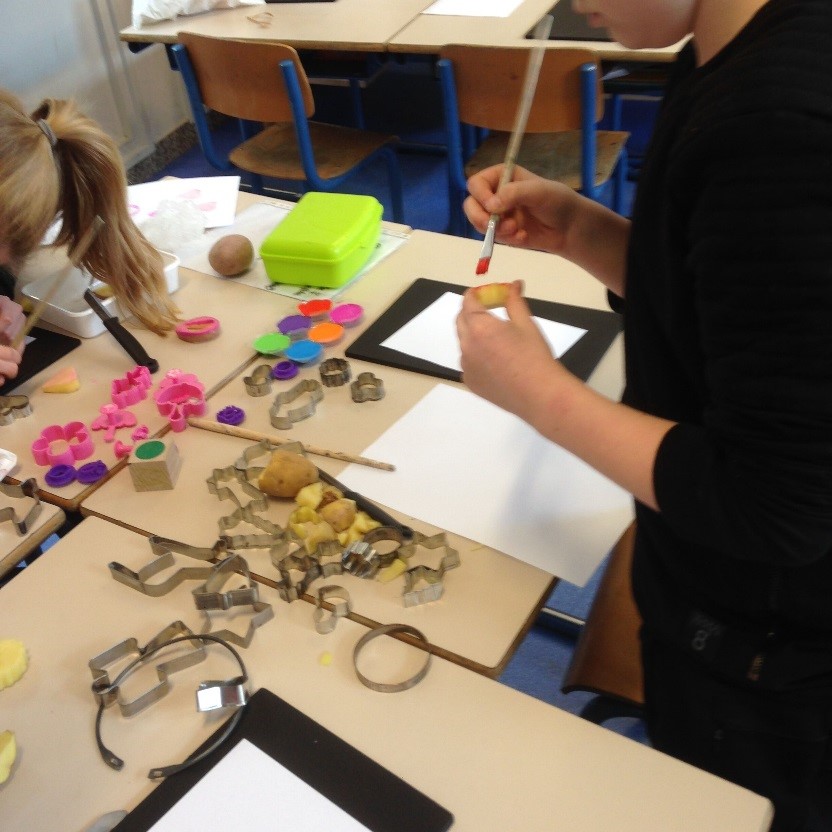
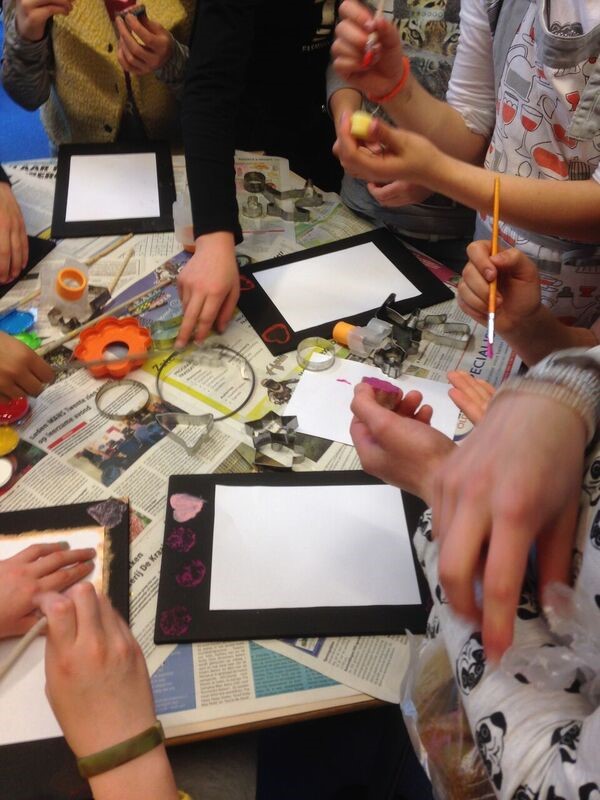
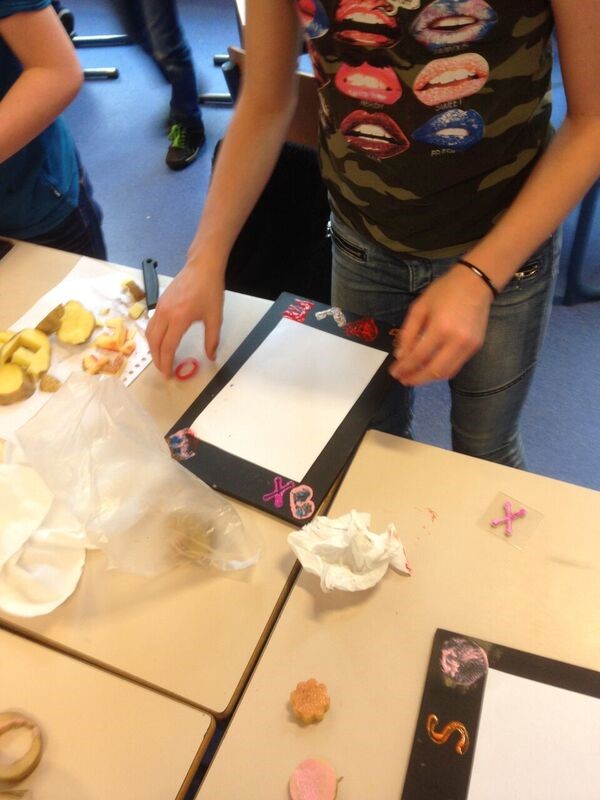
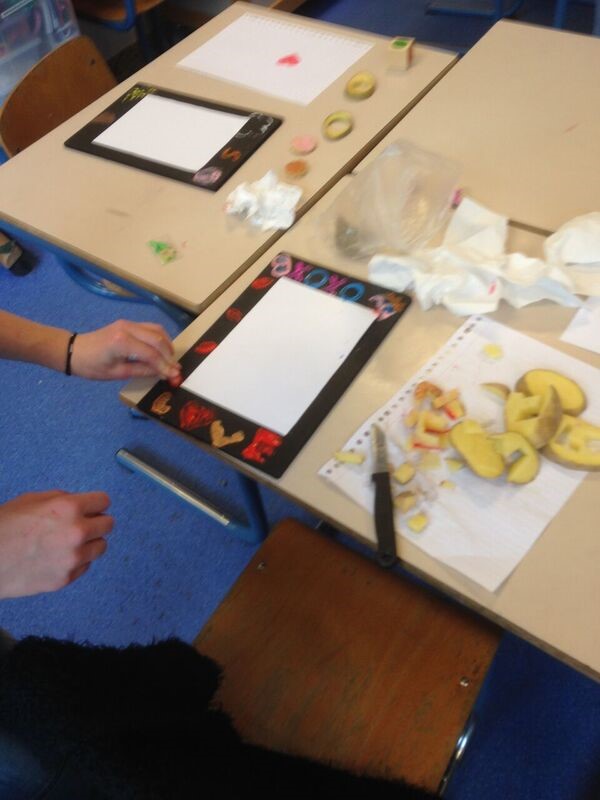
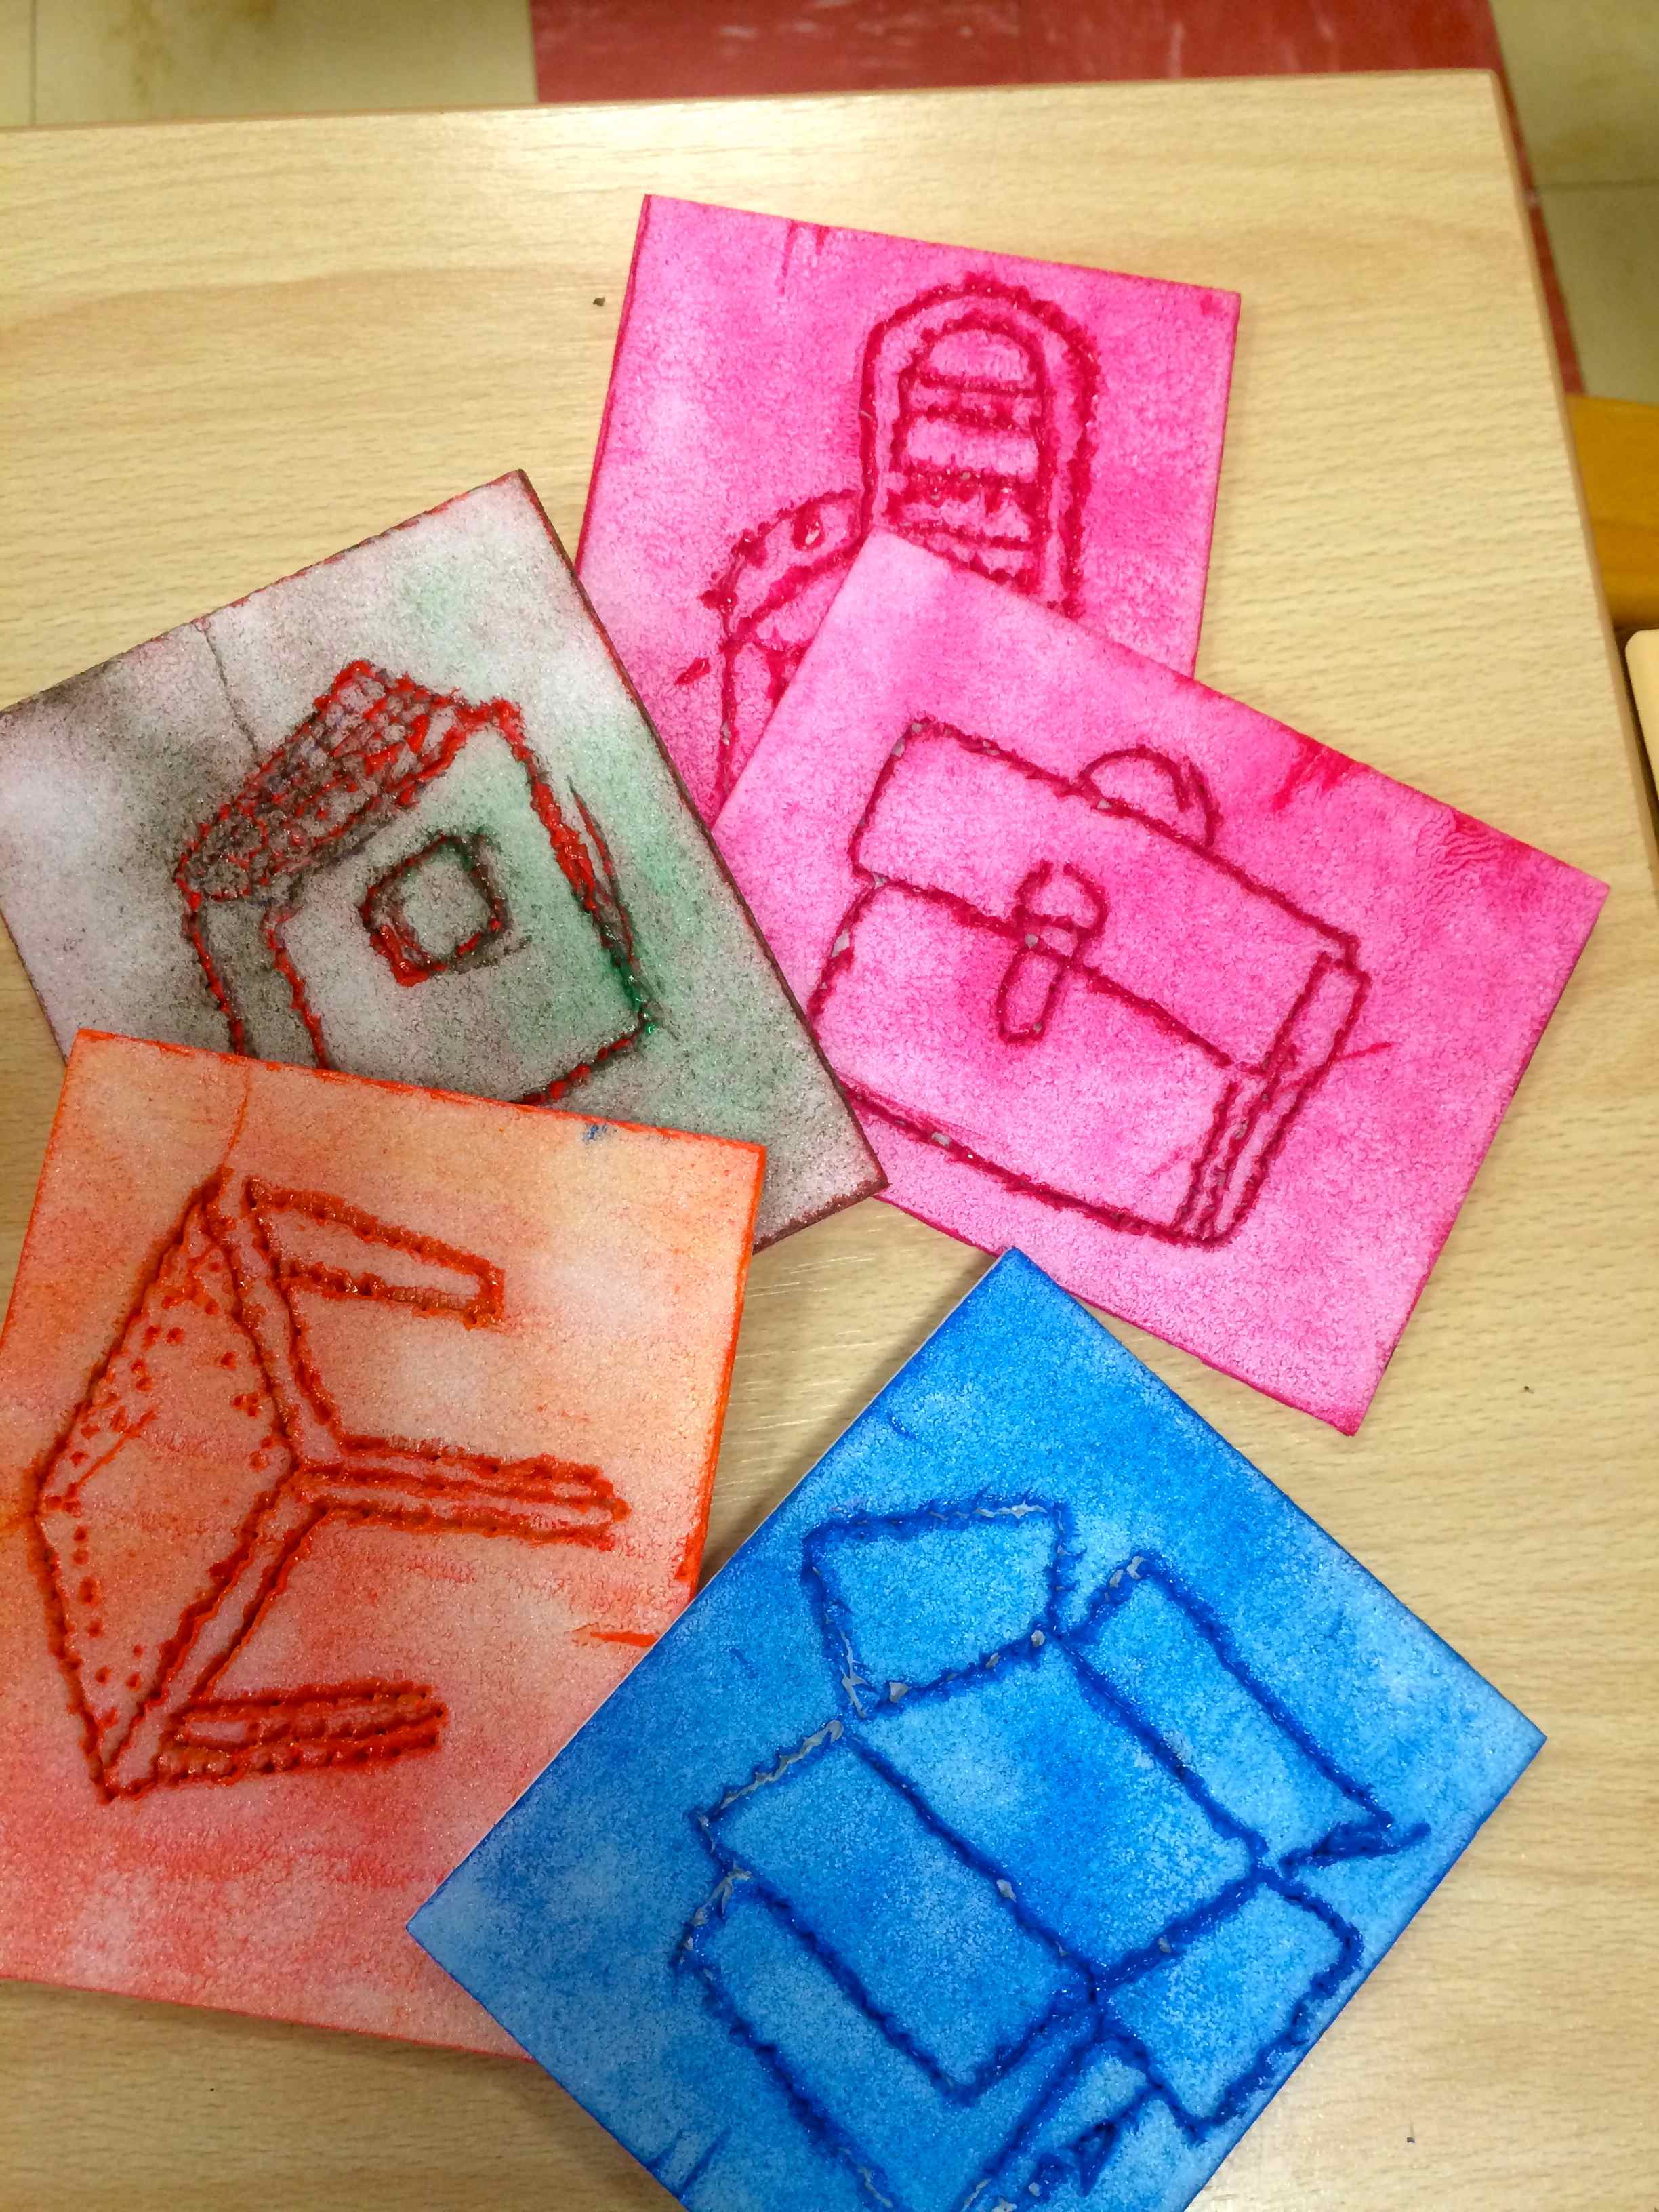
Les élèves de 5e (12 ans) ont utilisé des objets usuels pour leurs impressions. Ils l’ont ensuite utilisé pour découper une pièce de vêtement.
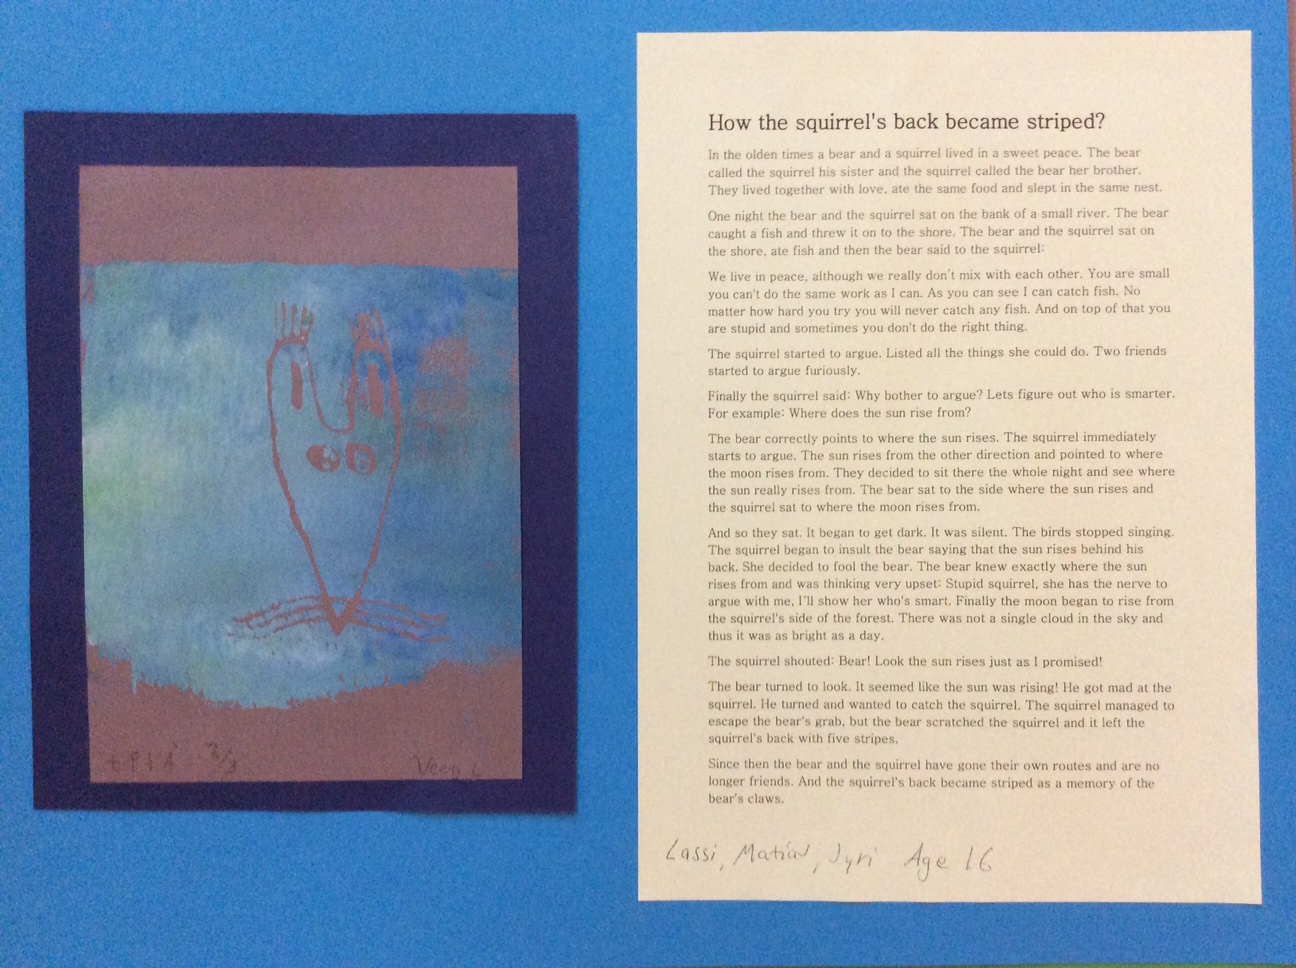
Les élèves de 3e/2nd (15 /16 ans) ont traduit en anglais des contes finlandais traditionnels.
Les élèves de 5e (12 ans) ont ensuite illustré ces histoires.

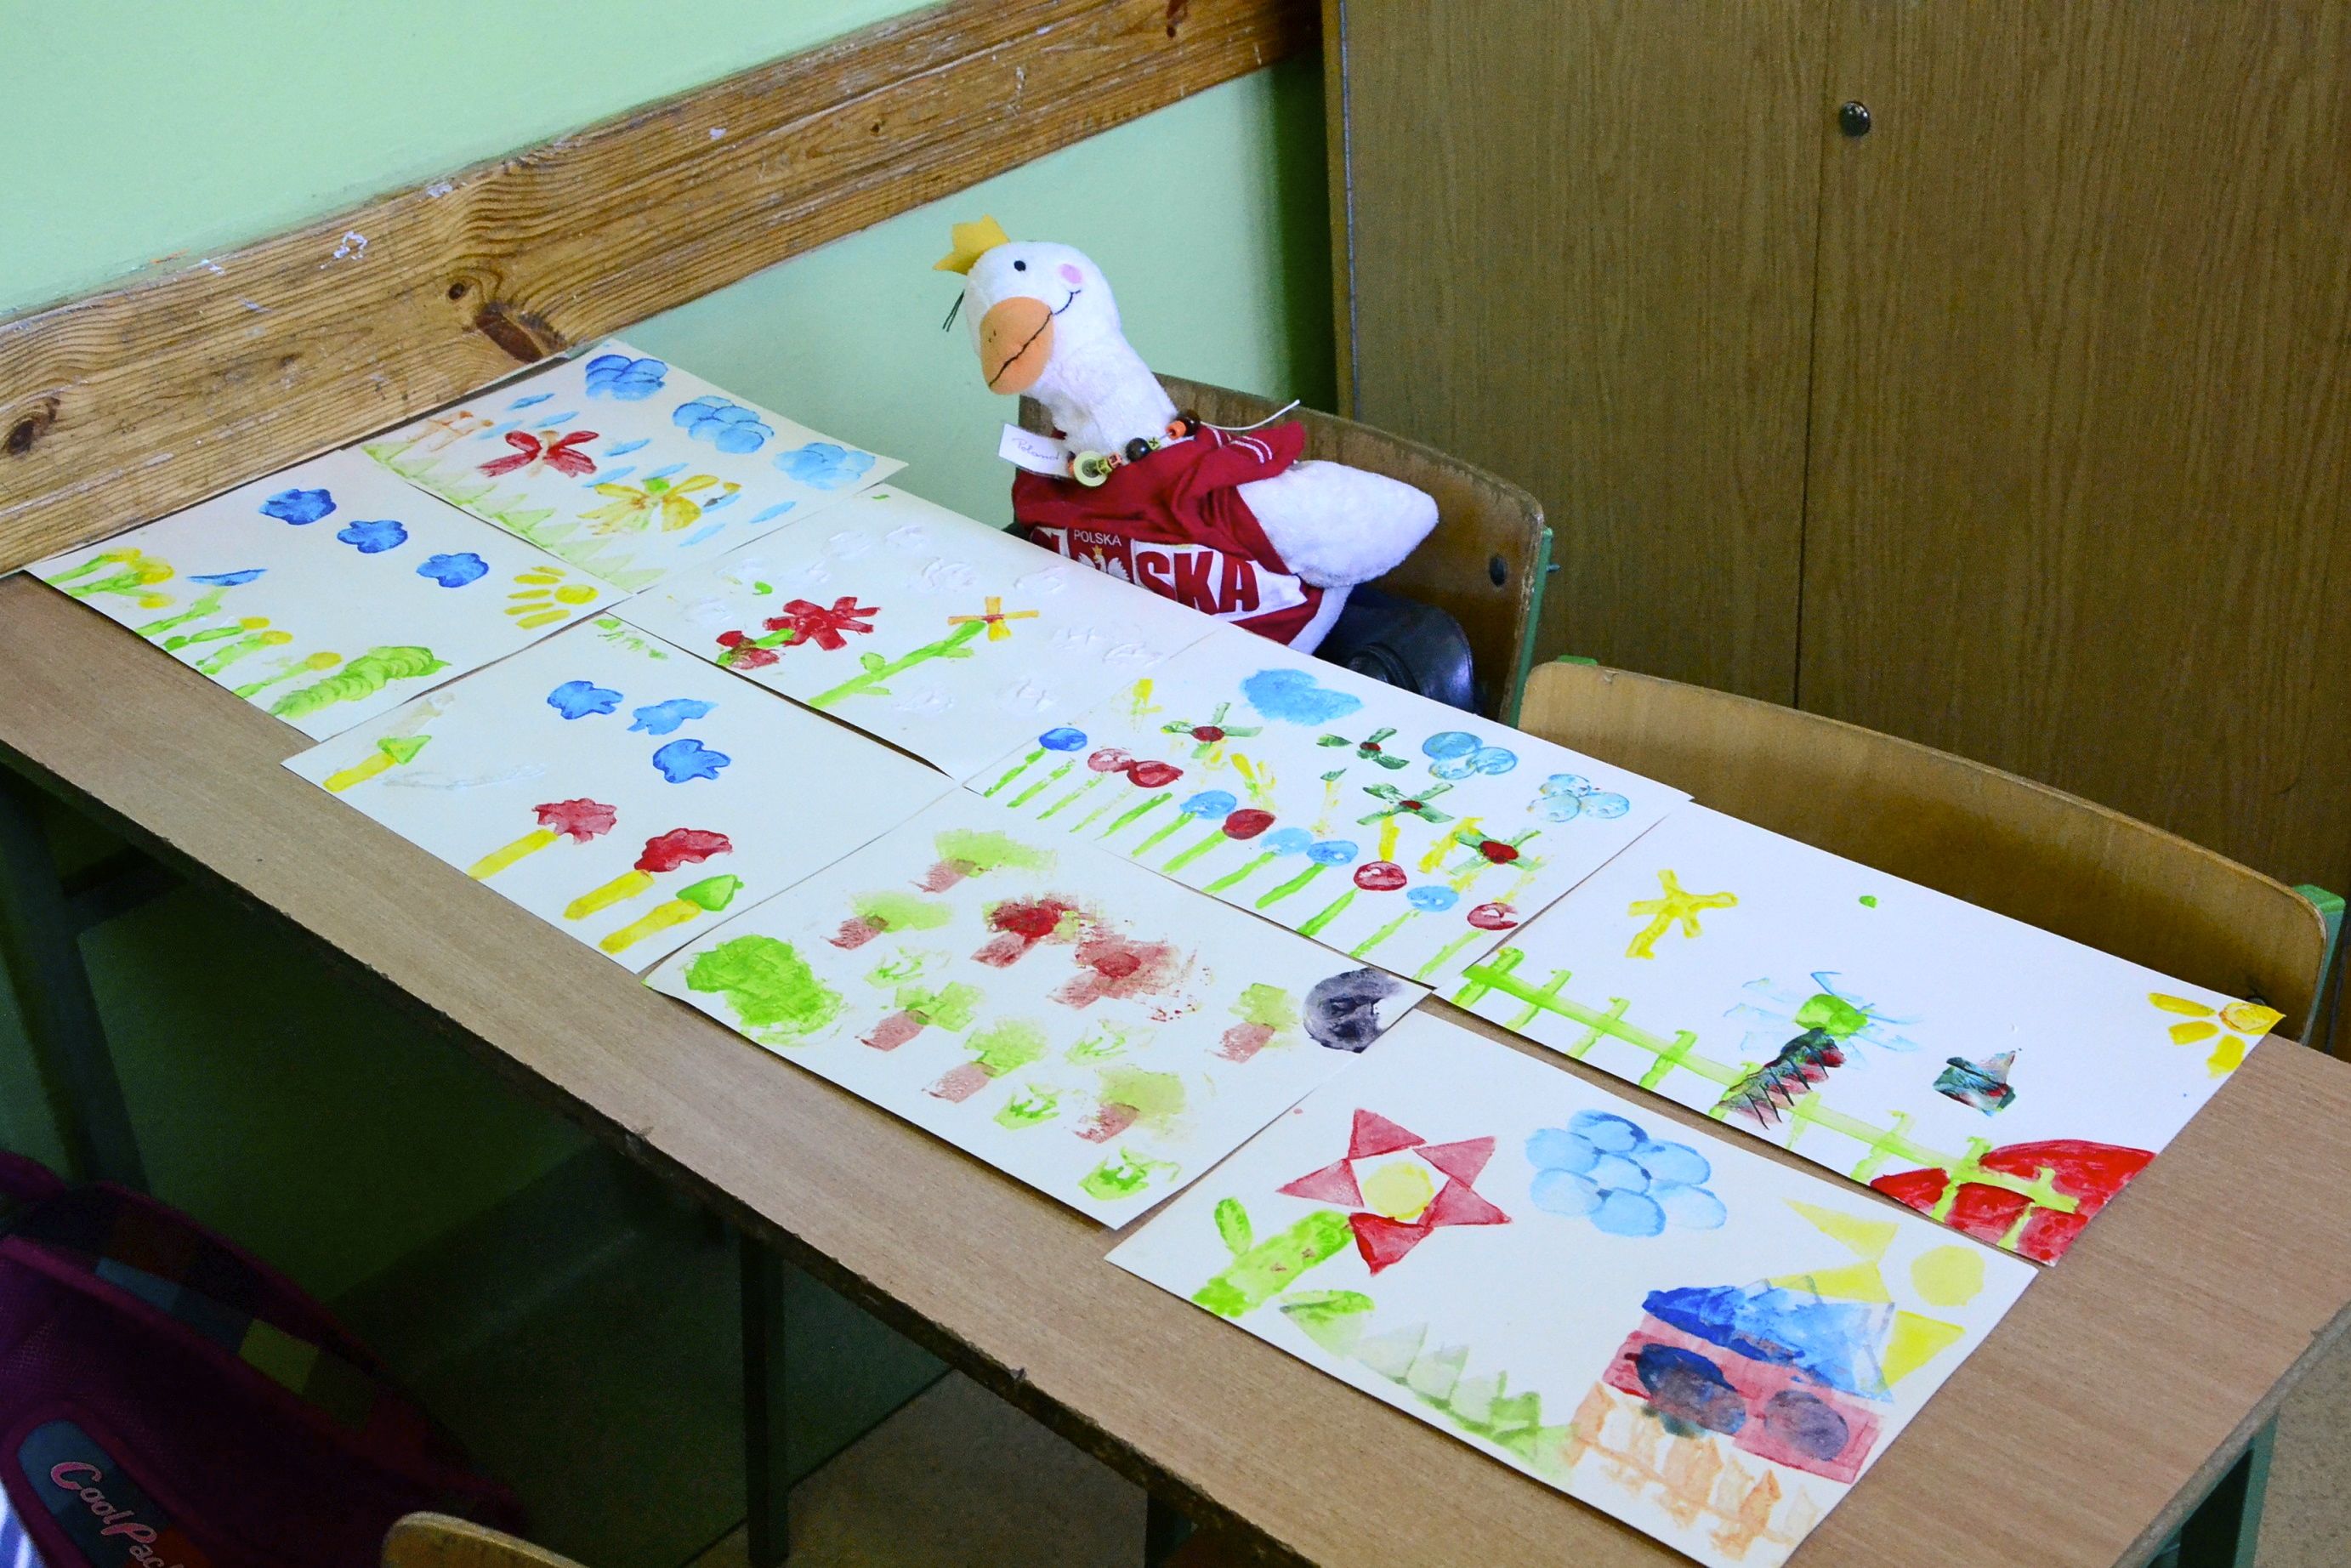
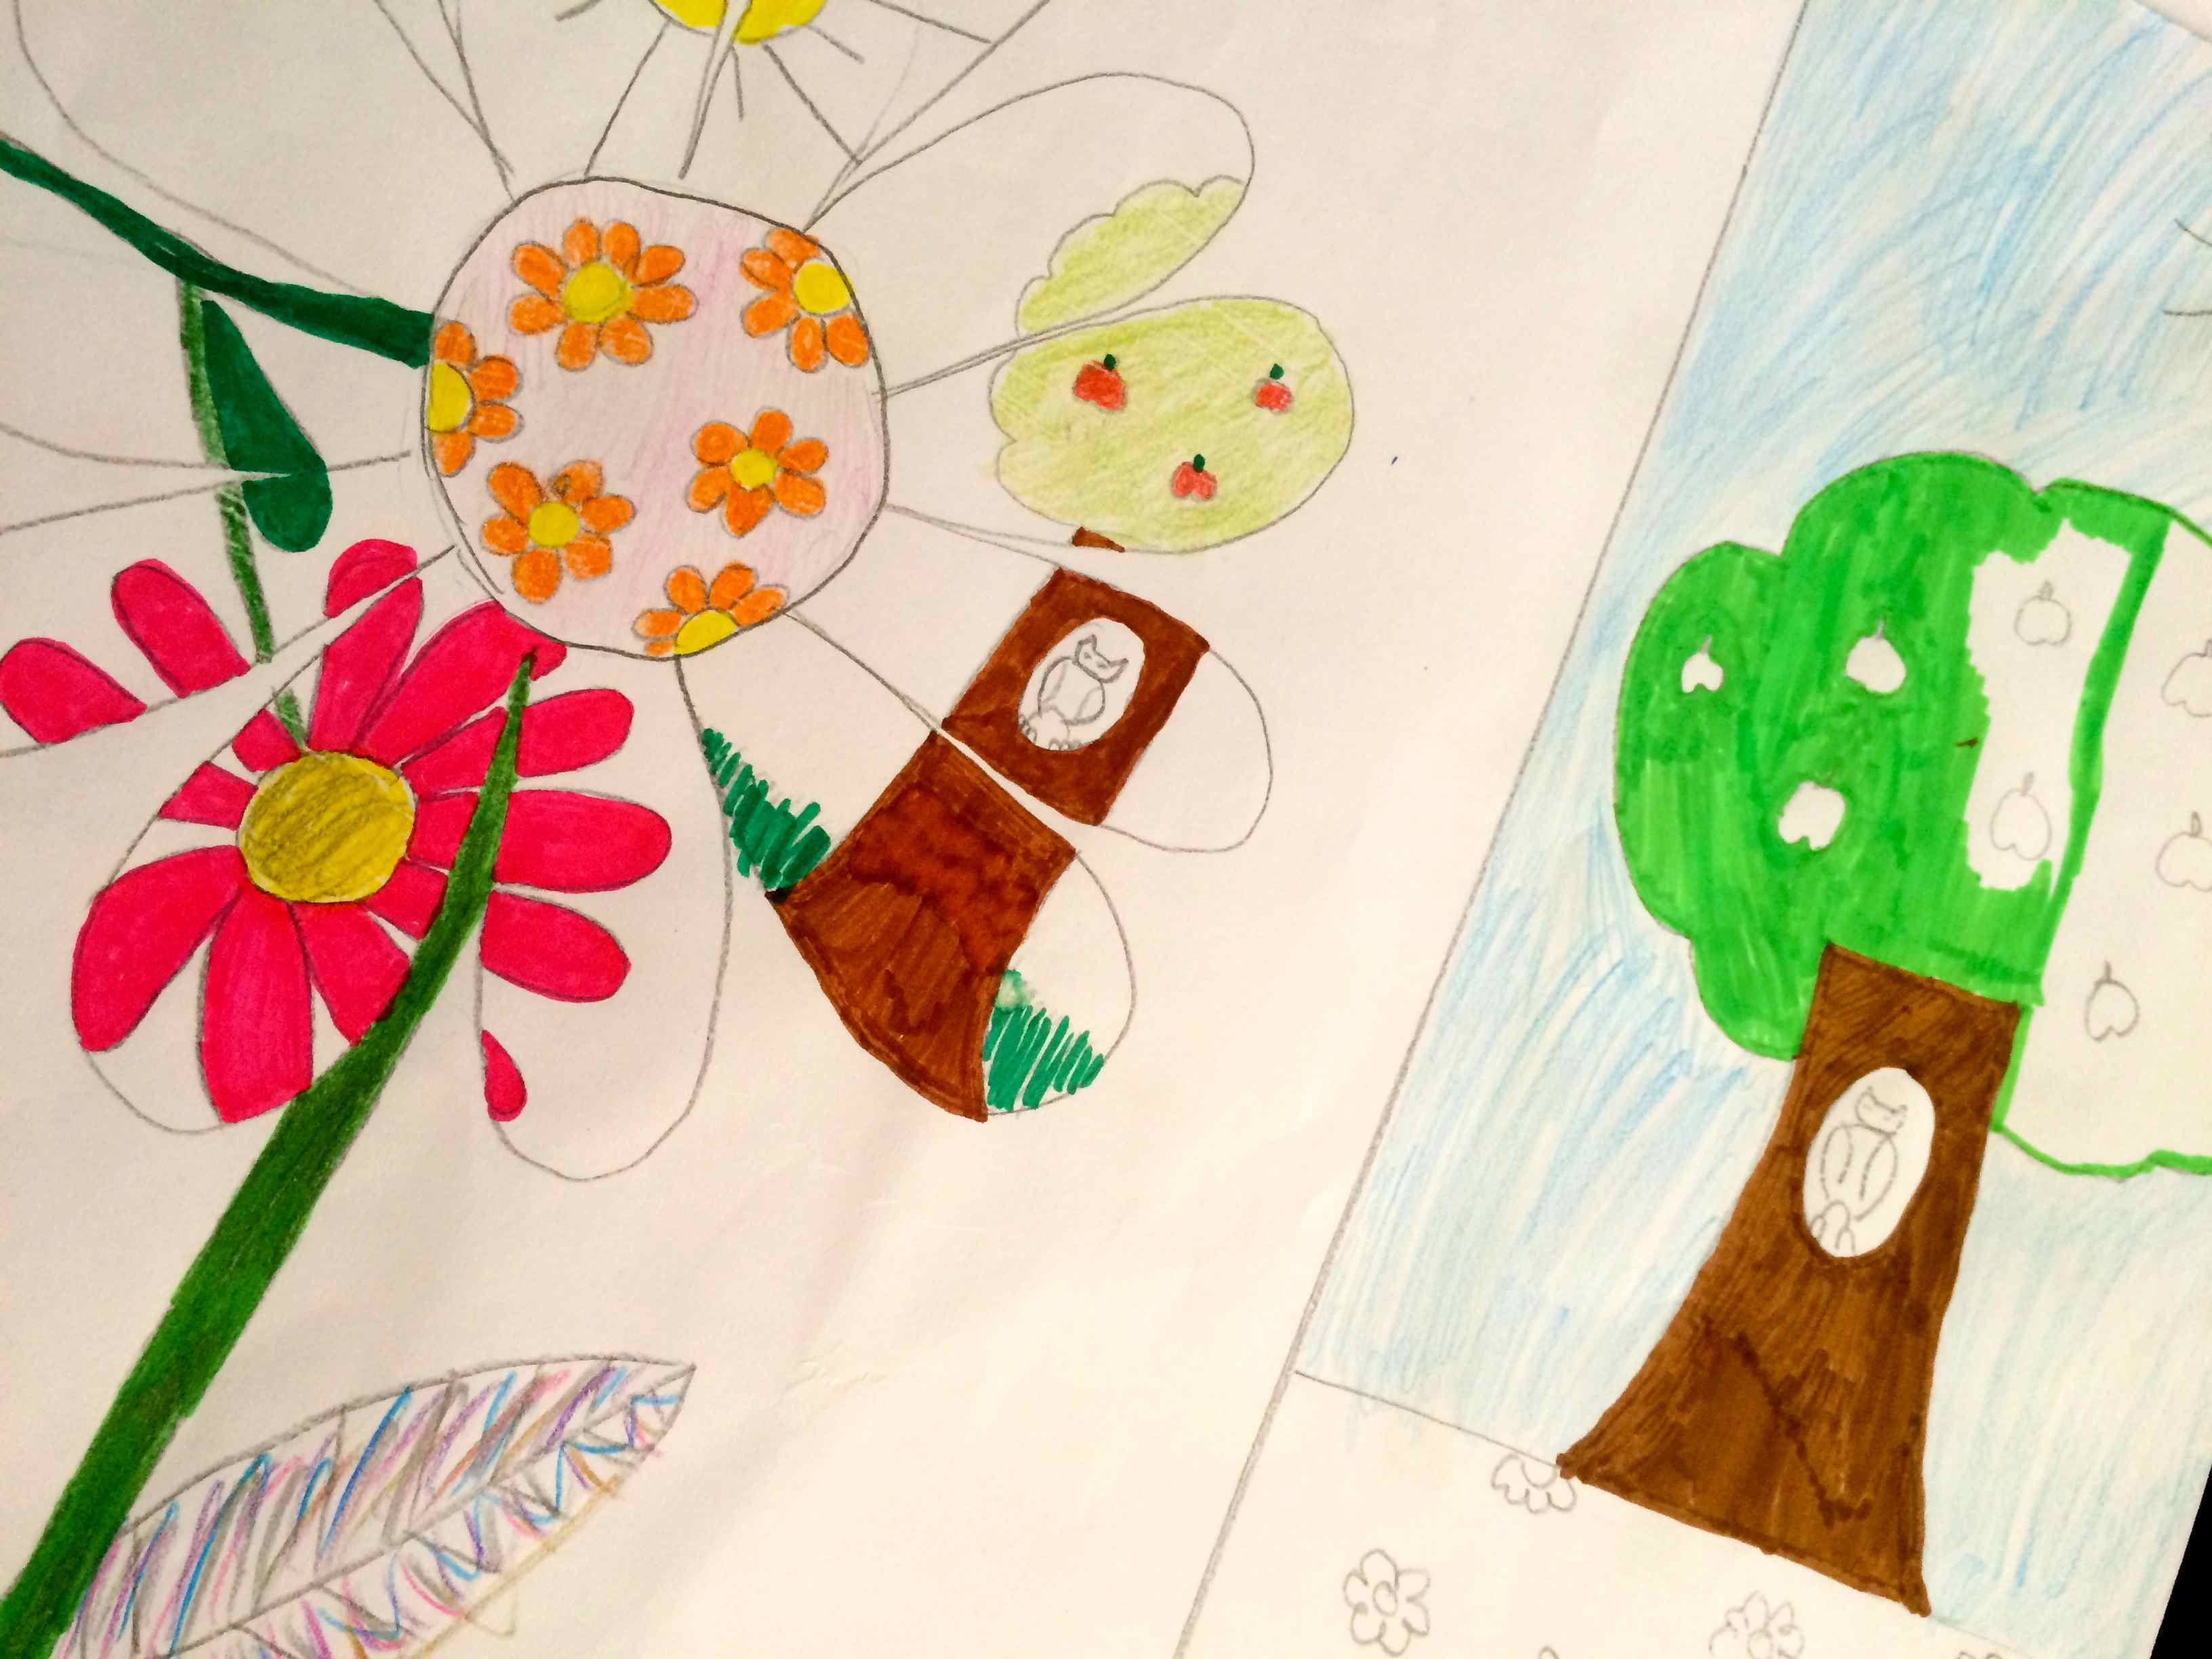
Réalisation d’un livret d’images colorées de fruits
https://www.youtube.com/watch?v=15mk8zQtByk
Impressions
https://www.youtube.com/watch?v=ijmbVHKUnJE
Impressions à la cire
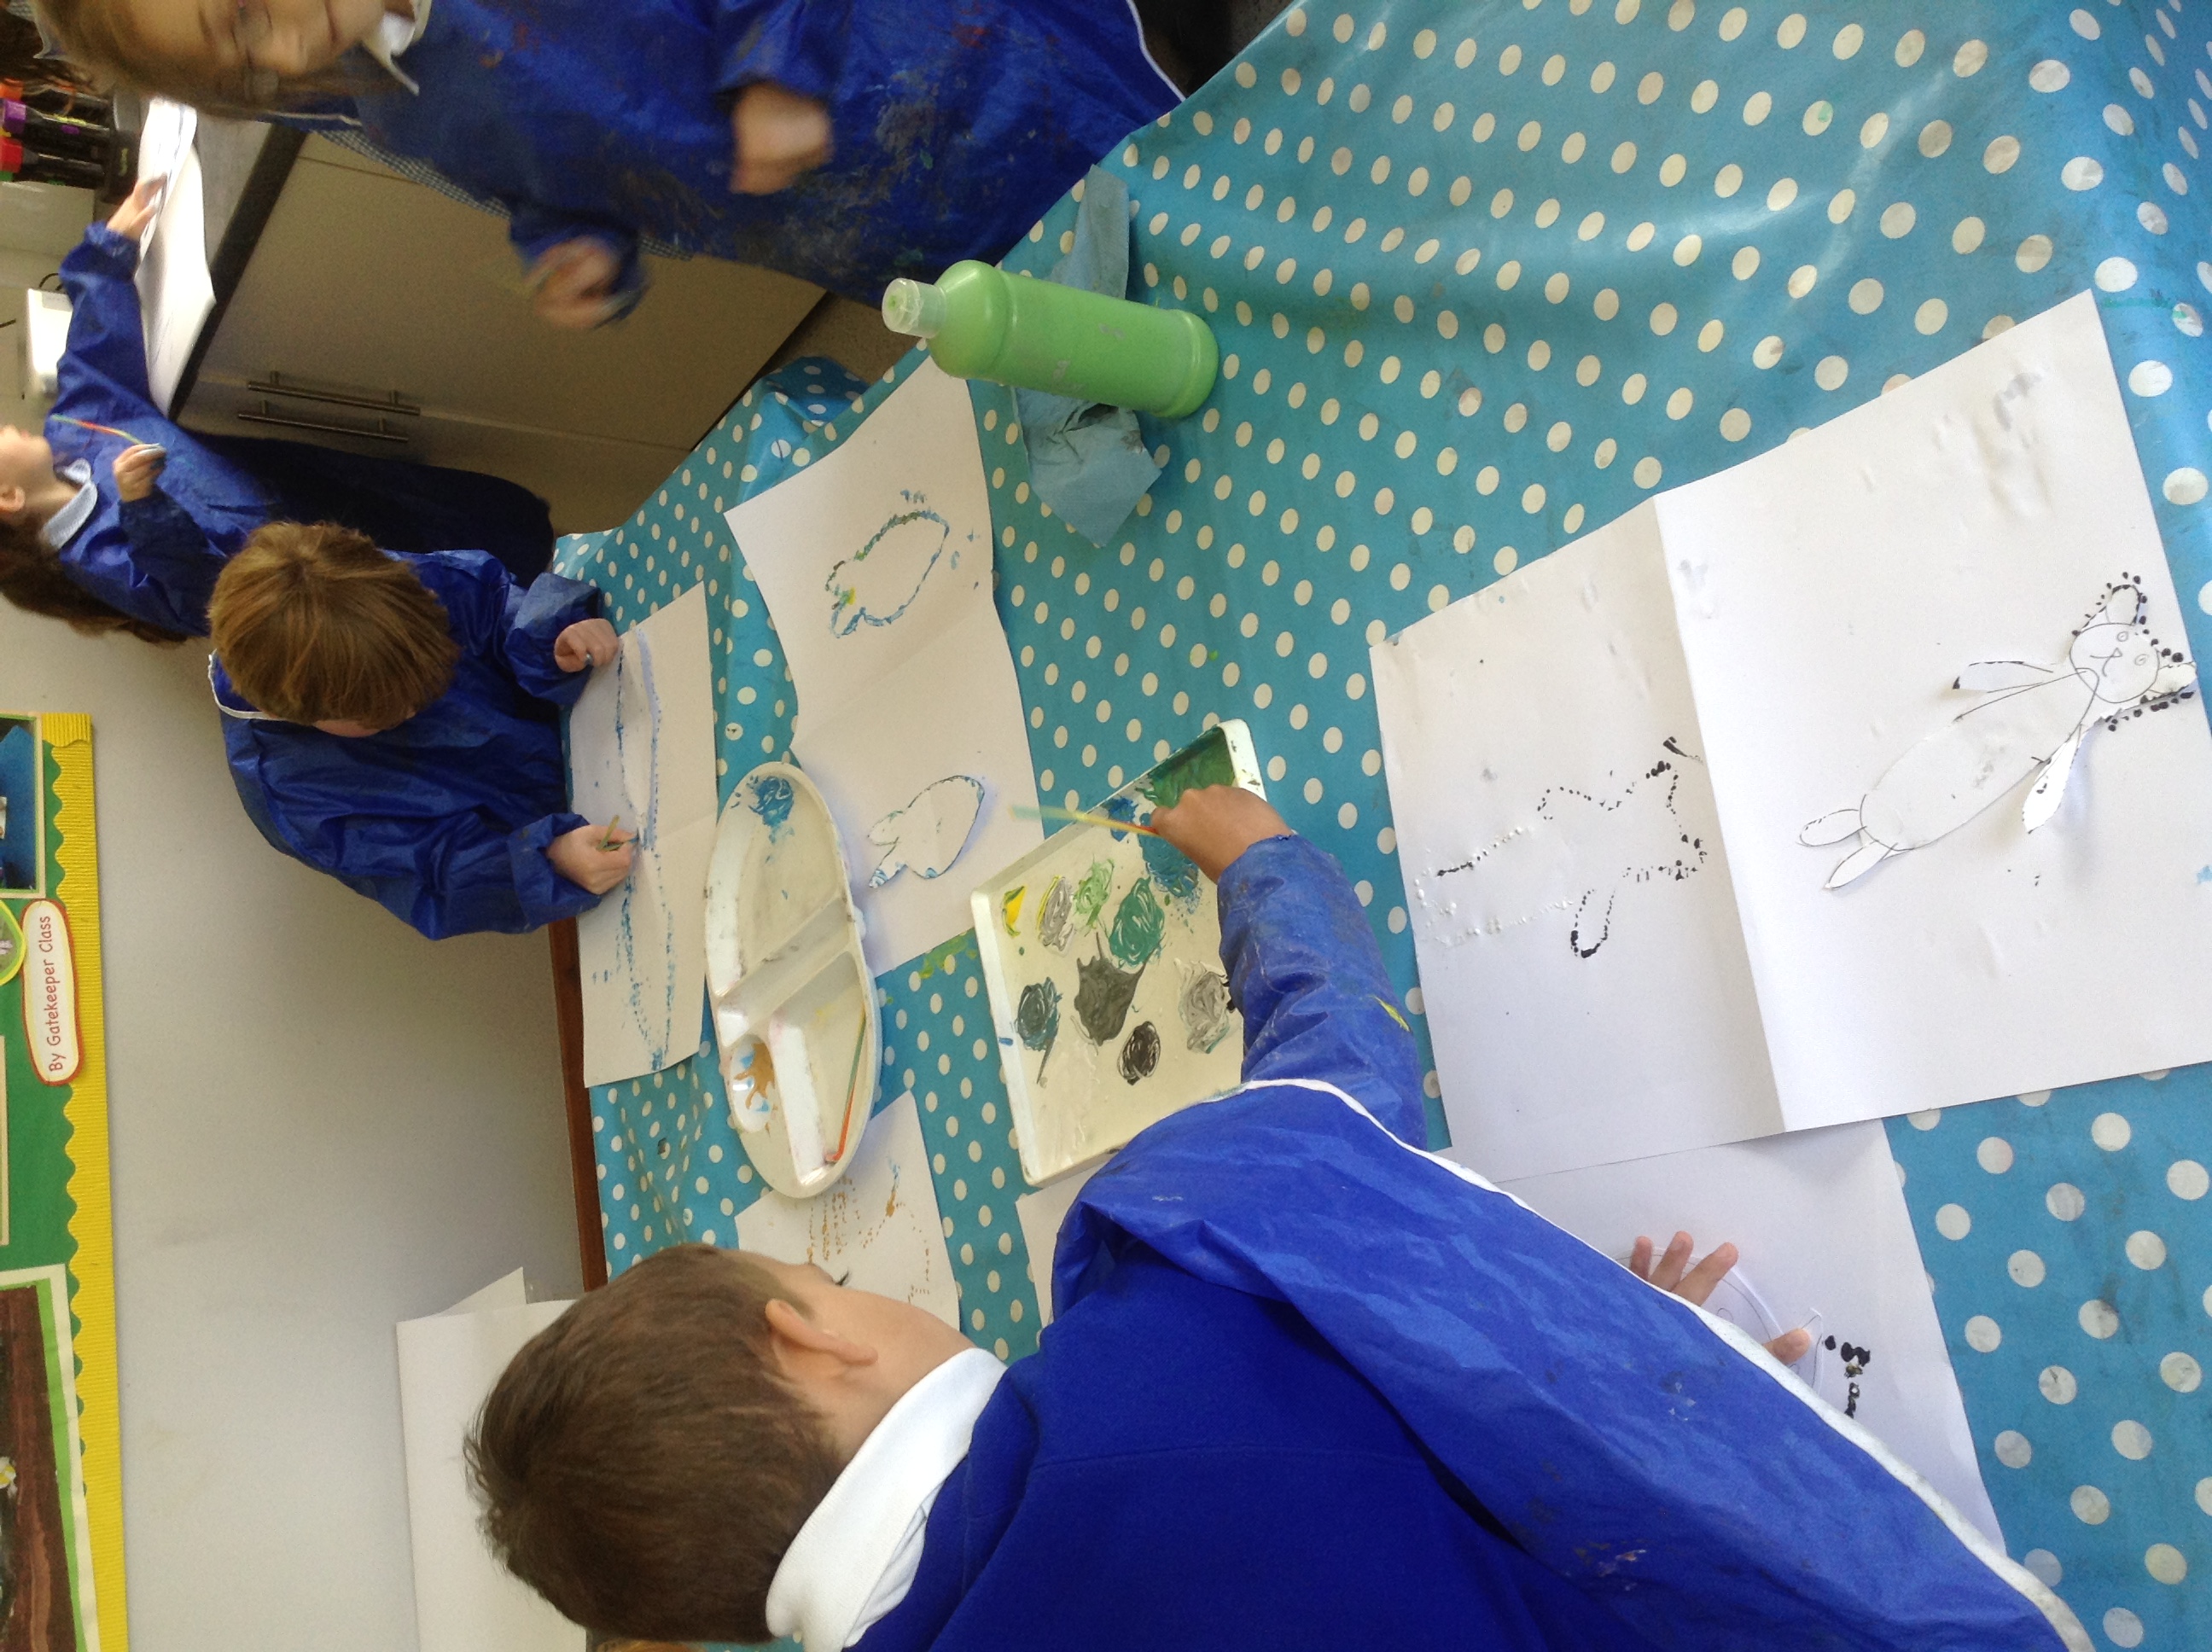
Les plus jeunes élèves ont essayé différentes techniques d’impression.
Ils ont aussi pris des photos d’eux-mêmes qu’ils ont découpées puis retournées. Puis ils se sont peints et ont fabriqué des vêtements pour leur poupée en papier.
Les cm1, cm2 (9/10 ans), ont réalisé des vêtements
Voici un film qui présente le reste du travail réalisé dans l’école:
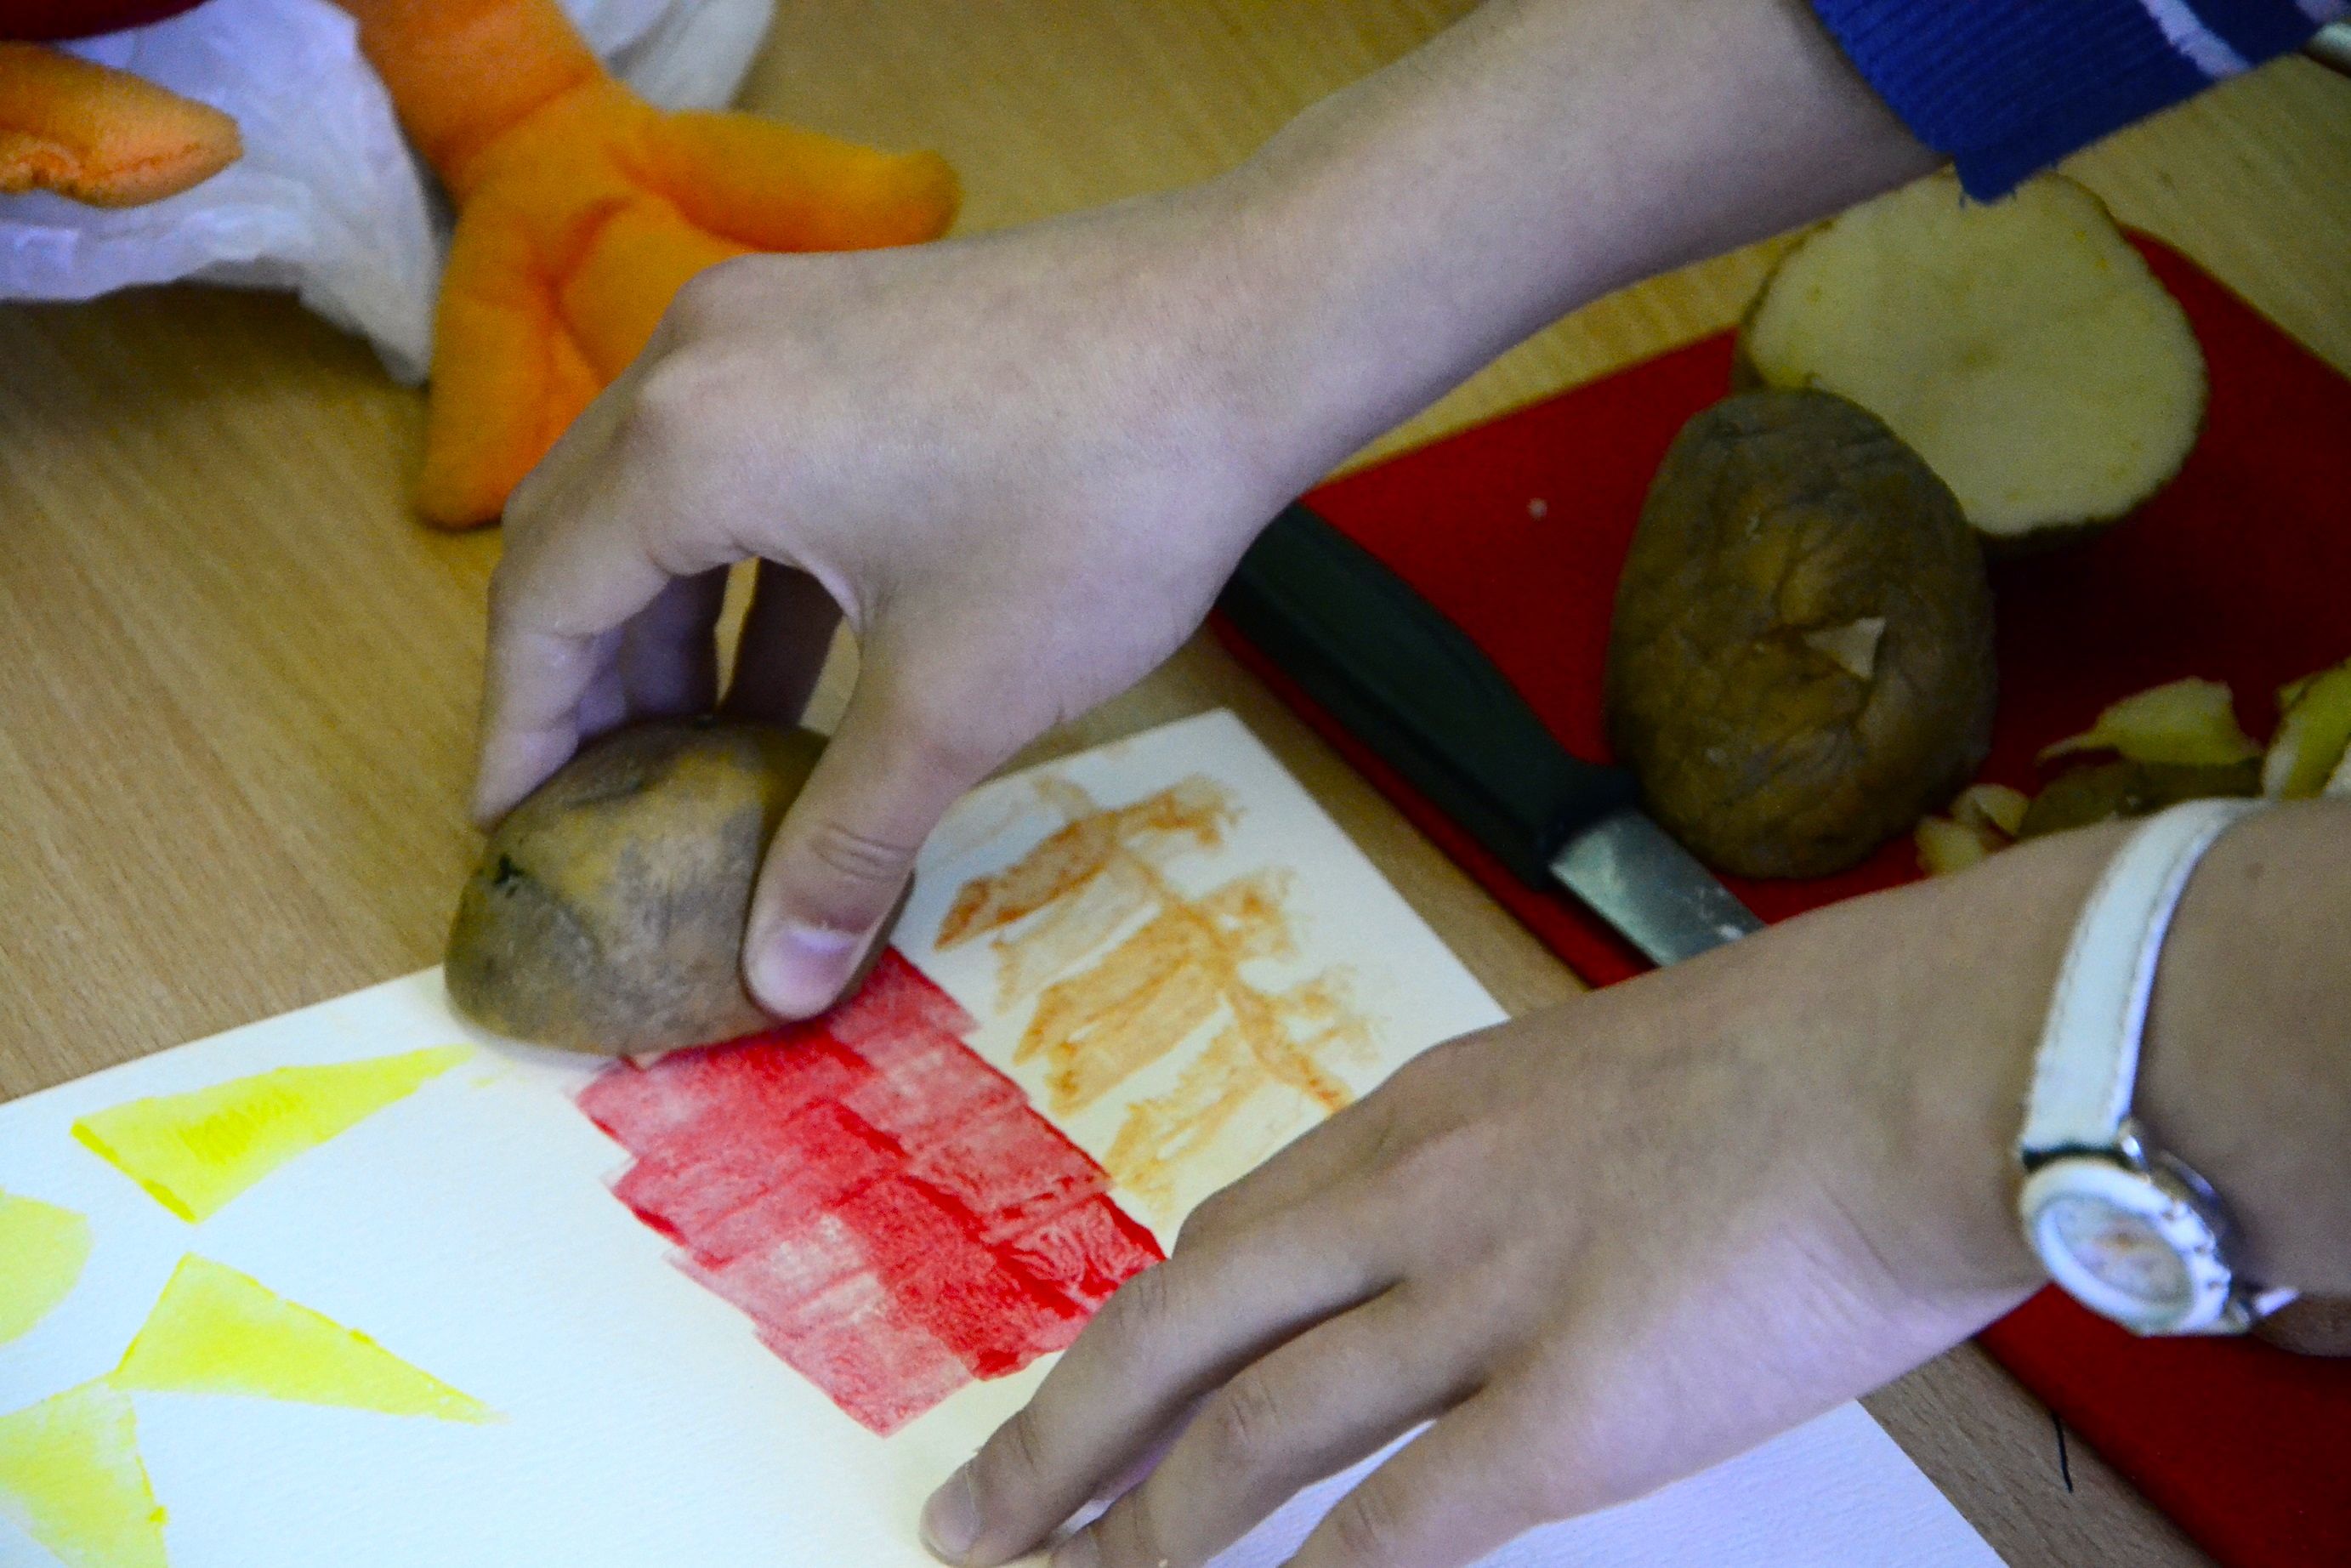
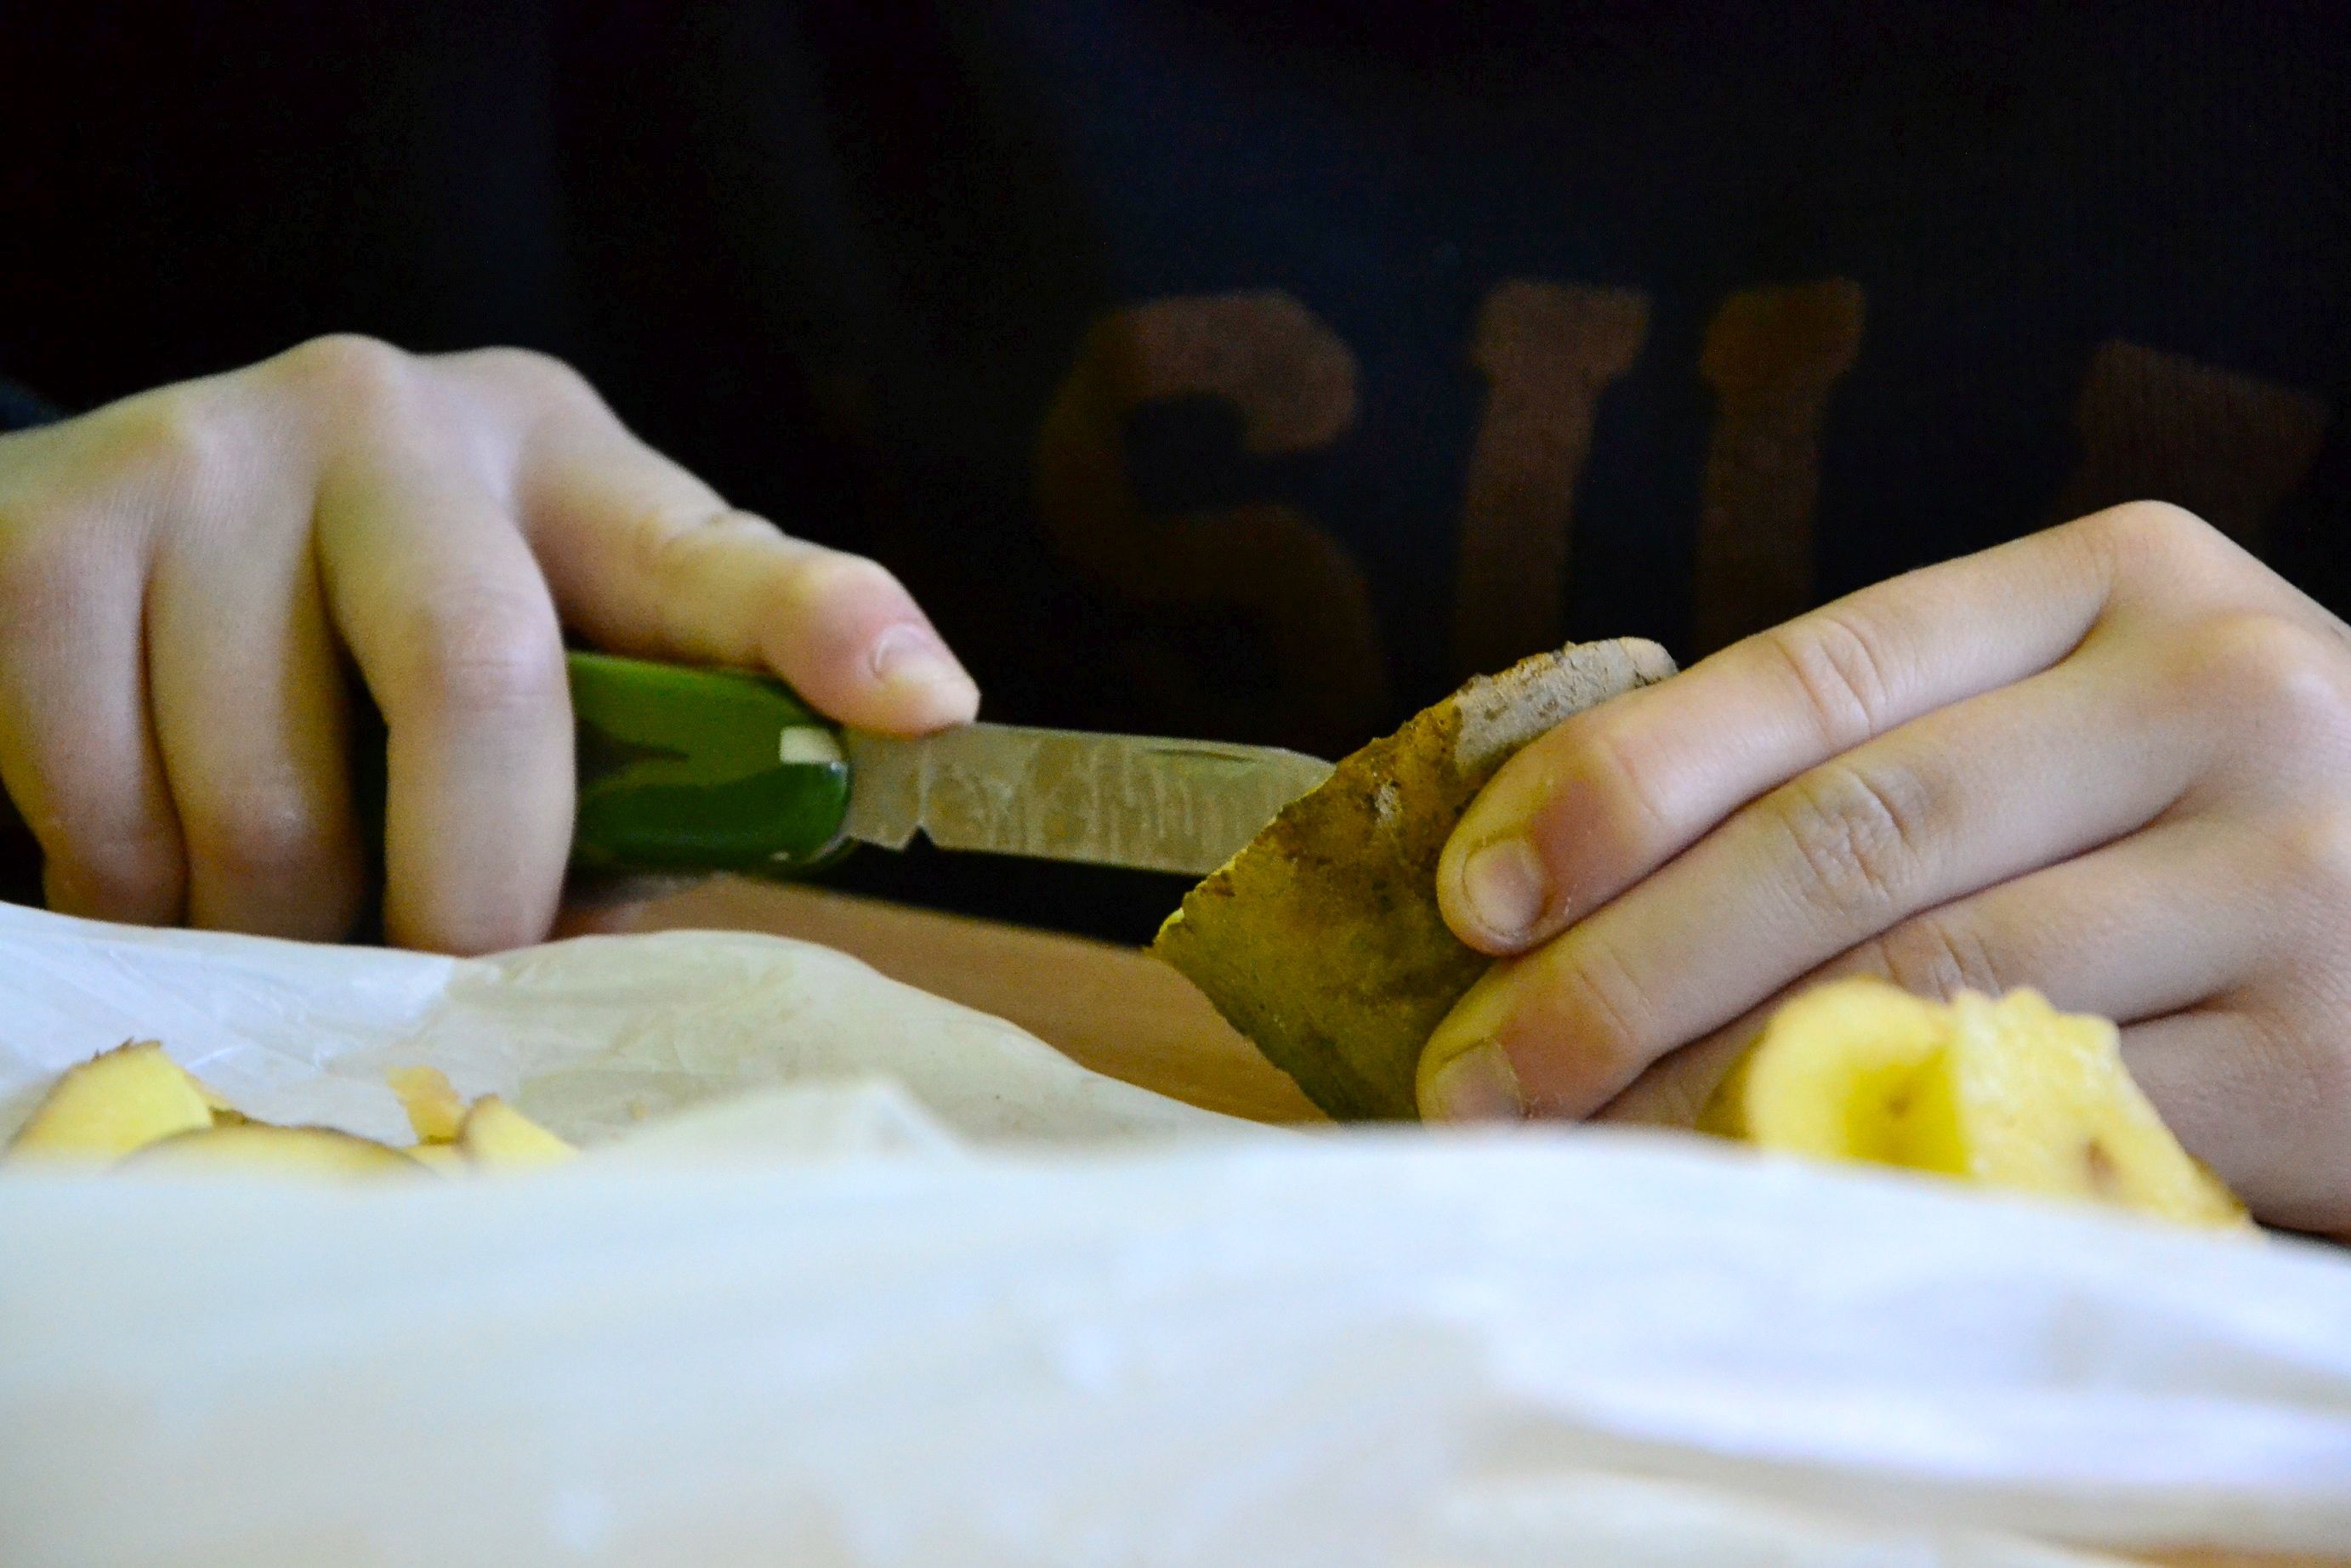
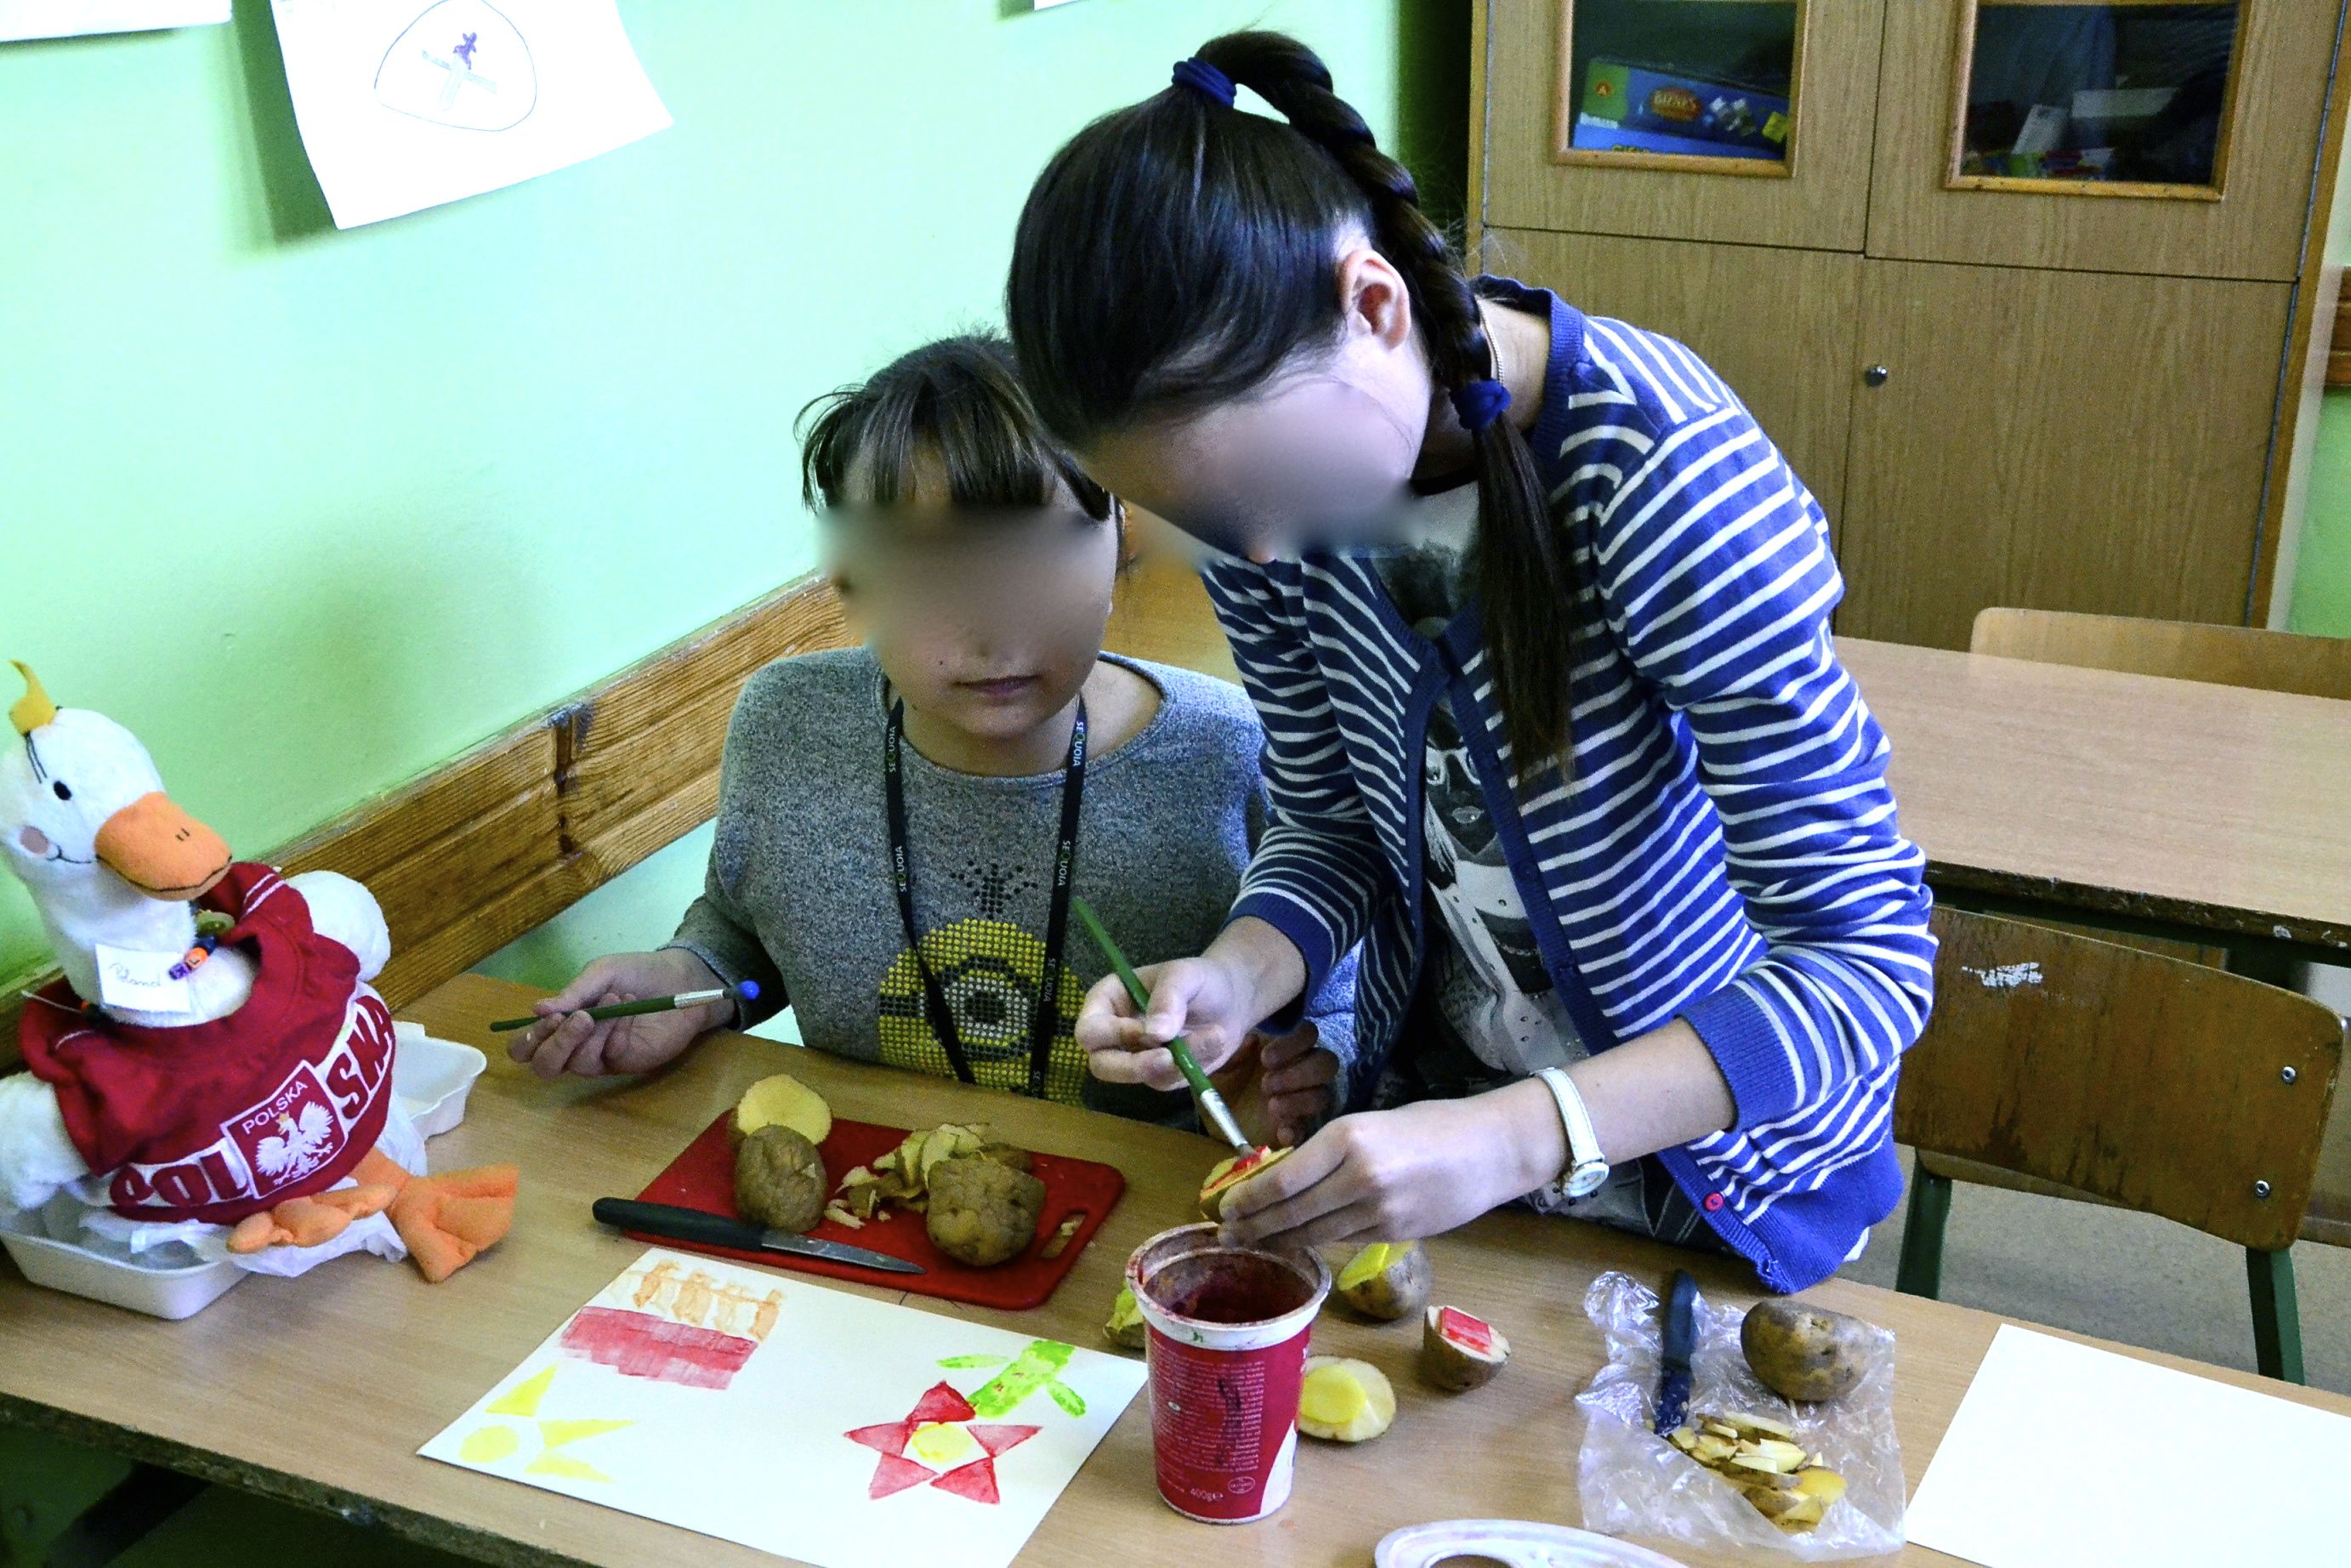
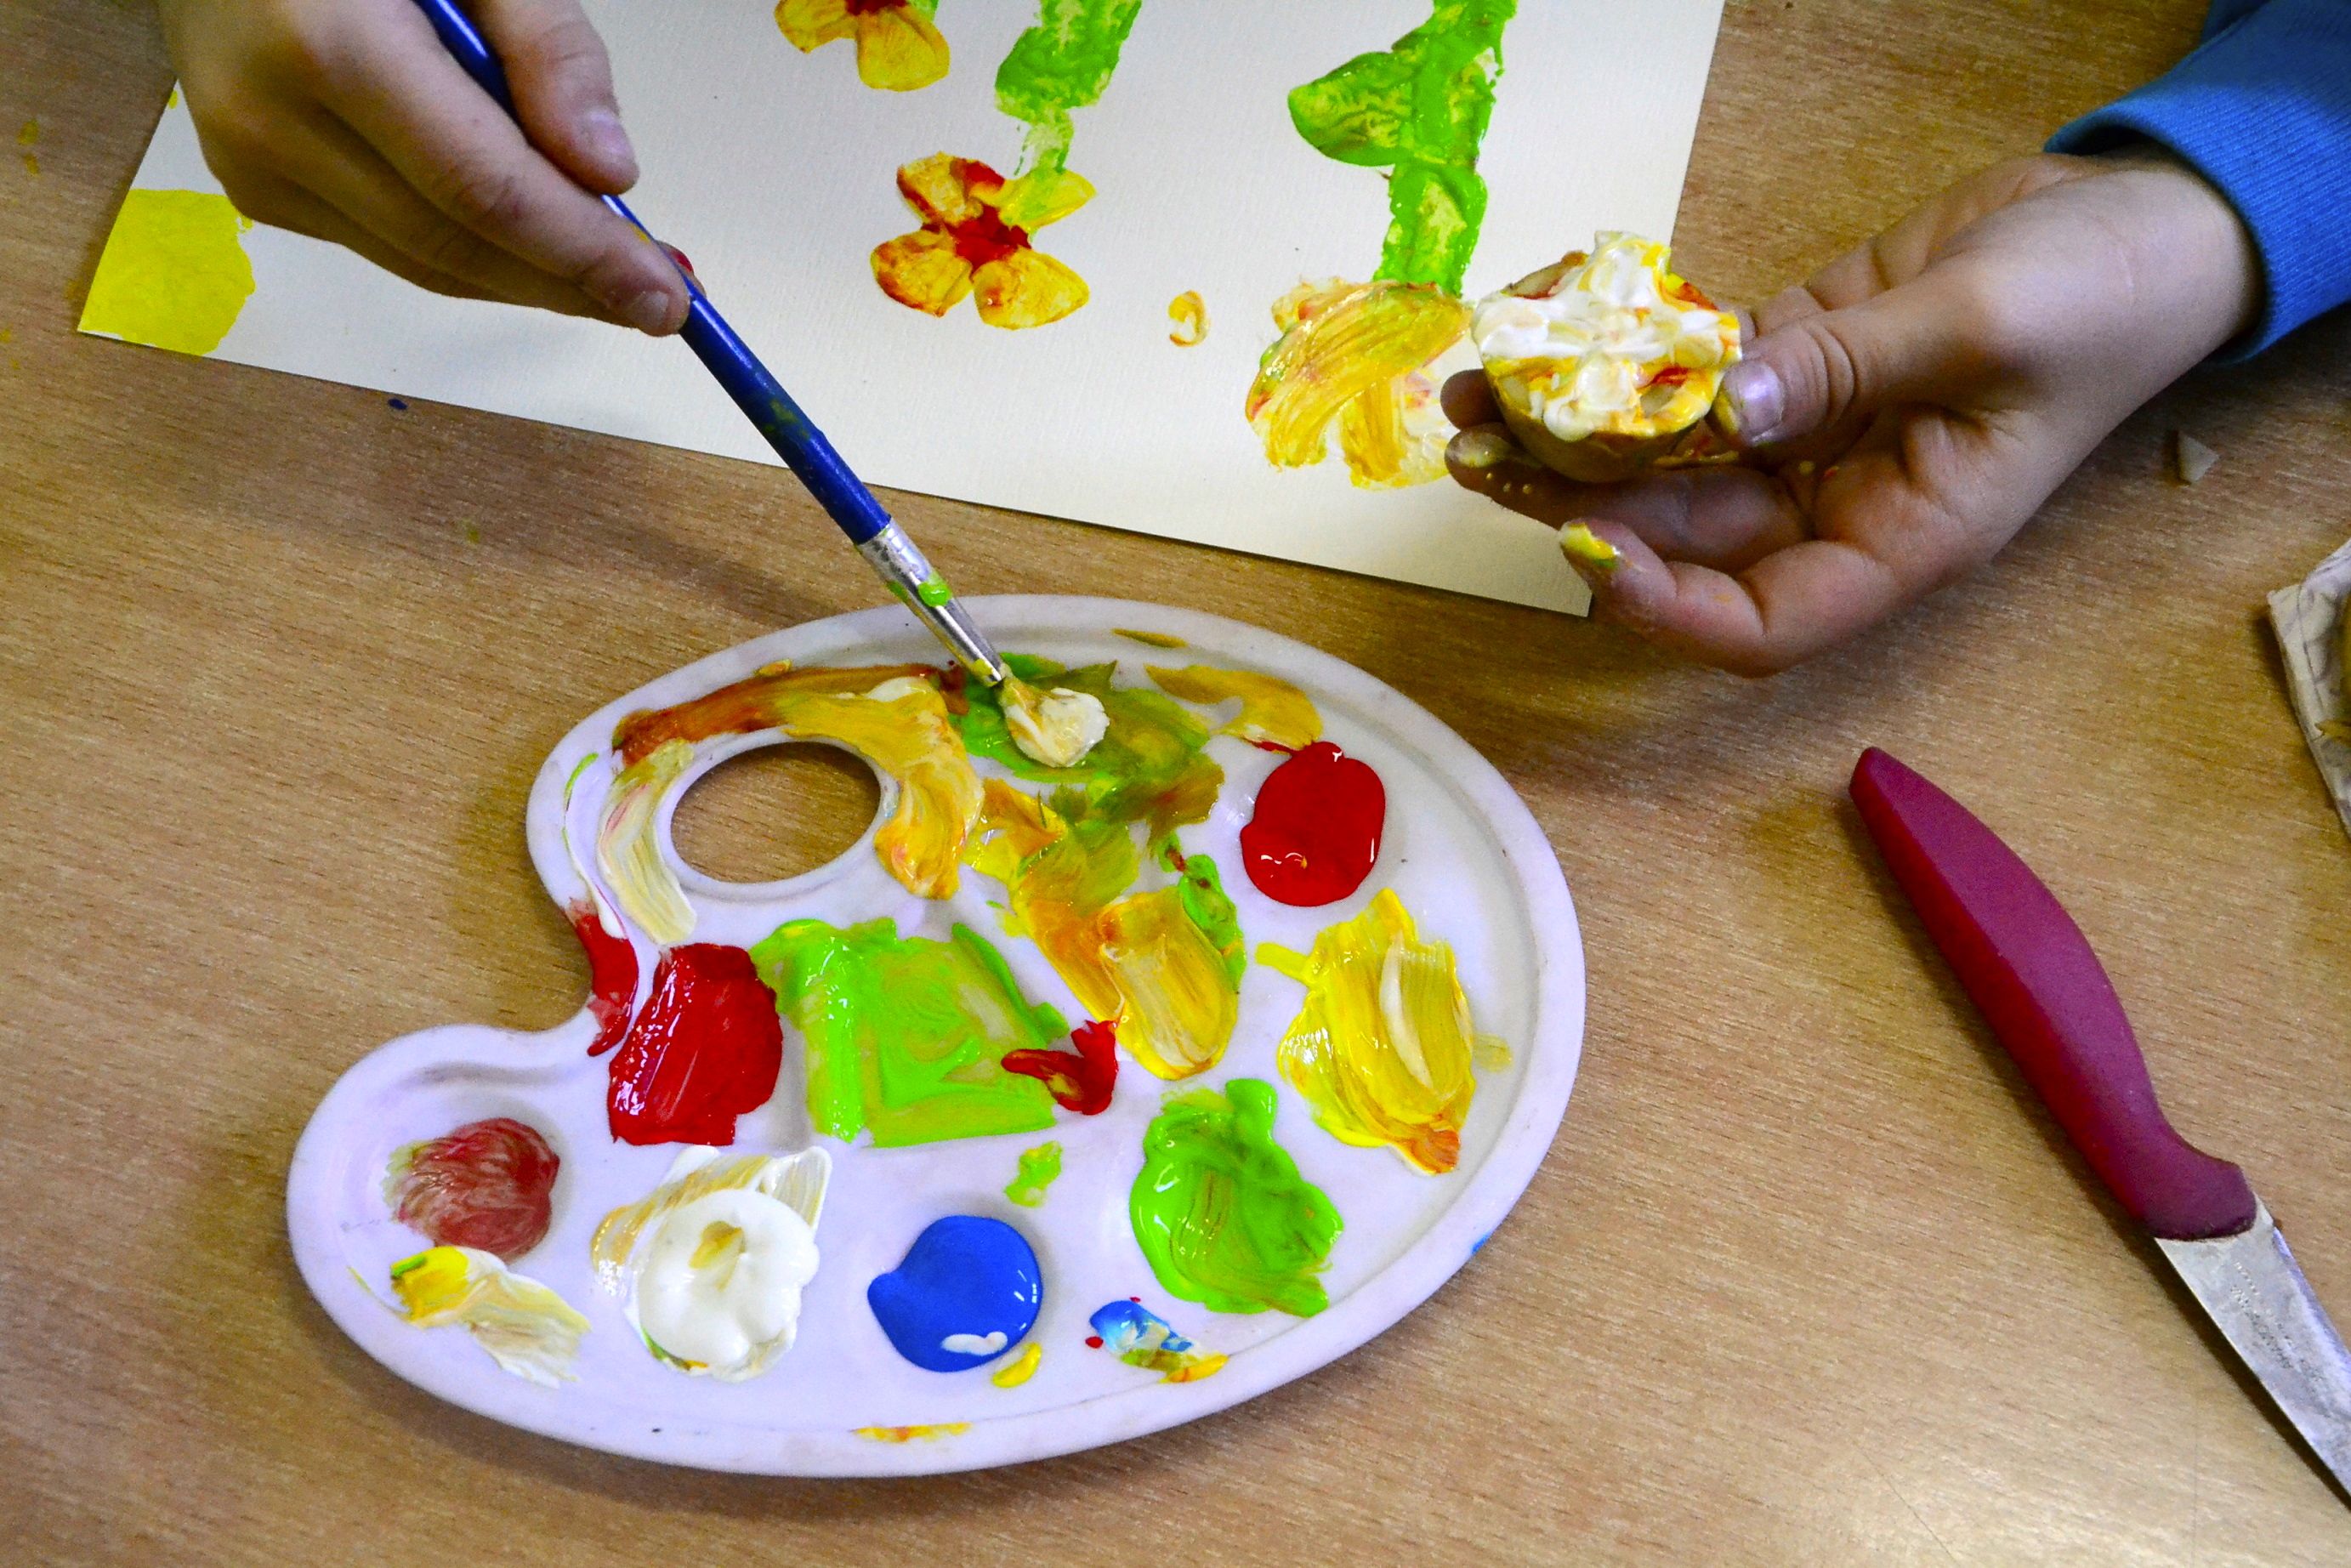
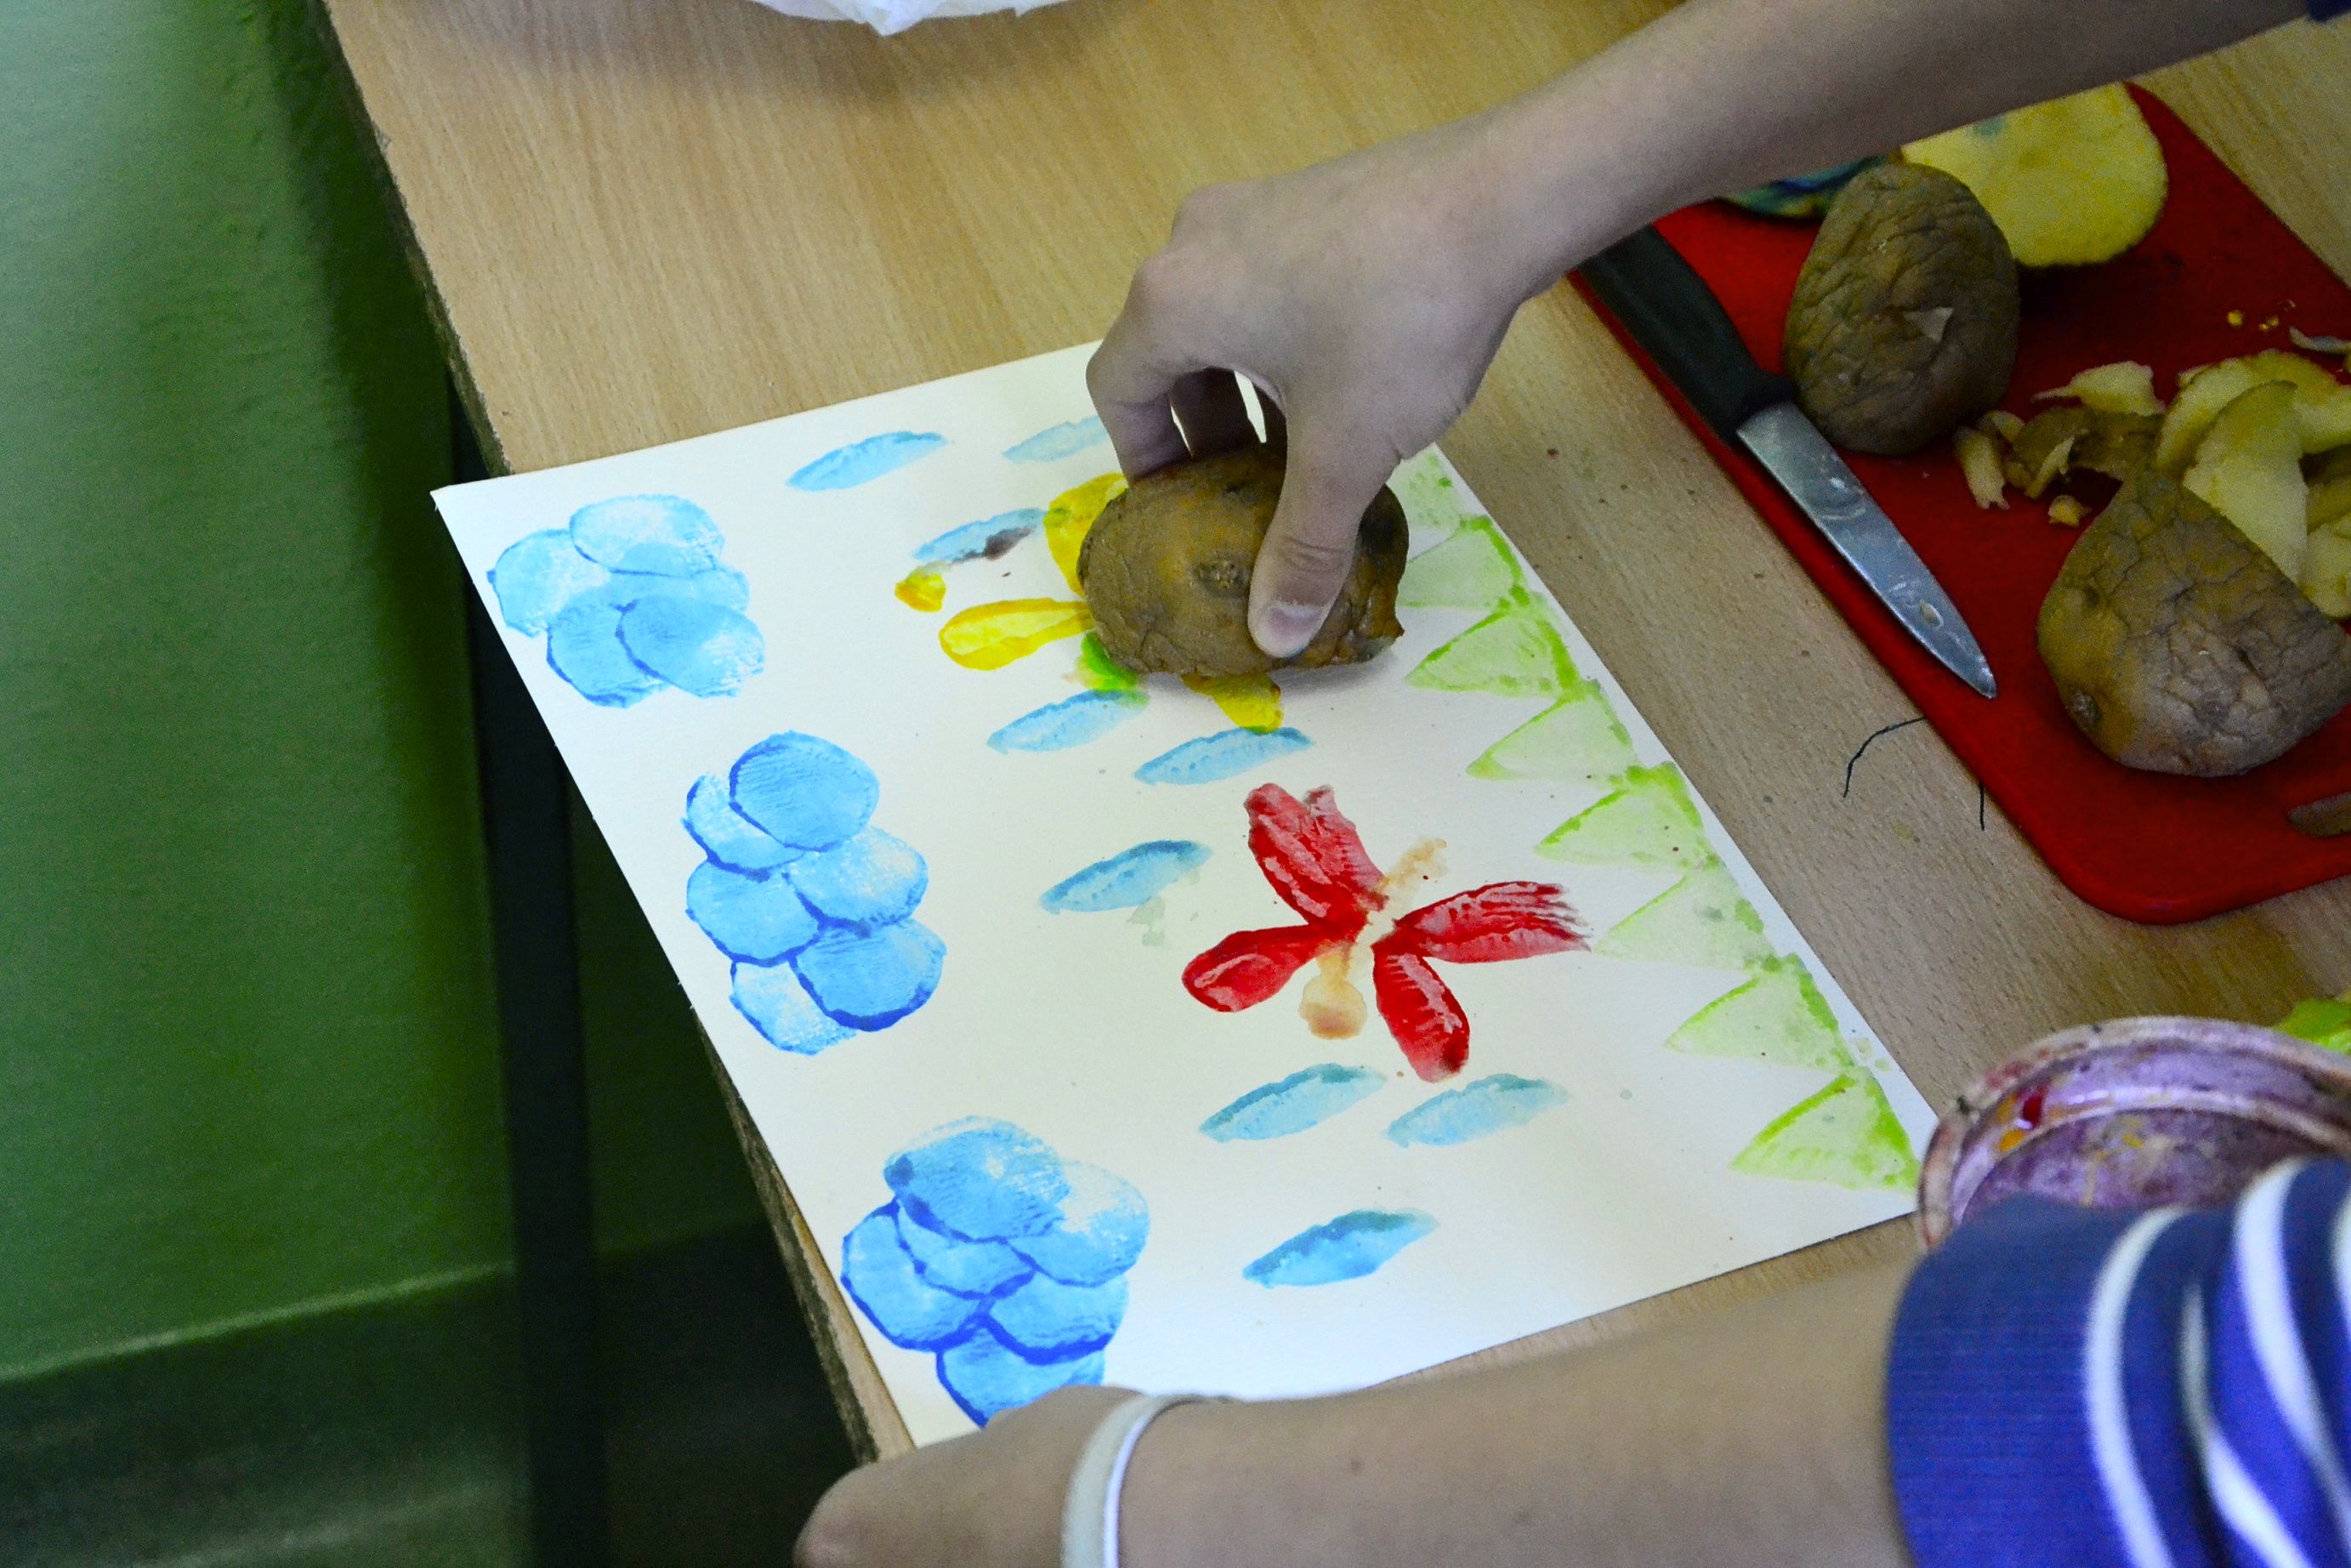
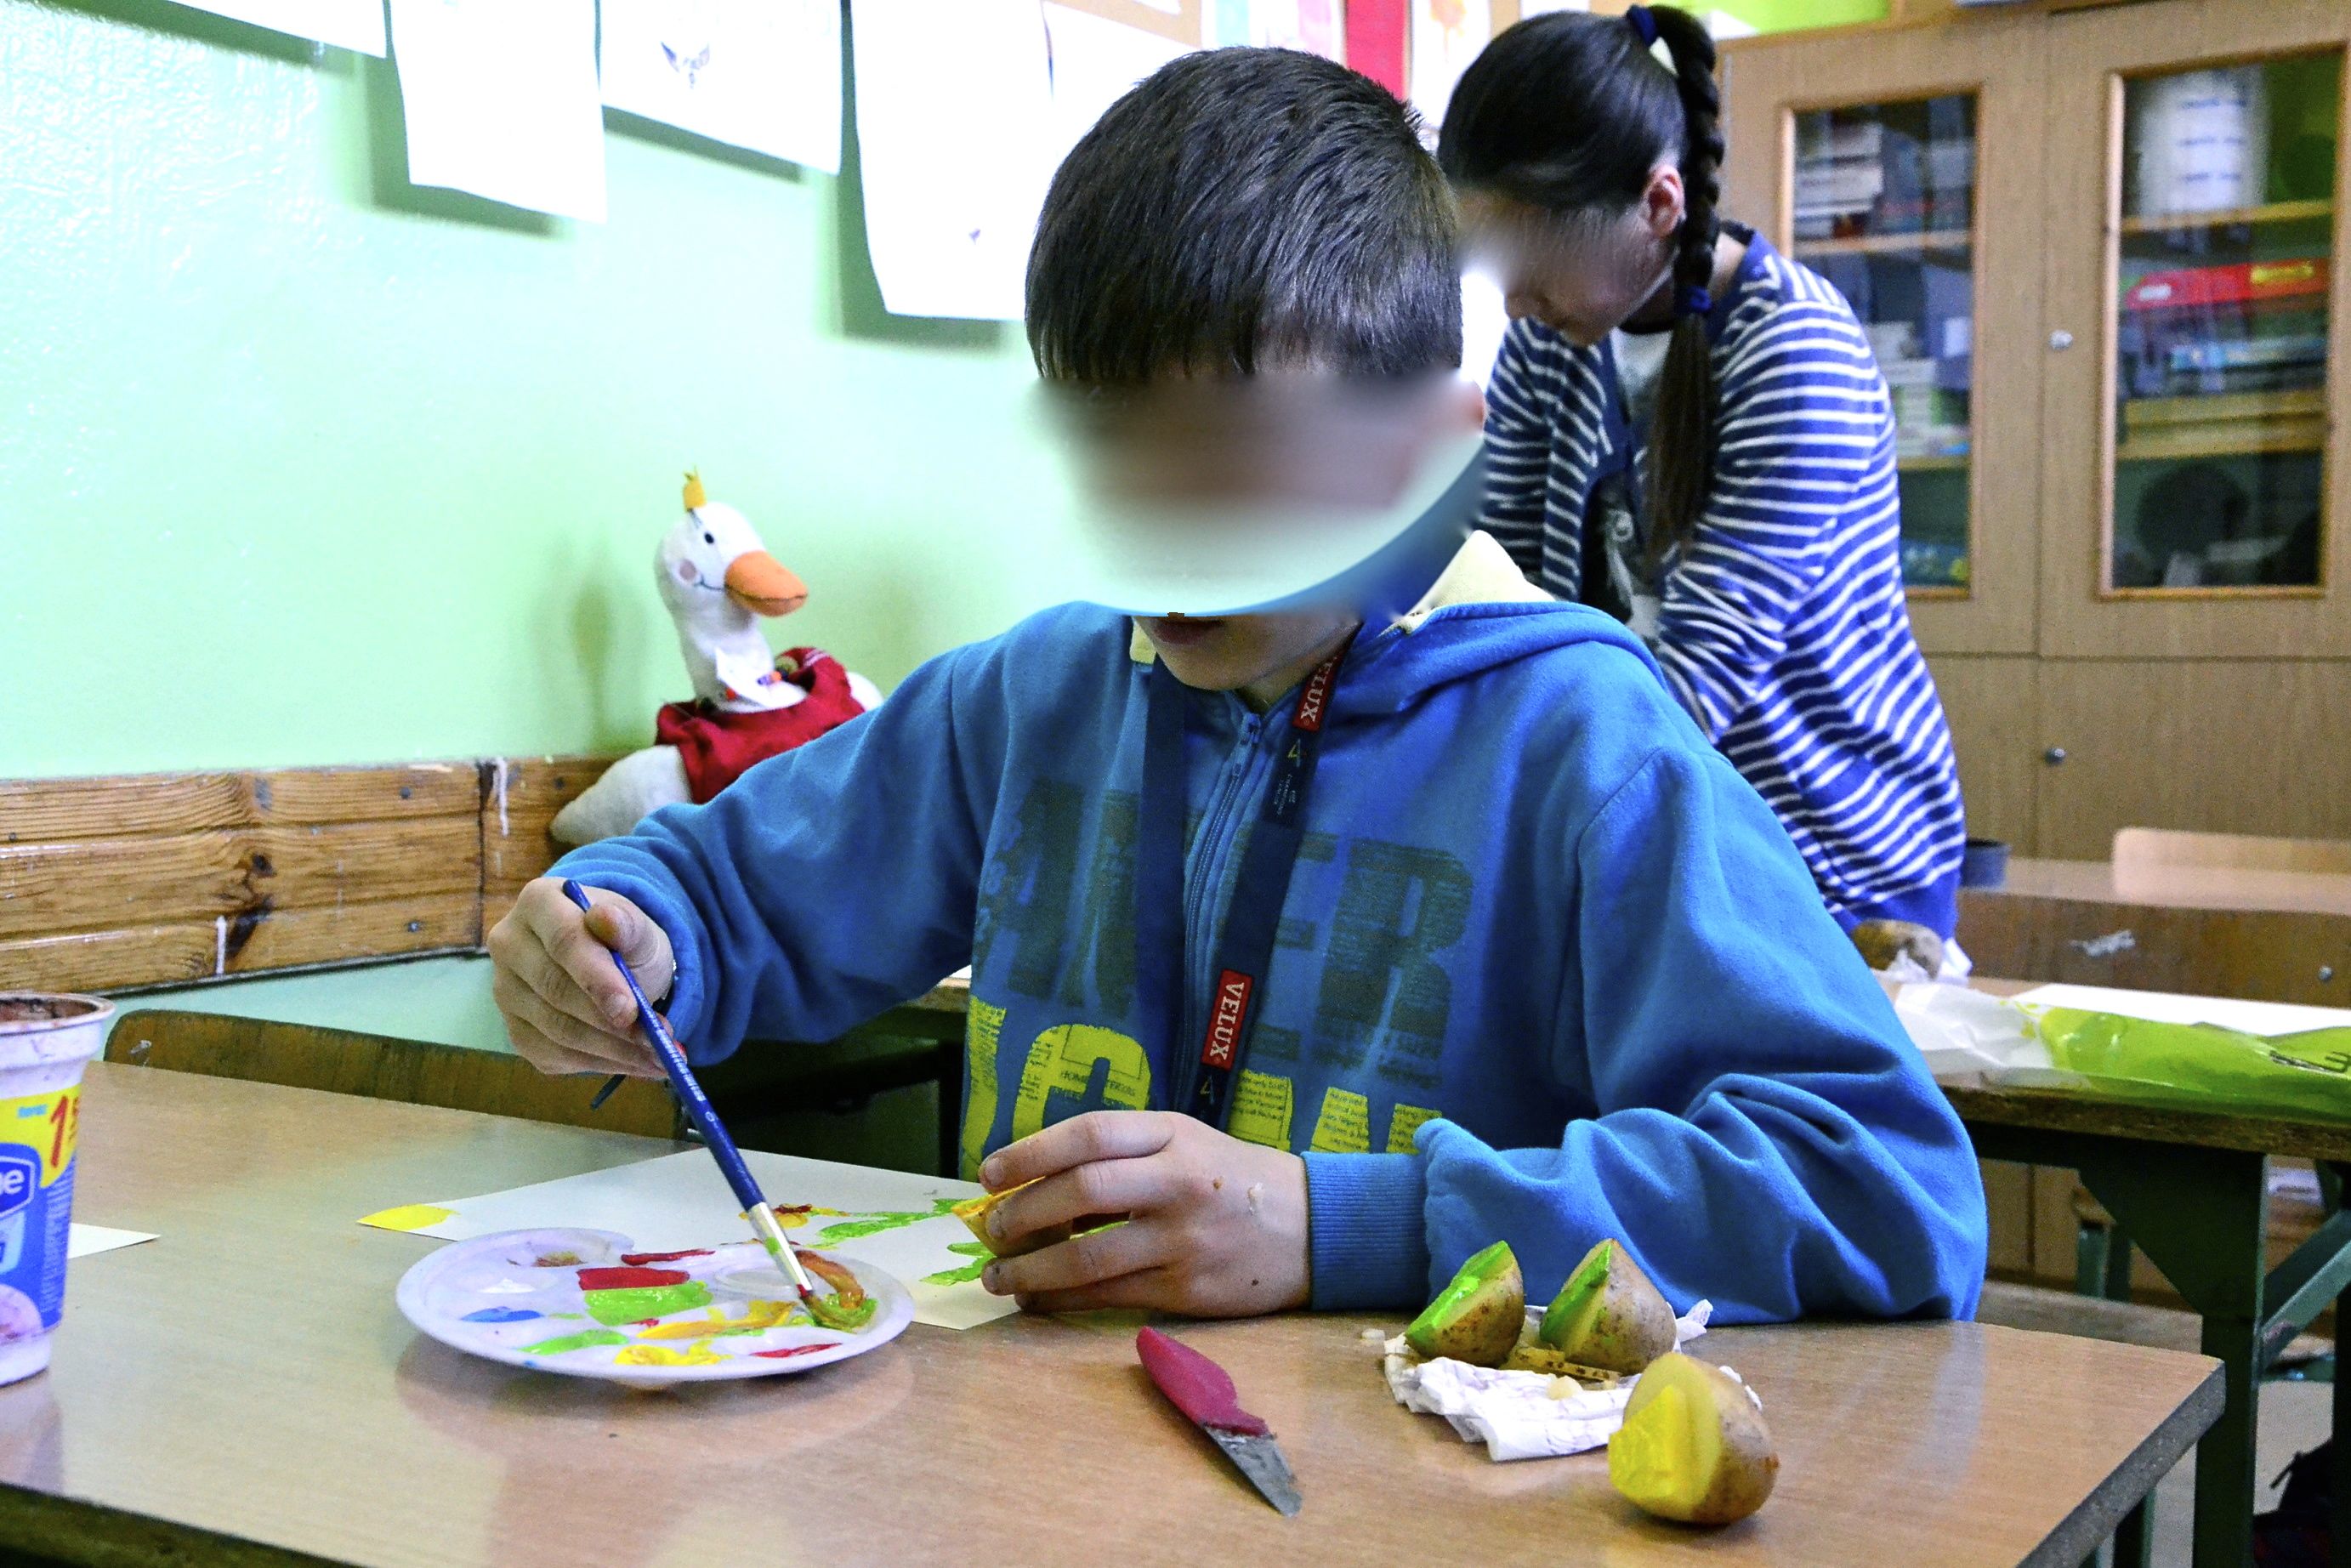
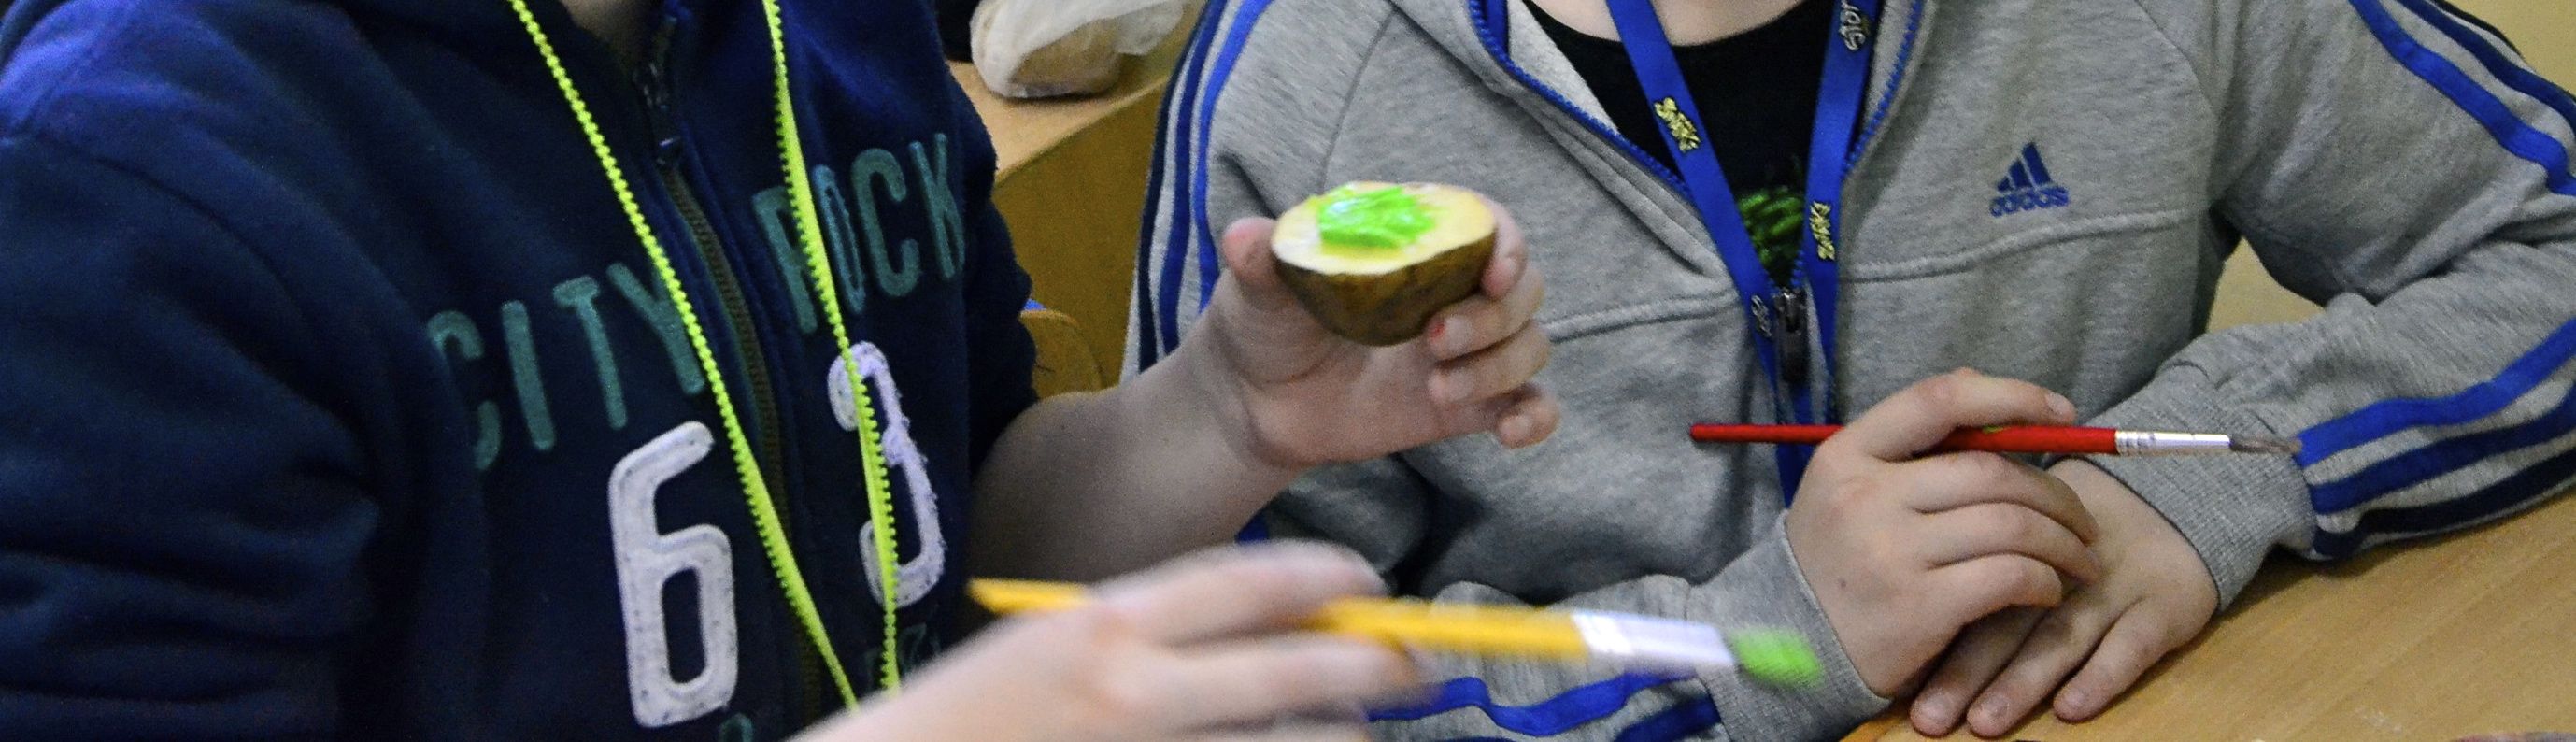
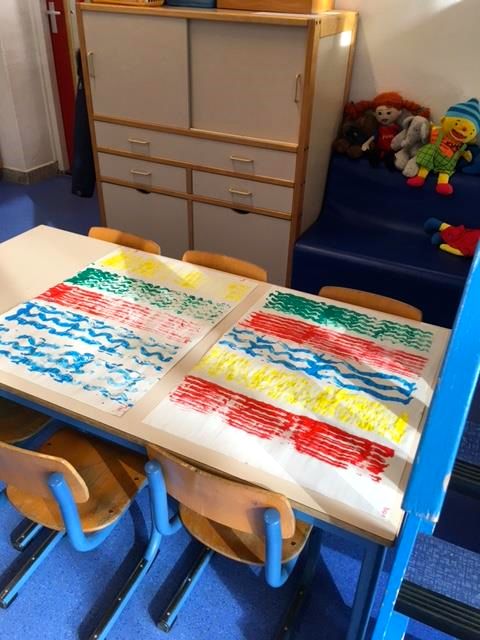
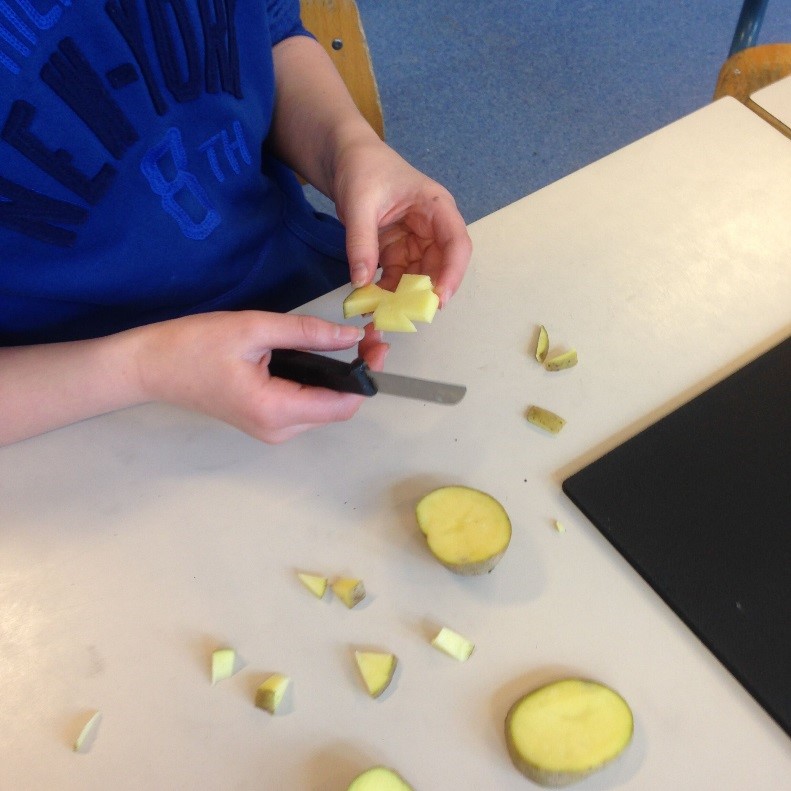
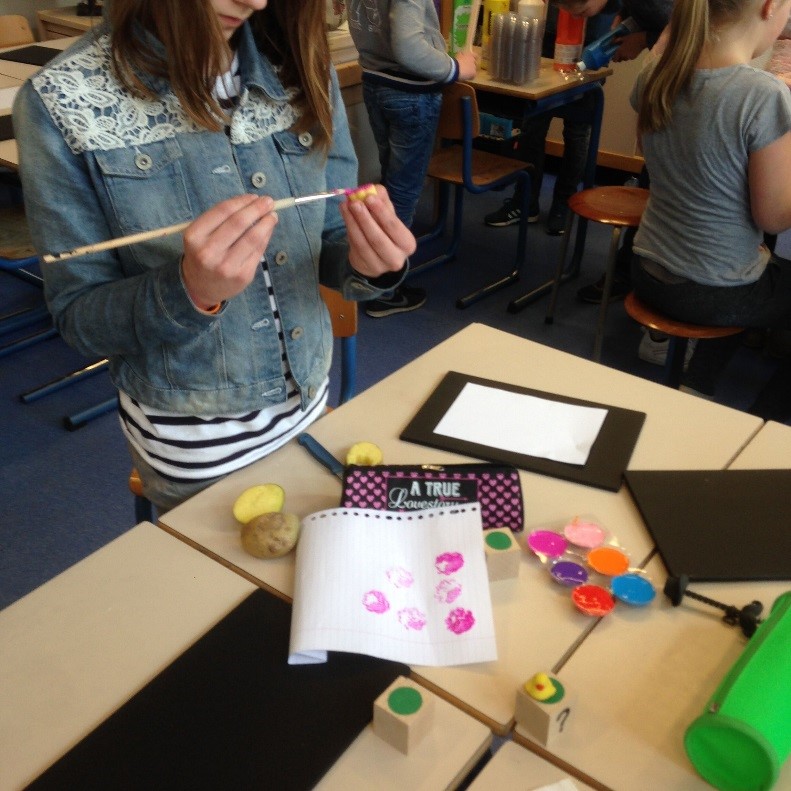
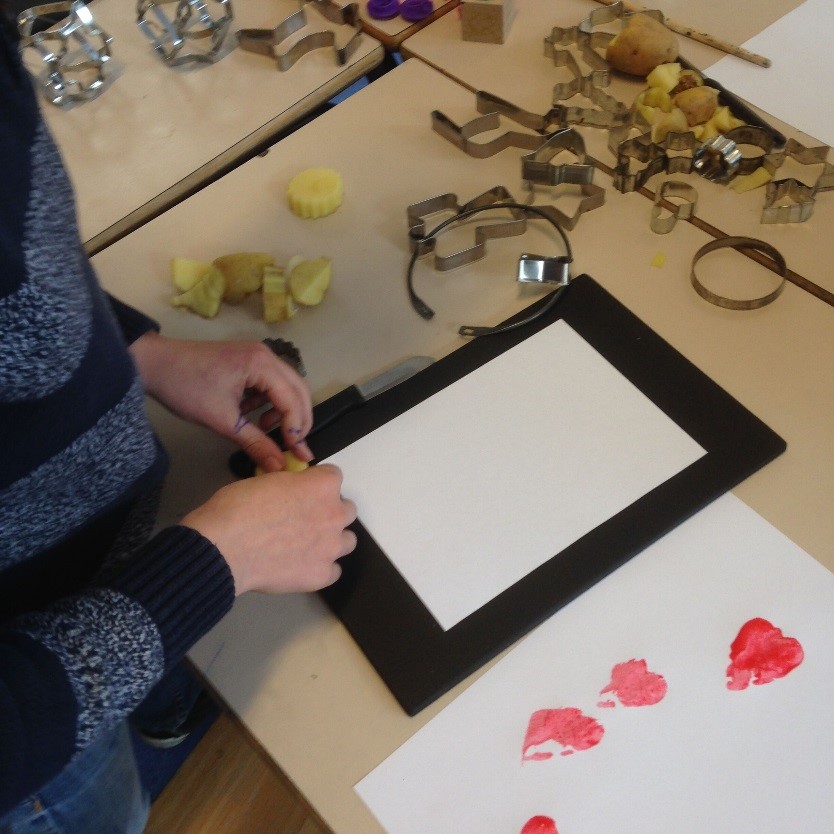
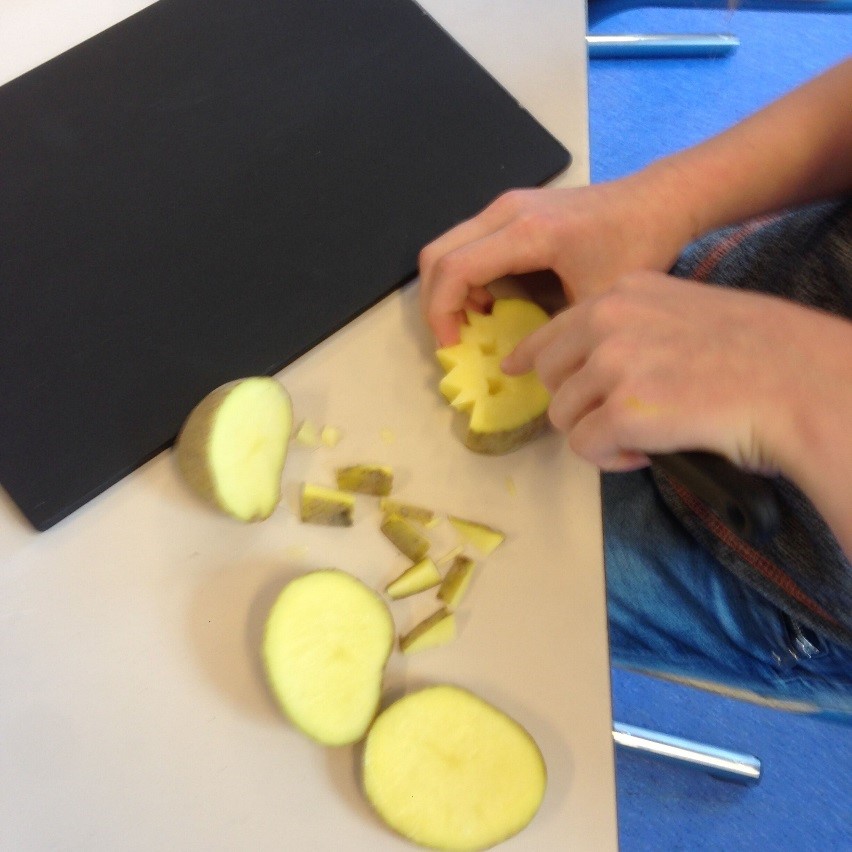
Les pommes de terre ont servi de matériel d’impression et voici les résultats obtenus.

Activité “Impression” pour le projet Erasmus +
Les enfants du groupe 1 (4/5 ans) ont été très actifs dans la réalisation des productions artistiques pour cette période.
Il y a eu tout d’abord une explication sur la technique de l’impression avec de la peinture qui n’est pas identique à l’activité peinture. Il faut tremper le tampon dans la peinture avant de le presser sur le papier
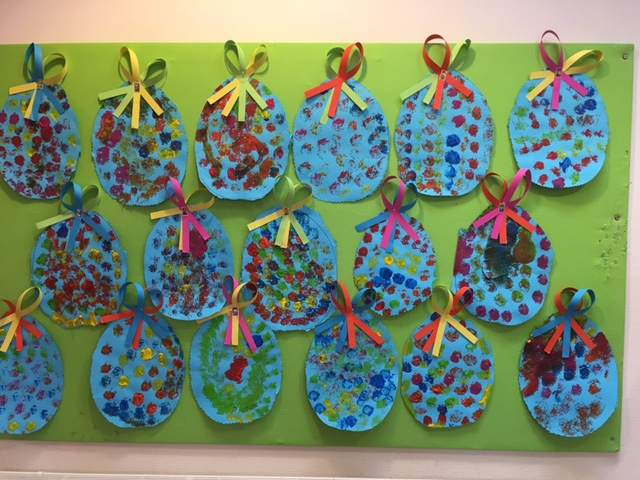
Les élèves ont décoré leur oeuf avec des points en chantant cette chanson:
“Pretty dots on an egg together with a nice bow. I have an egg for you and an egg for me. What color do you like?”
Alfred était présent et a adoré la merveilleuse créativité développée par les élèves !
Les oeufs devaient être secs avant d’être découpés.
Pour beaucoup d’enfants, la technique du découpage reste difficile,
mais voici le résultat.
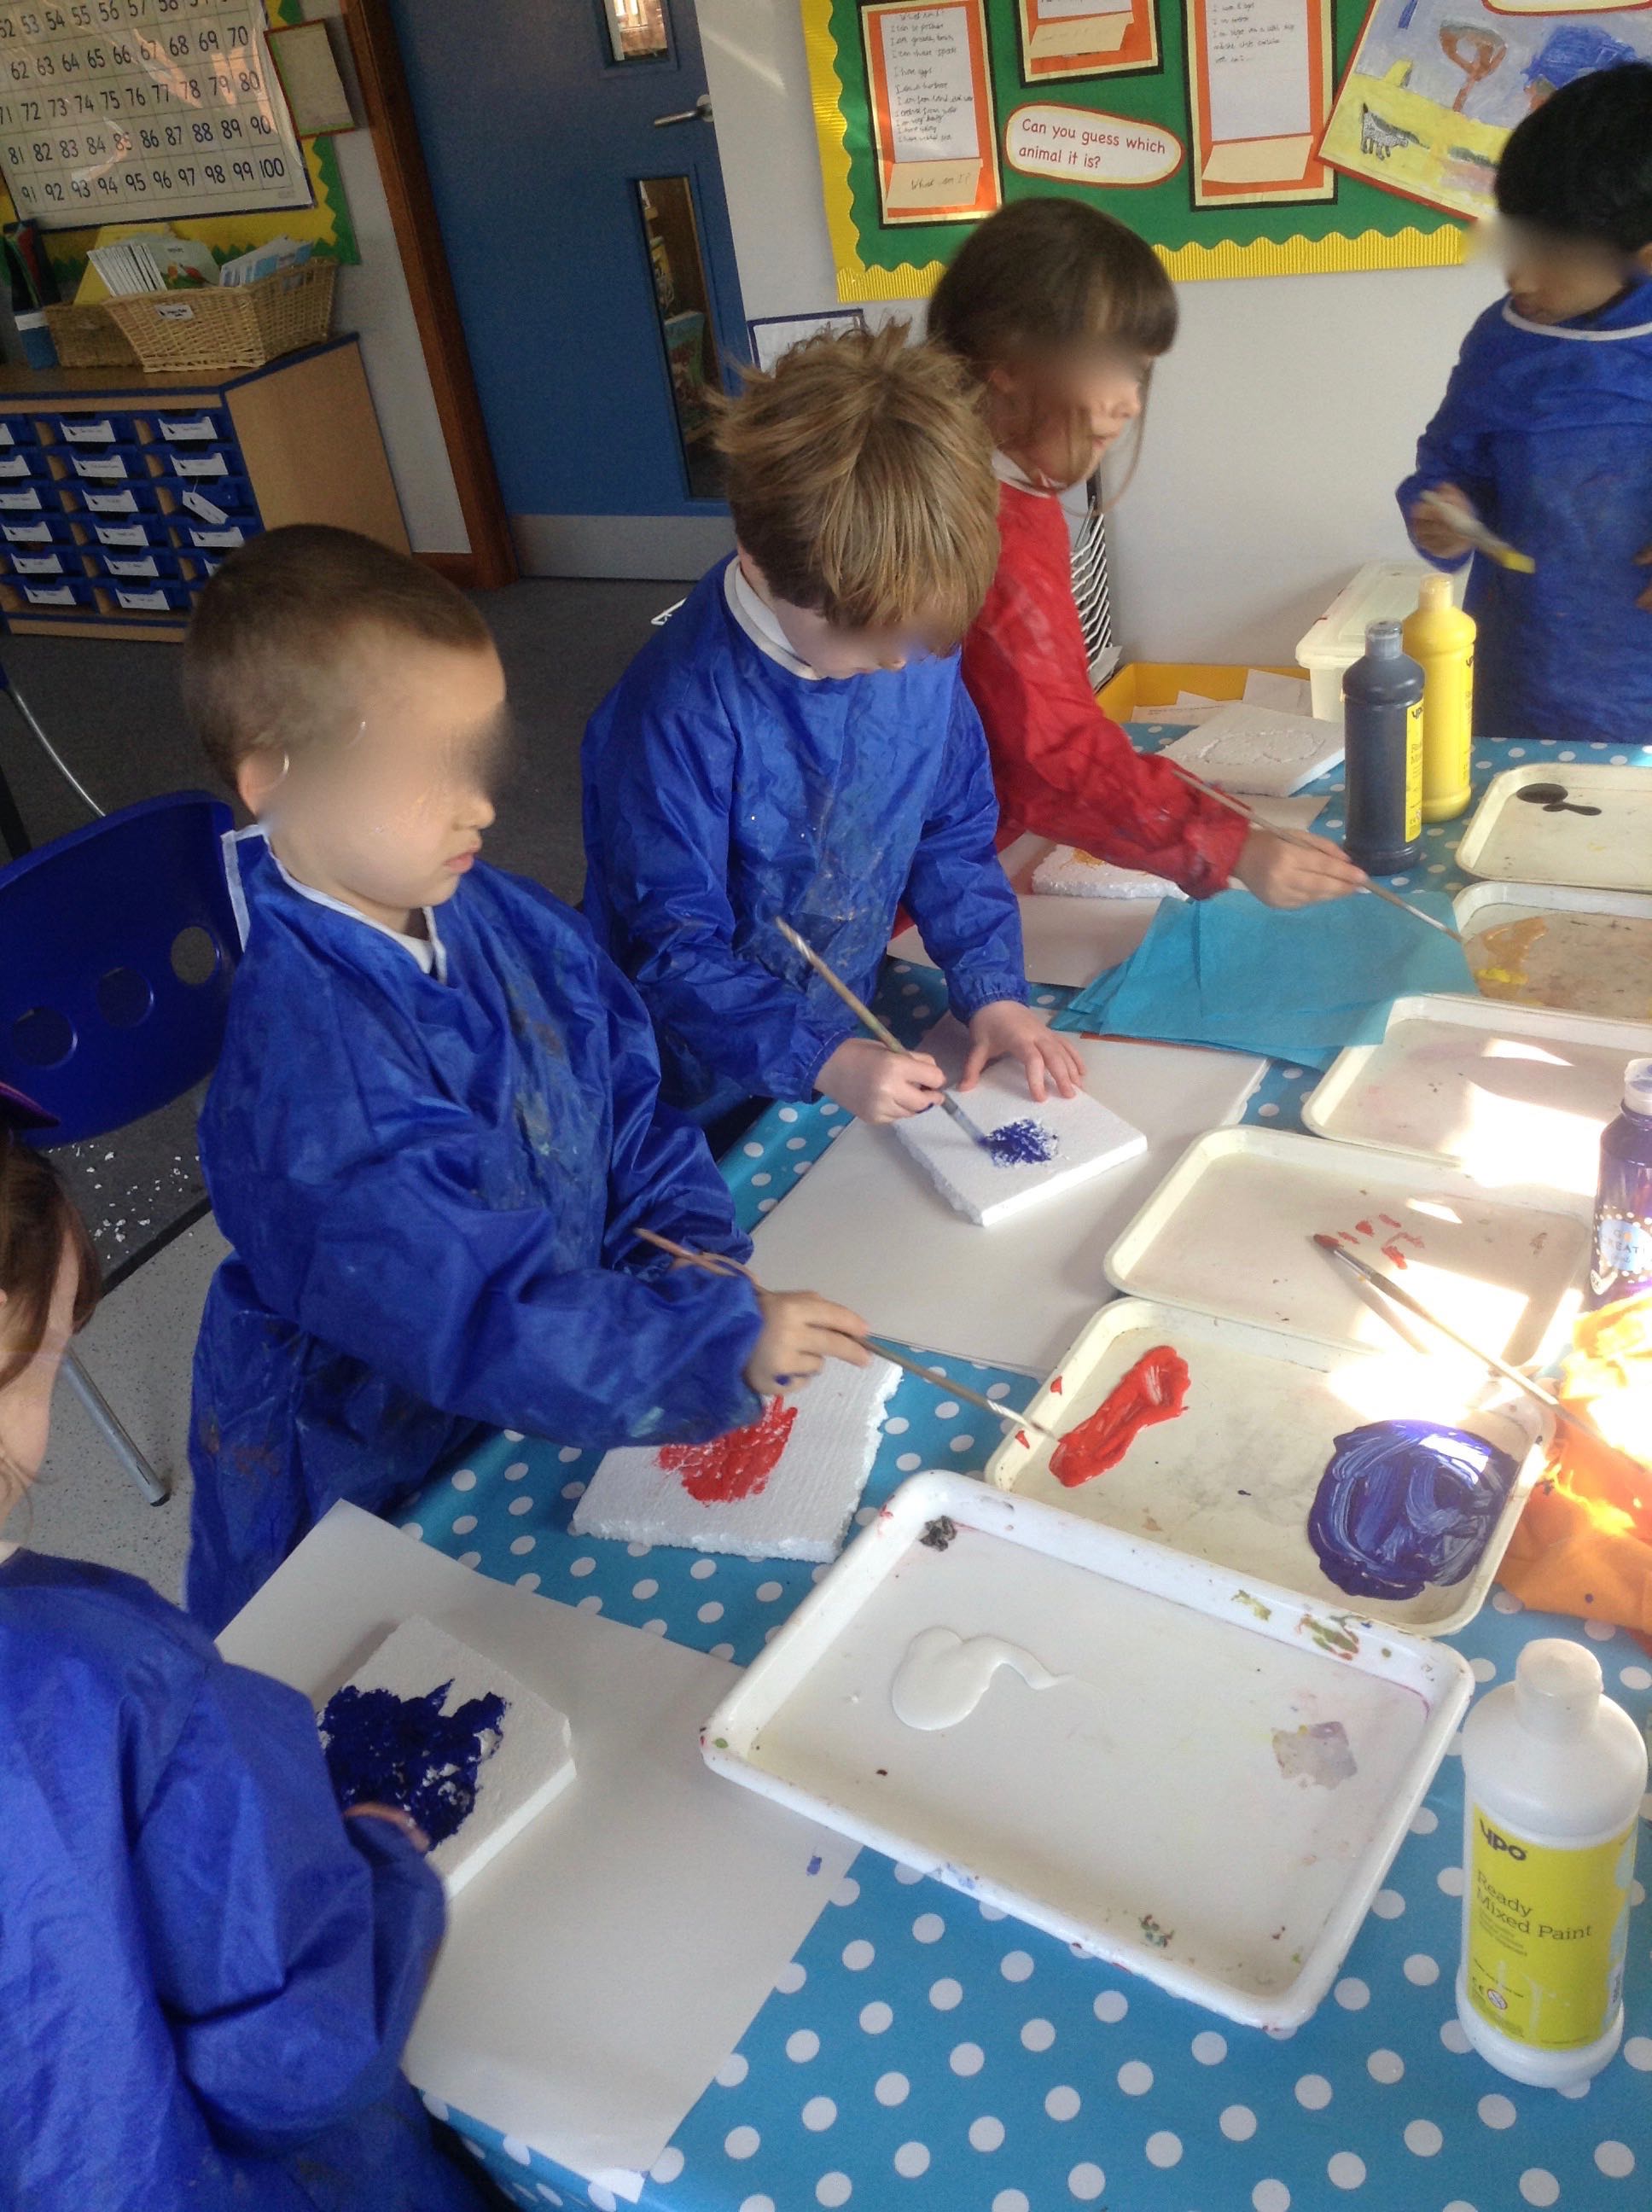
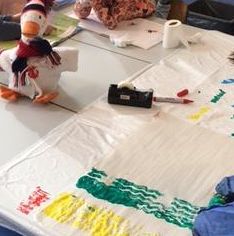
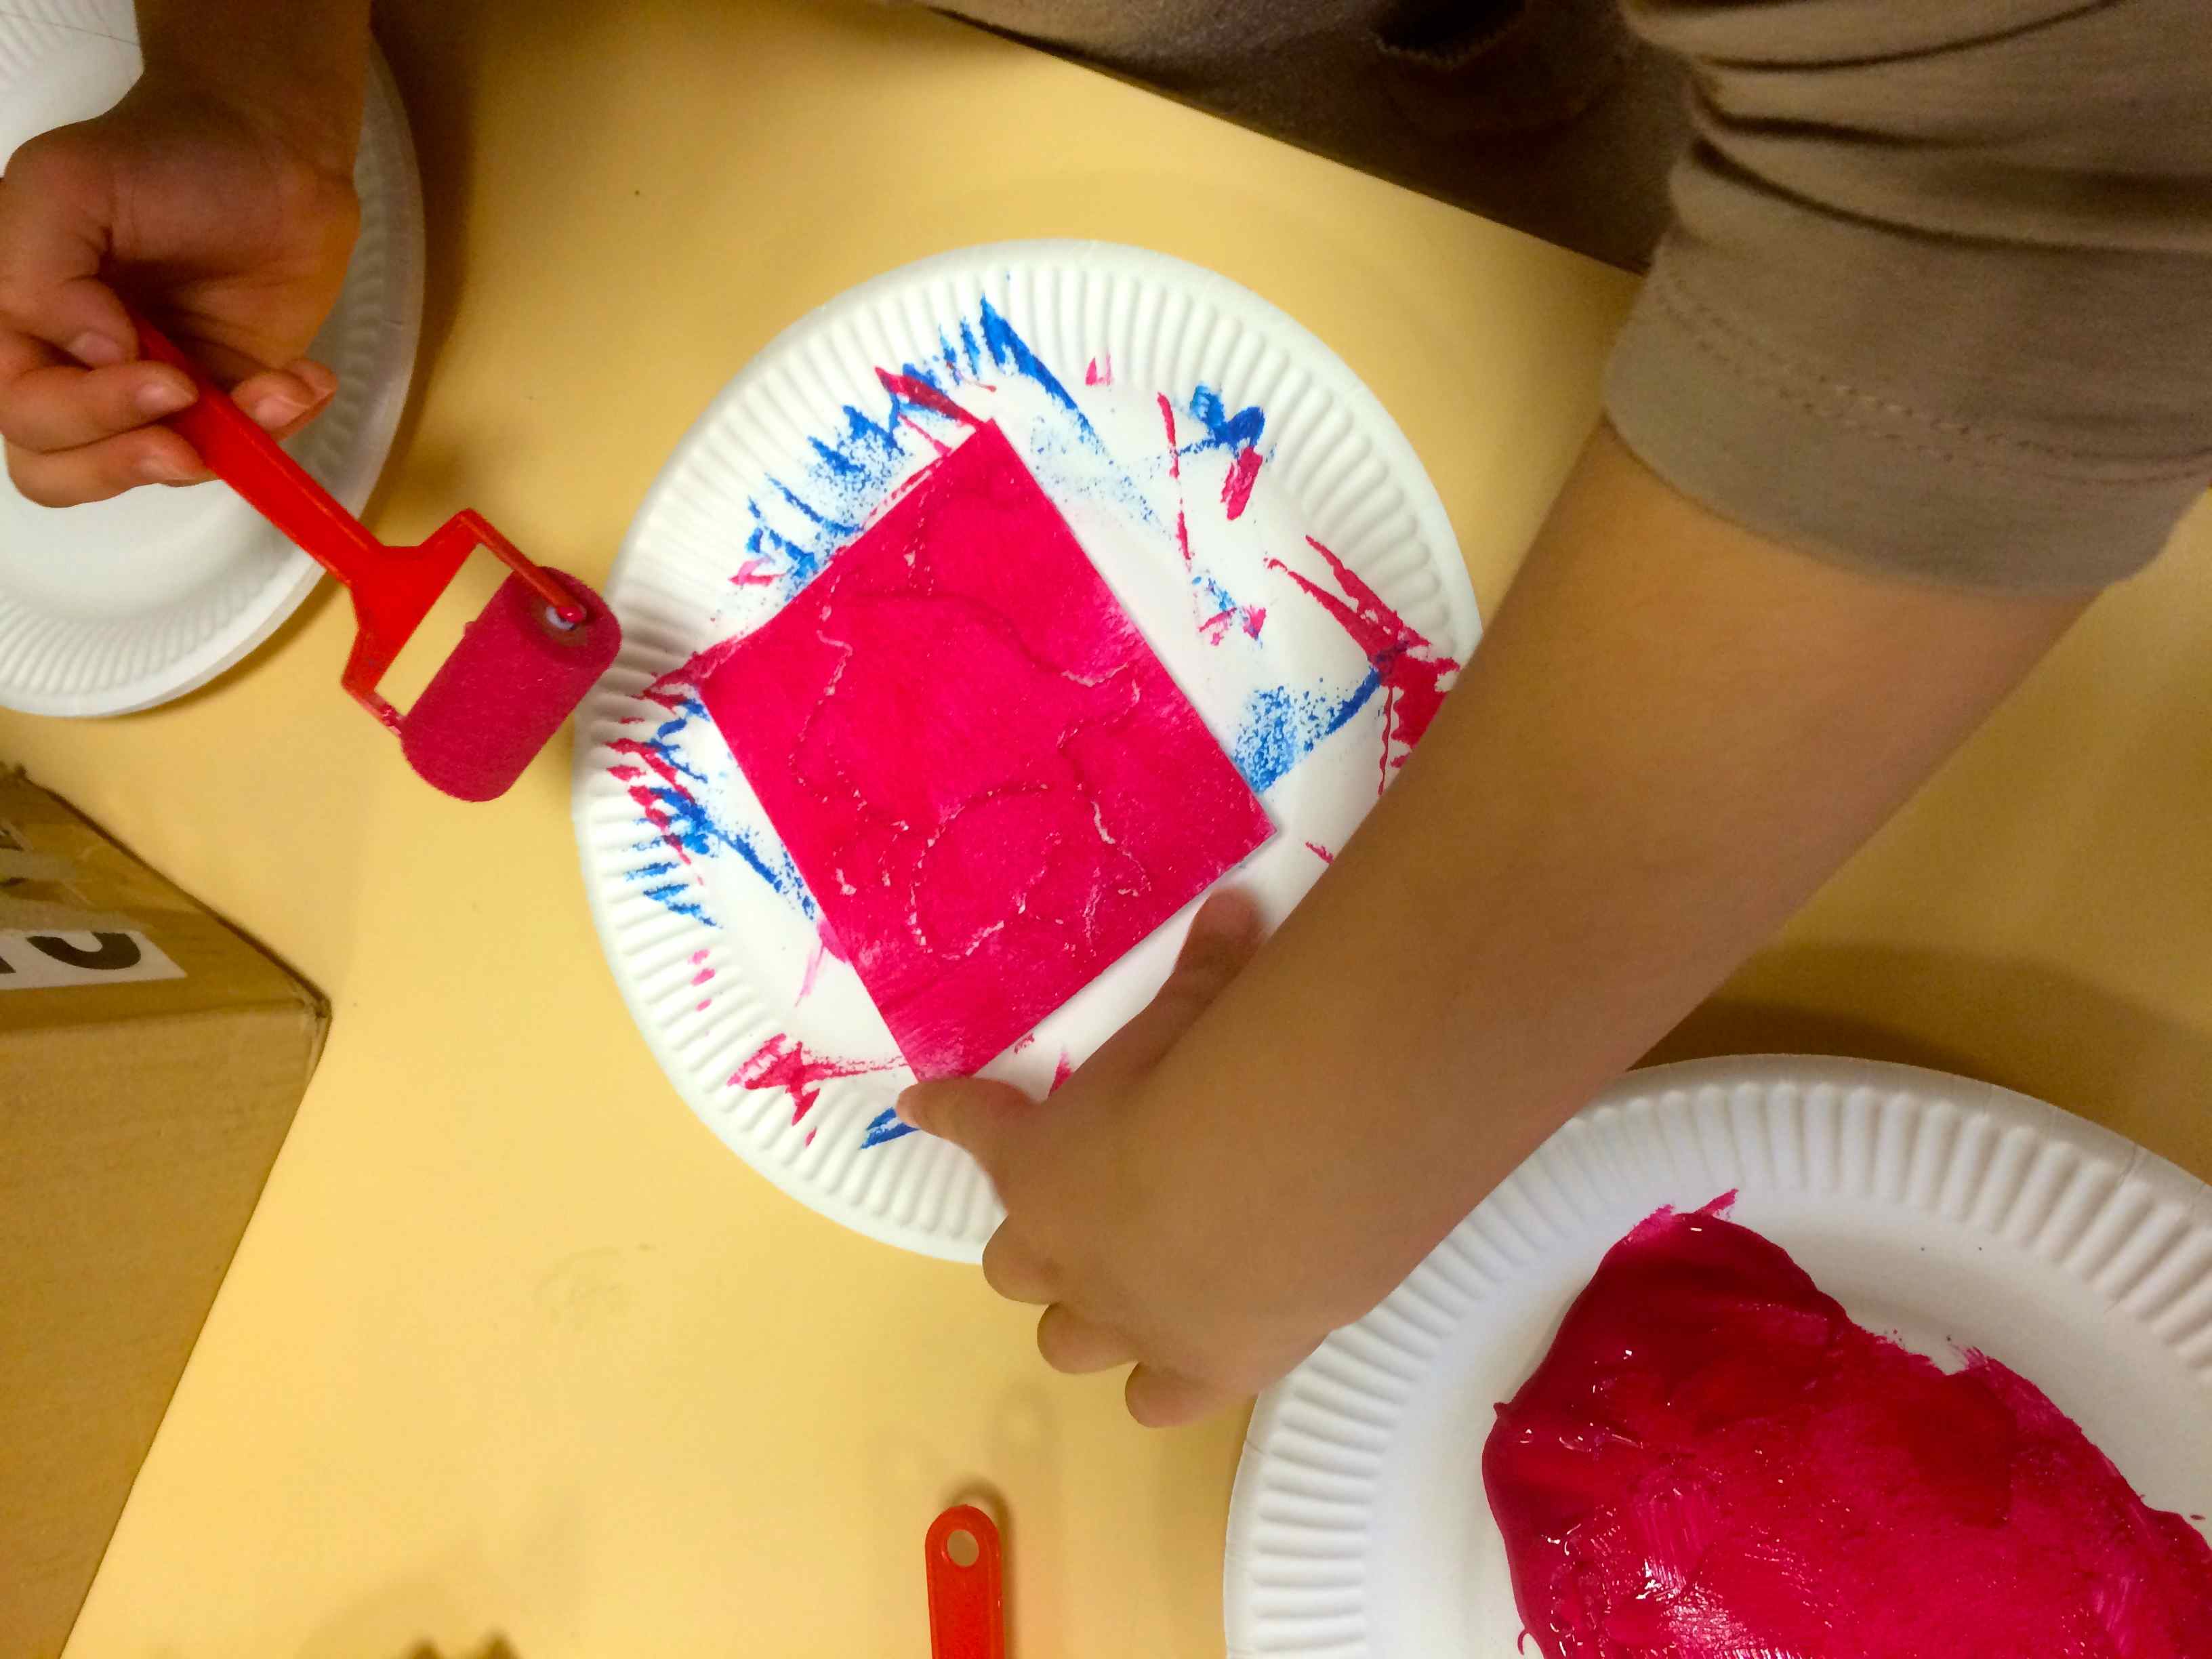
Les élèves de 4/5 ans se sont aussi engagé dans la réalisation de papier imprimé. Celui-ci sera utilisé pour emballé leur cadeau pour la fête des mères. Nous avons décoré le papier avec un rouleau à tampons. C’était amusant et instructif pour nos élèves les plus jeunes, bien que cela est été accompagné de beaucoup de peinture sur les doigts, les mains et les blouses.

Il a fallu que chacun attende son tour.
Bien sûr Alfred était là pour les encourager et admirer leur travail. Le résultat de cette technique lui a plu.
Nous en avons profité pour travaillé au cours de cette période sur le thème: “ART.”

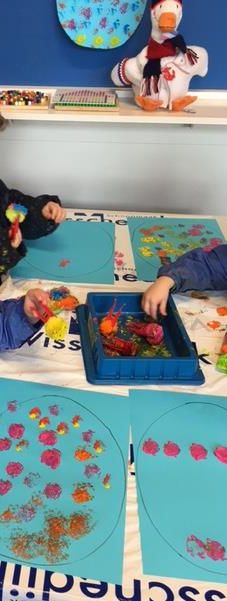
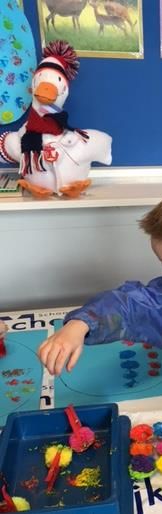
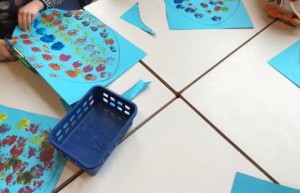
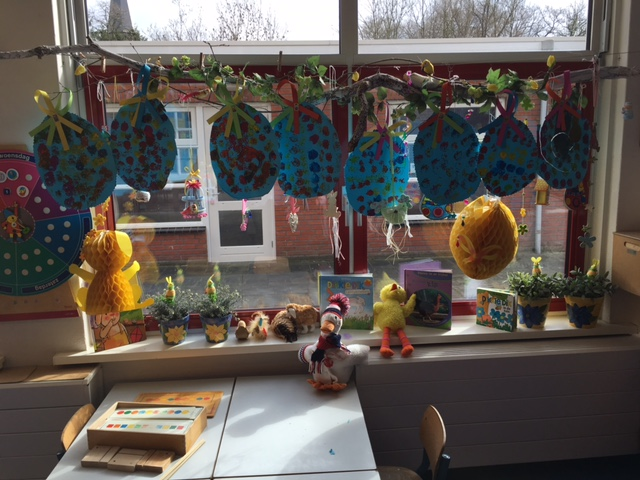
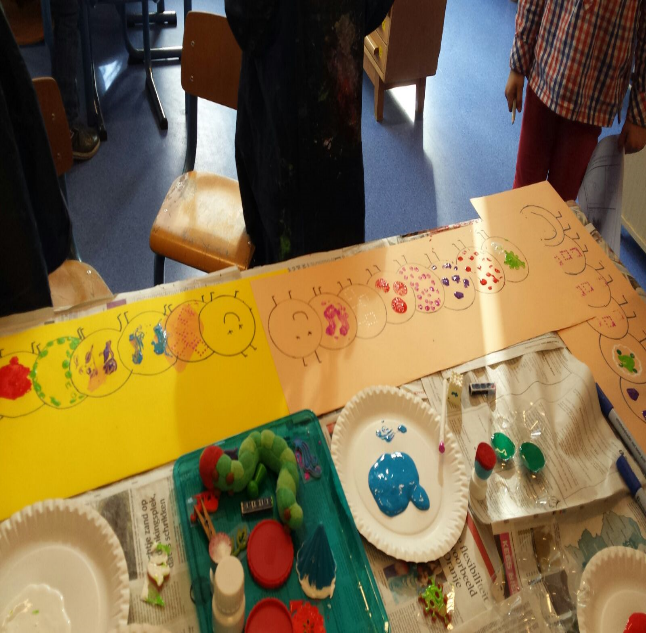
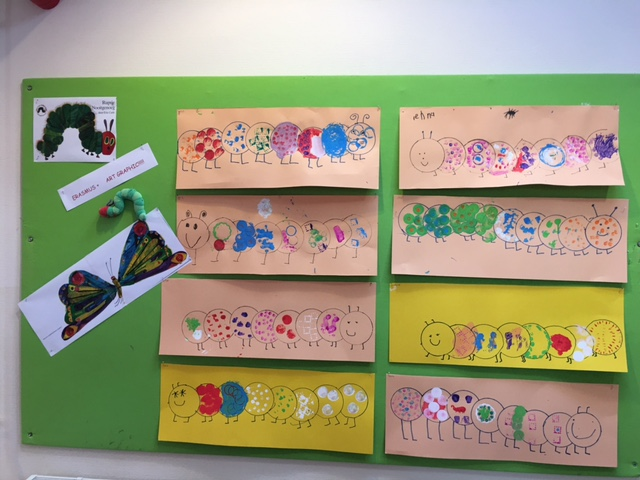
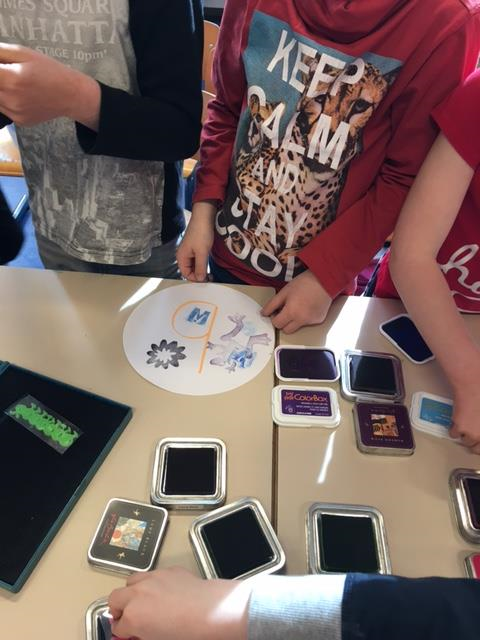
Les élèves de GS (5/6 ans) ont aussi travaillé avec cette technique en partant de l’album d’Eric Carle “La chenille qui fait des trous” (The very hungry caterpillar).
Ils se sont tout d’abord choisi une chenille qu’ils ont décoré en utilisant différents types de tampons. Savoir travailler ensemble tout en respectant les bordures des cercles était très important.
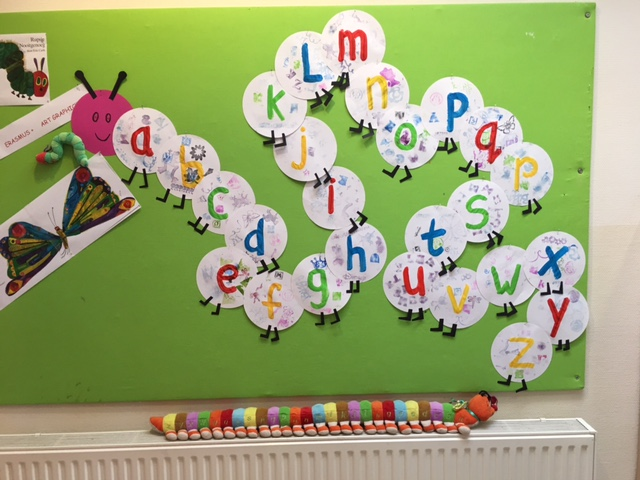
Ces élèves sont en train d’apprendre les lettres de l’alphabet. Chaque semaine ils découvrent une nouvelle lettre, un nouveau son, pour l’instant ils connaissent 23 lettres !
Des élèves ont proposé une idée et un groupe y a adhérée. Ensemble, ils ont créé une très grosse chenille illustrant l’alphabet en utilisant cette technique.
Le résultat est là et nous en sommes très fiers !
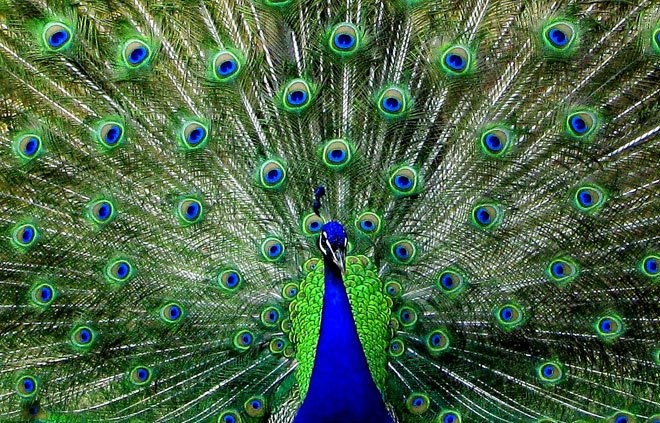
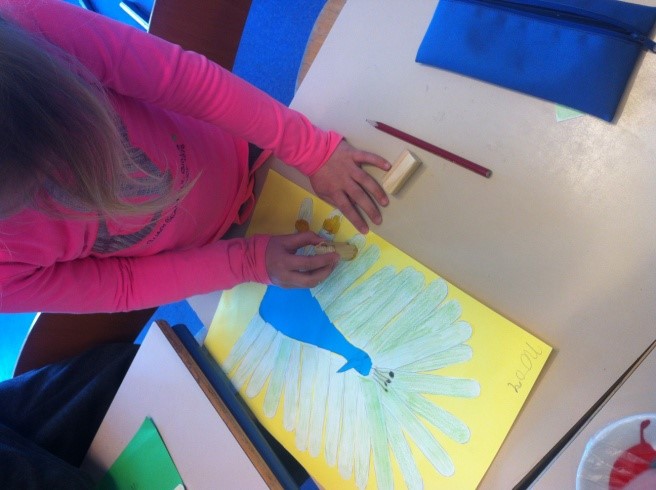
Impression sur un paon
Matériel nécessaire:
Du papier A4 recouvert de plumes à colorier photocopiées. Du papier A4 bleu où le corps du paon est dessiné. Des feuilles de papiers de couleur format A3. De la peinture, de la colle, des ciseaux et des crayons. Des photographies de paon.
After we have looked in the group and talked about what we already know of the Peacock, in the first lesson we began with a drawing of the details of the peacock feathers. In the second lesson each student has a journal with coloured feathers. These springs were cut out and made to measure so they could be stuck around the body of the Peacock.
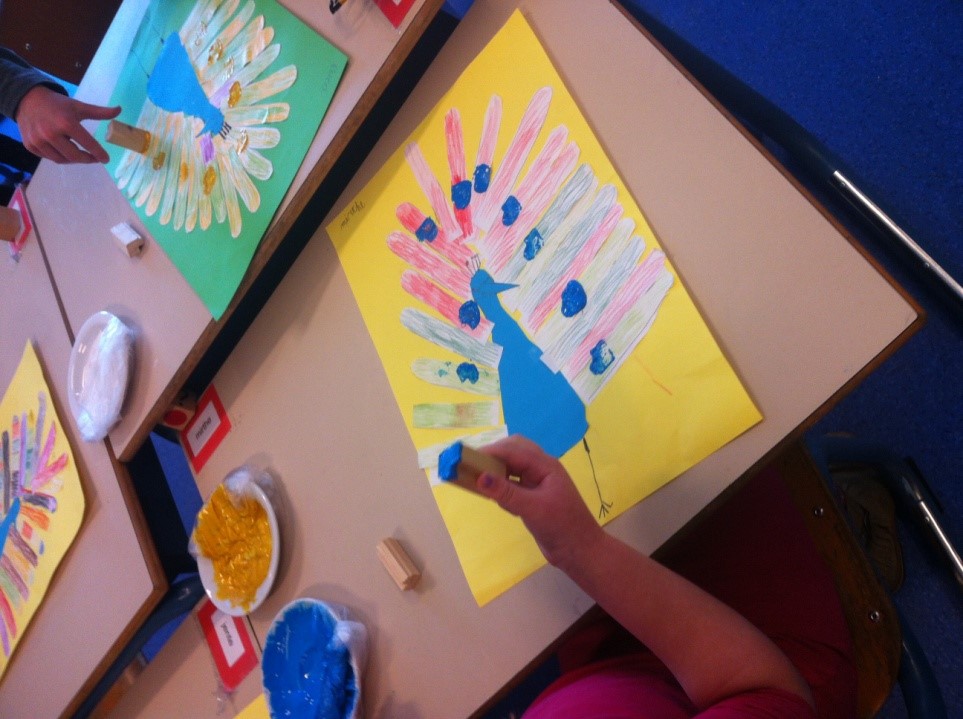
The body of the Peacock was signed on a sheet of cut out, after which the students pasted them in the middle of a chosen color sheet-A-3 format. After the colored feathers got a spot on the sheet. It was not easy to find the springs with equal regularity around the body of the Peacock. Great look at how it all nicely came out, also above the head of the Peacock. With a few extra feathers the resulting open spaces were filled up quickly.
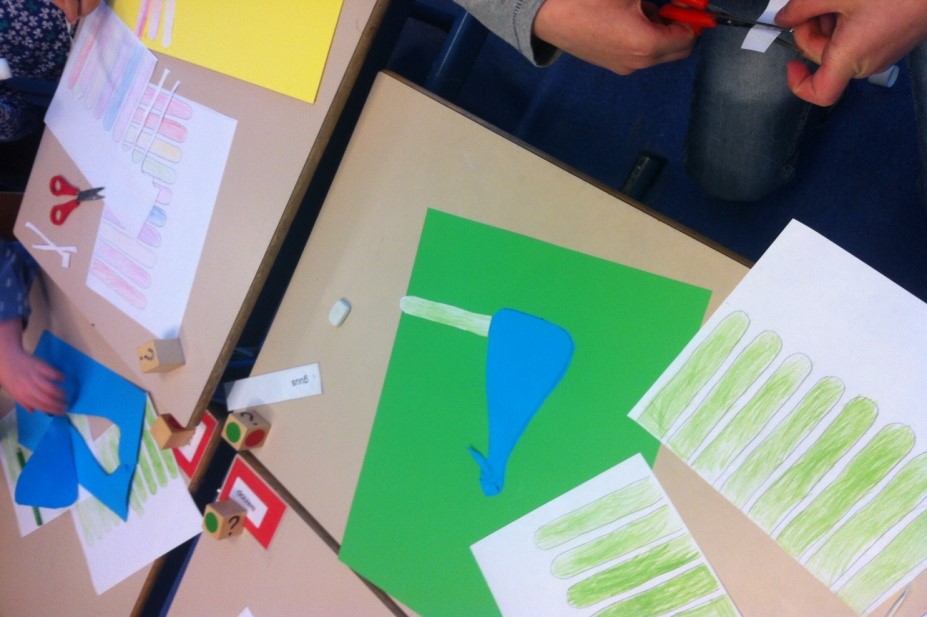
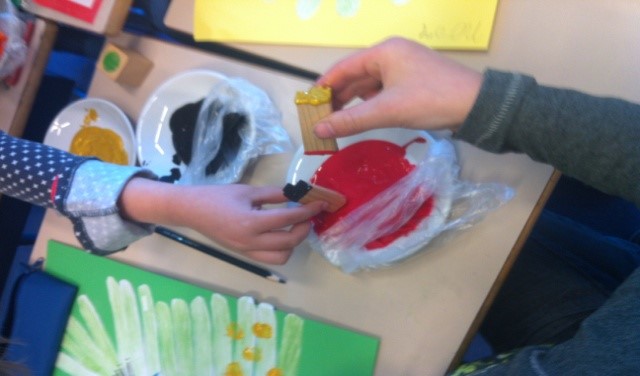
After all the feathers have been given a place on the sheet the last legs of the Peacock and the Crown were signed on its head. Below the pupils go stamping with small blocks of wood which have the shape of the pattern also seen in the feathers of the Peacock. The block on both sides could be used for multiple colors. And now but stamping!
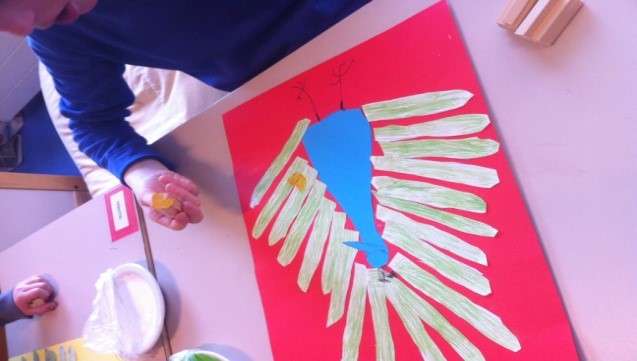
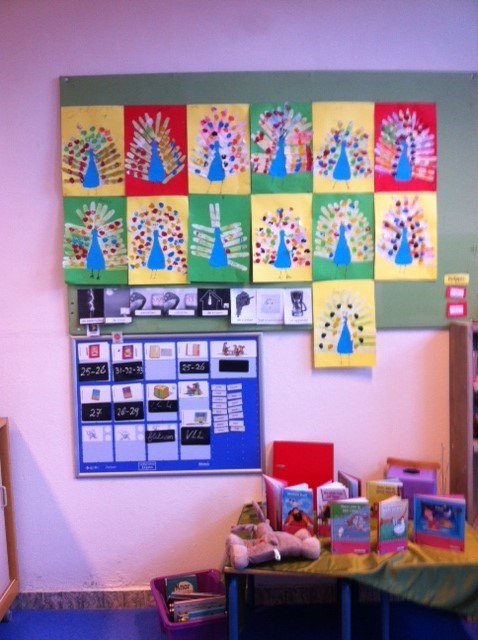
Ci-dessous le résultat …Fantastique!
May 2016
Fashion show:
Some students of group 7 designed clothes for all students. This dress is made of garbage bags, crepe paper and plain paper. After the time they have regulated that the whole group could run a fashion show at the local nightclub, called: “Bruins.” The audience consisted of the students of group 1 and 2.
Drawing command:
Animal signs with pattern in it. Two pupils of group 7 gave this drawing lesson to the rest of the group. The assignment was to draw an animal in which you draw patterns. That way, there is a form of stamping.
Mother’s day:
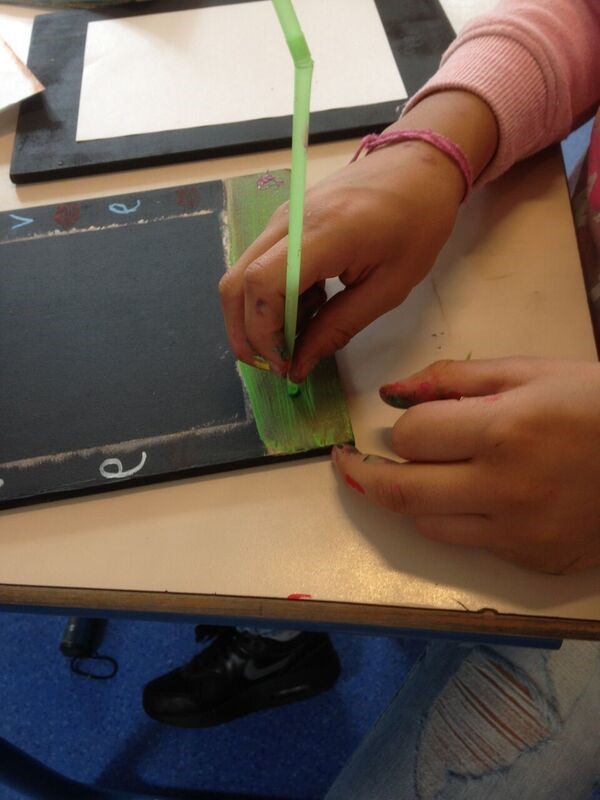
The pupils created a sign with a spell on it. They painted a small board with chalkboard paint. Then they made stamps of potatoes. They labeled the edge of the platter with inside a spell written down they thought of for their mother.
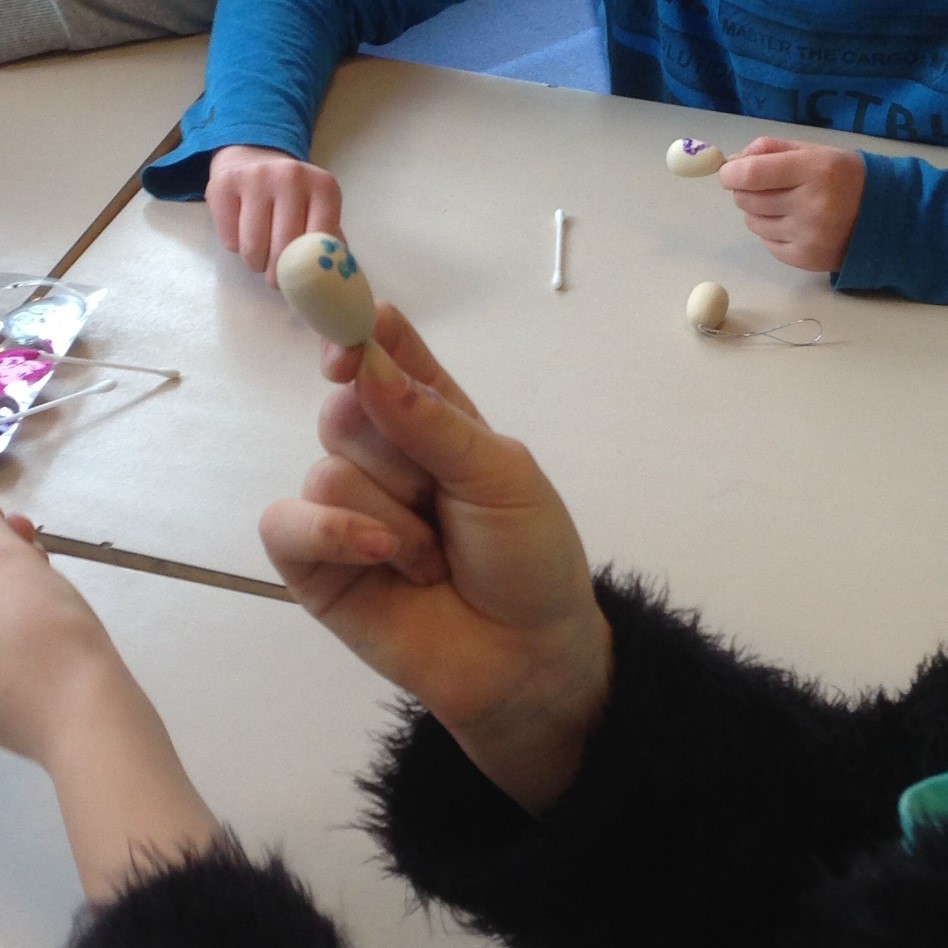
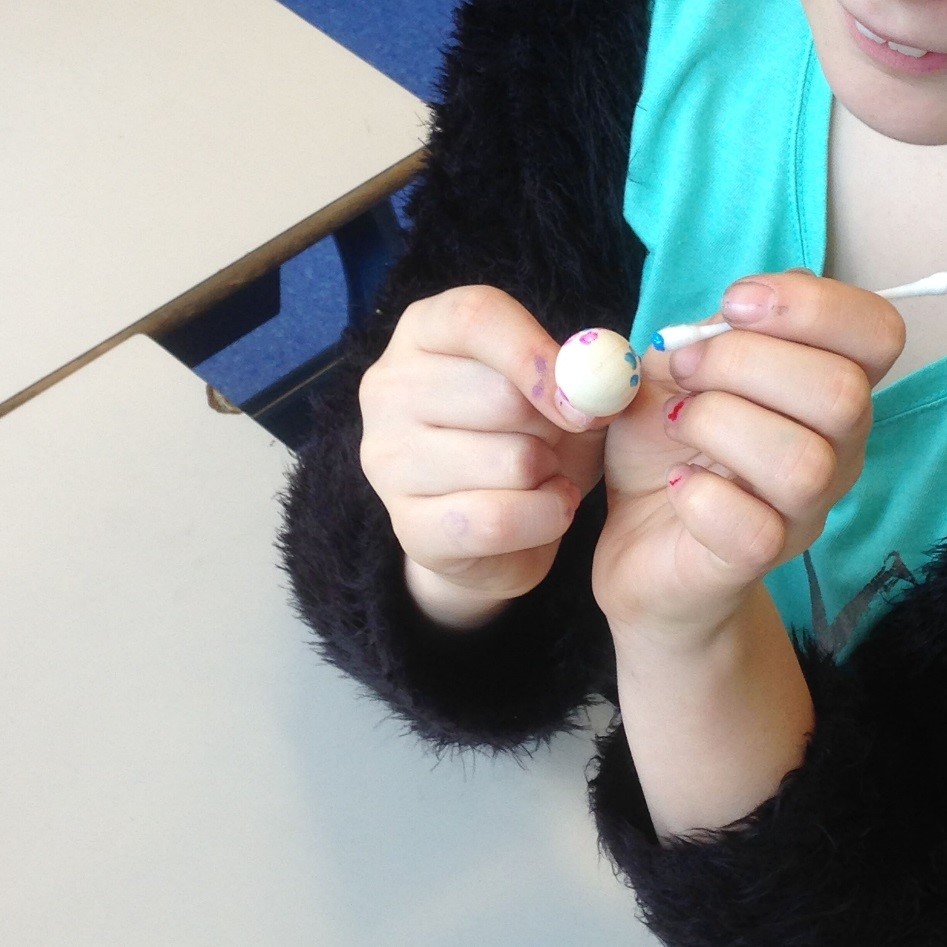
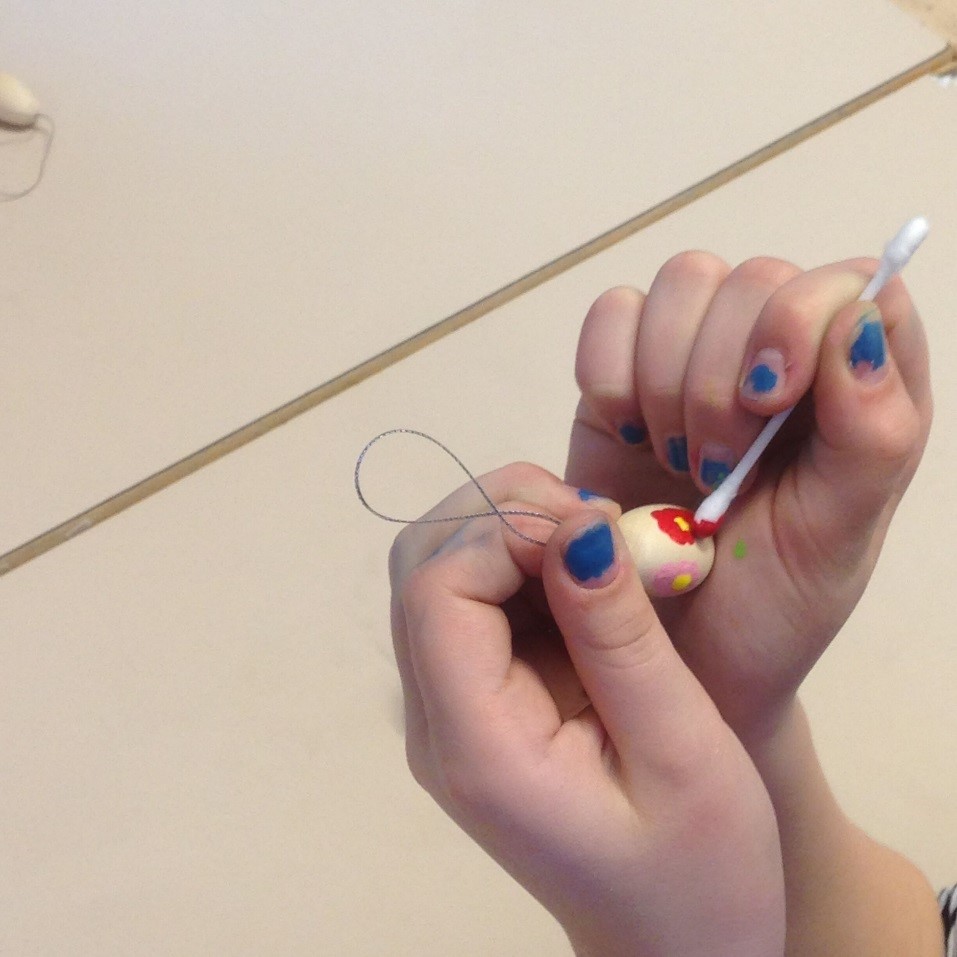
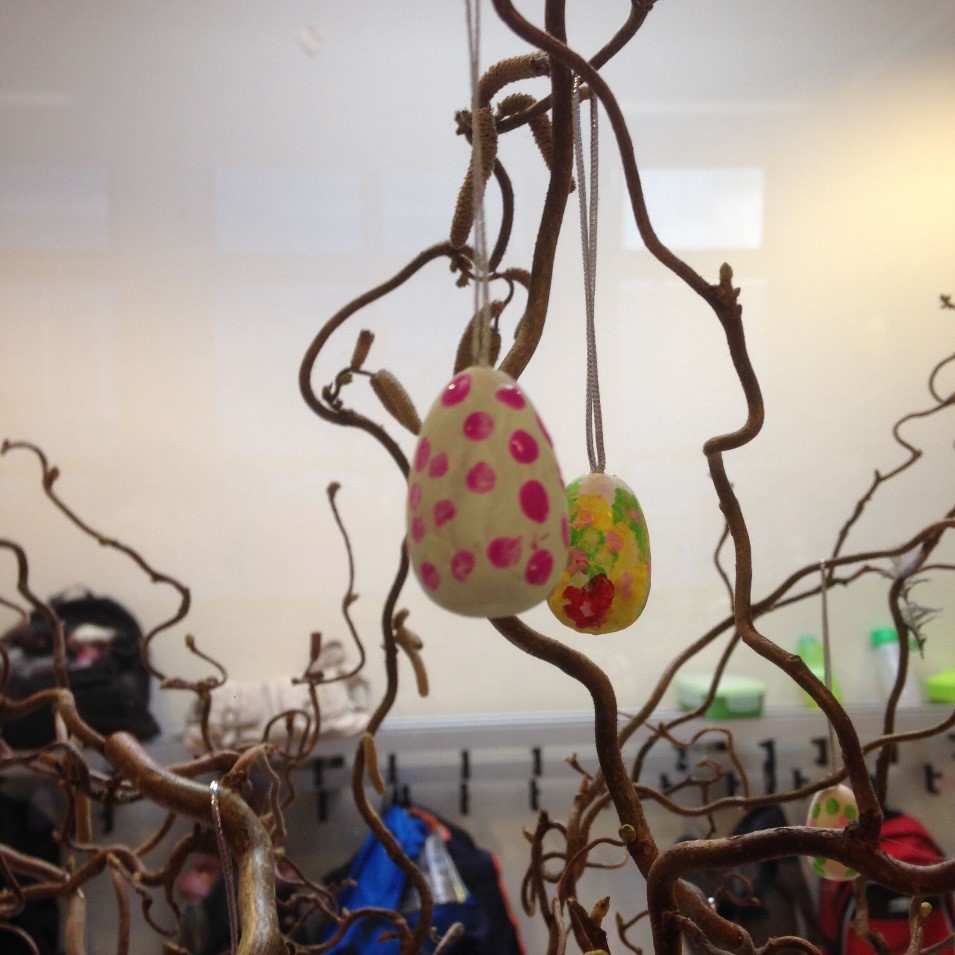
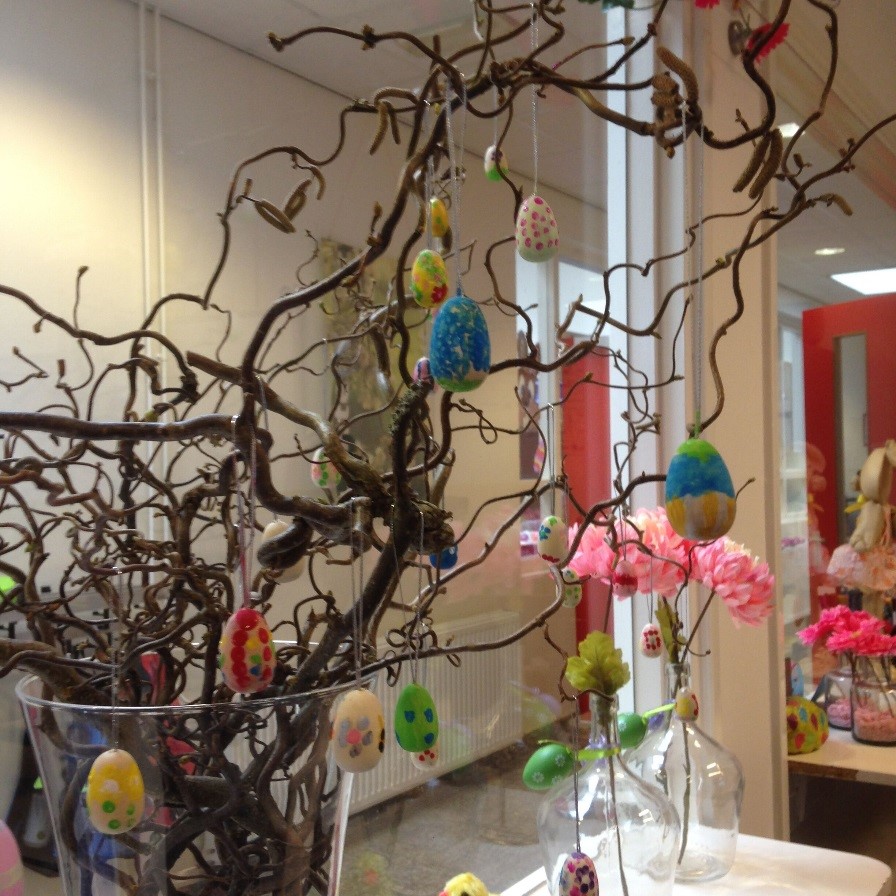
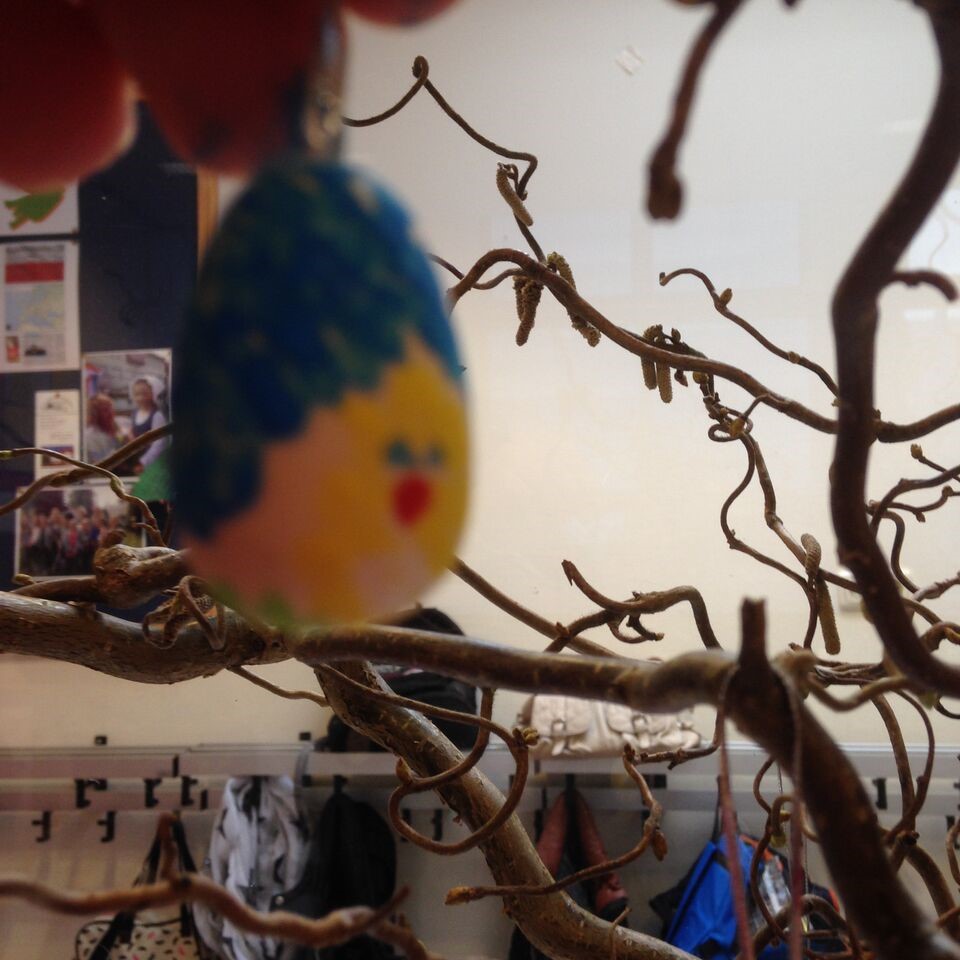
Decorating Easter eggs:
The pupils were instructed to decorate two wooden Easter eggs for Easter in the branches (a “Twentse” tradition) Some pupils stamped also animals such as chickens and Easter bunnies. Others made certain patterns on the eggs.
More stamp technique:
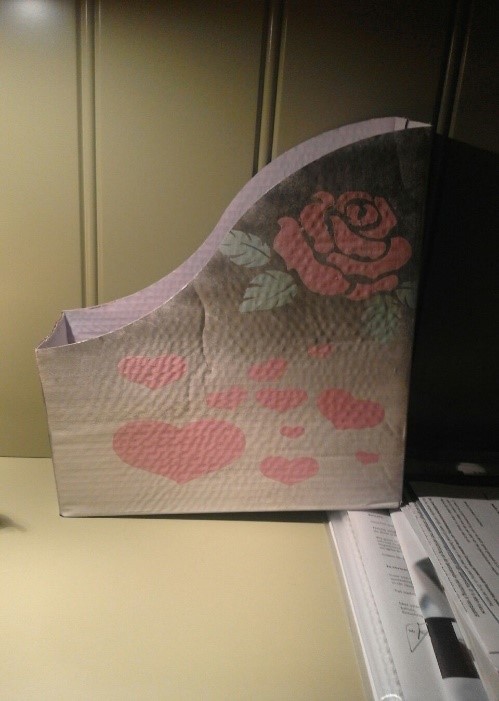
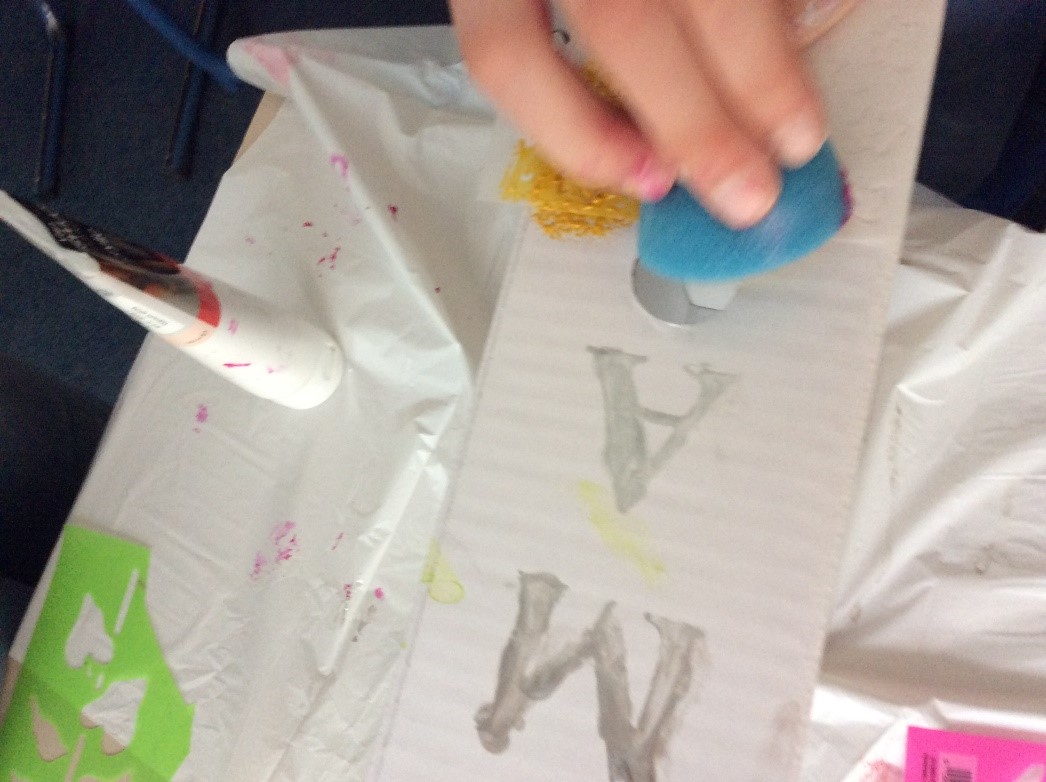
The pupils from group 8, in the age of 11-12 years, have created a beautiful arts and crafts work for mother’s day… the label of a file. A file in which mother can save inrecipes and/or magazines.
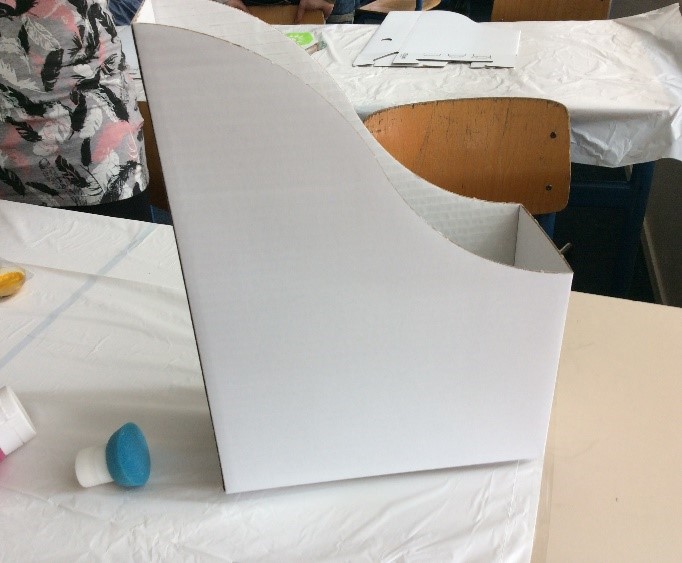
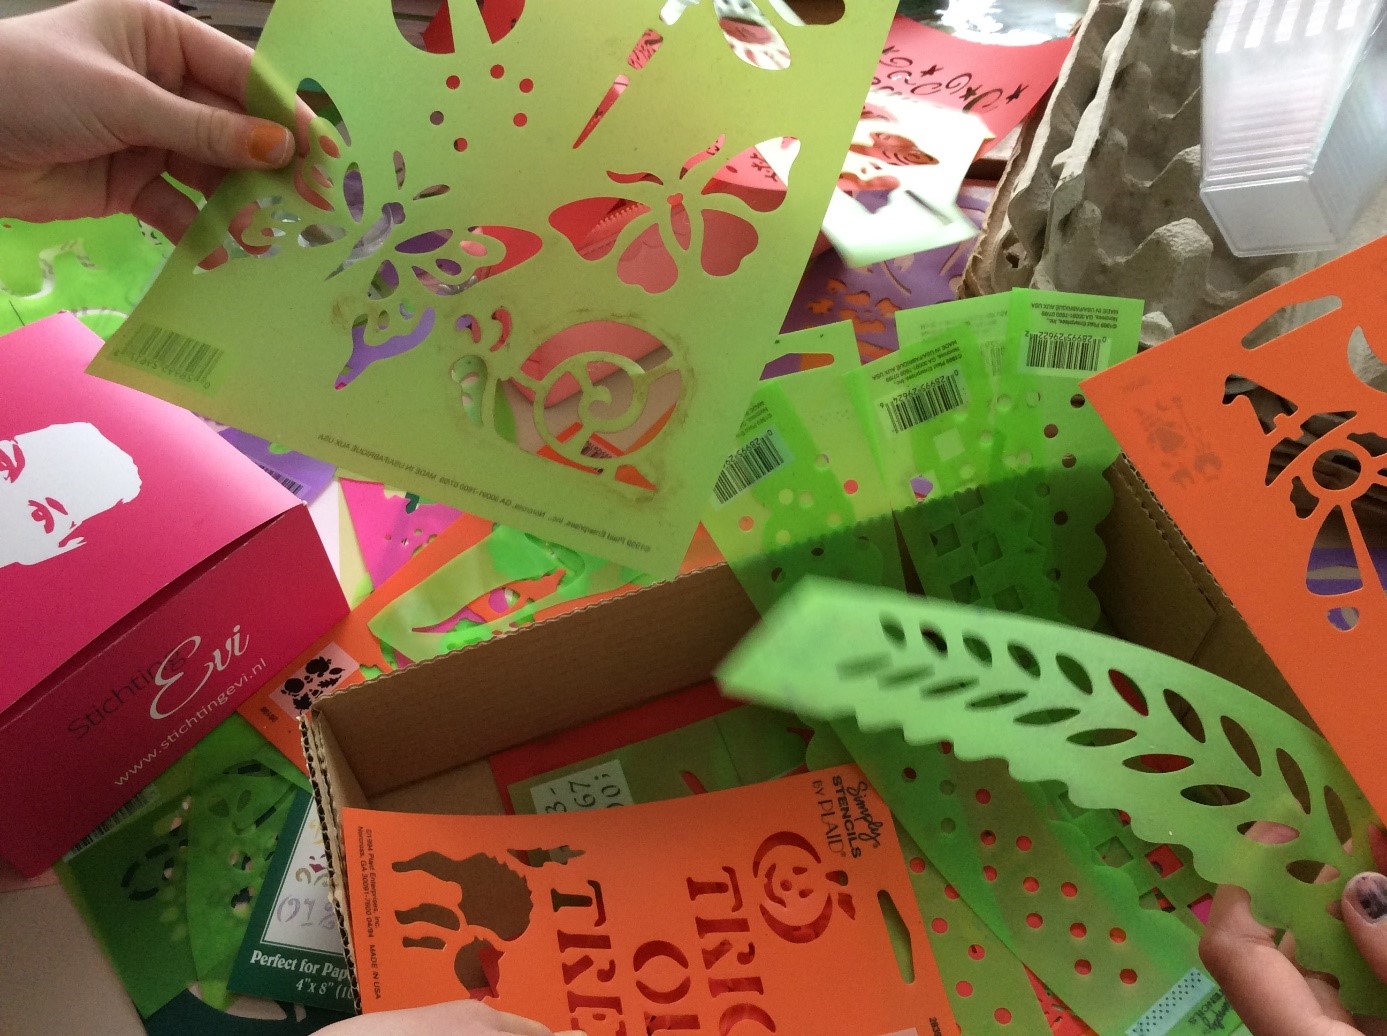
You can go with stamping: a potato/lemon or other fruit that have a nice texture, cork, paper, figures from cardboard. Then the teacher showed the pupils some examples on the internet templates, with which the children can edit their mother’s day gift. ( photo 1 below)
1. 2.
2.  3.
3.  4.
4. 
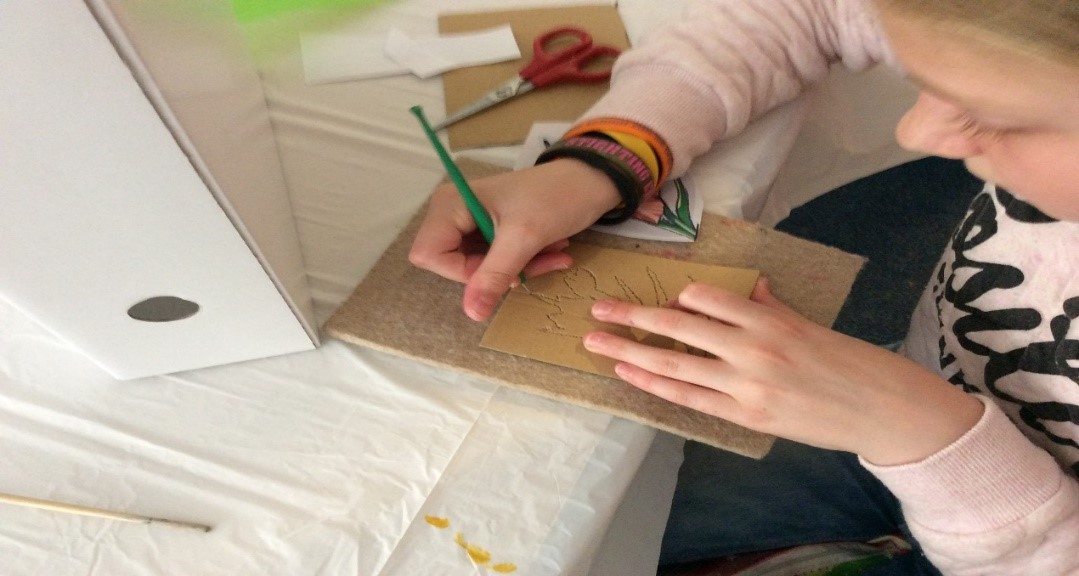
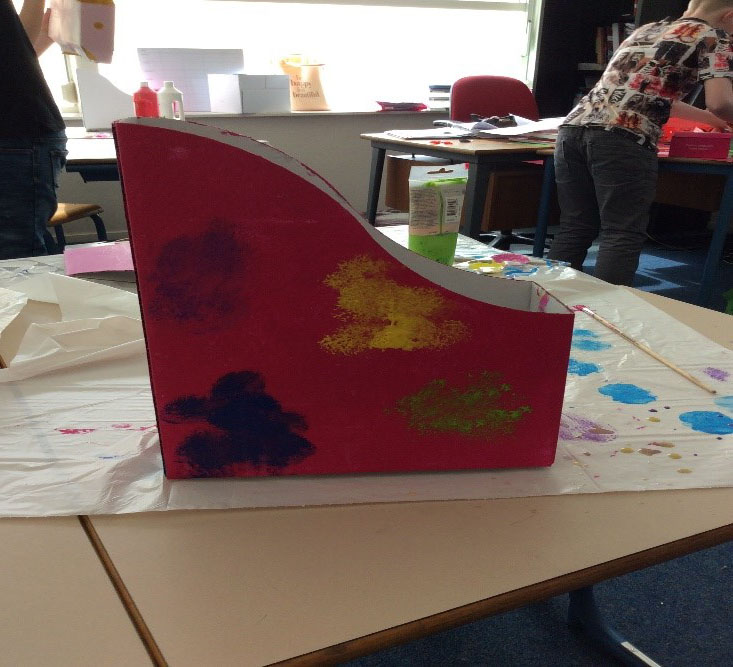
First pupils have painted the white cardboard in their favorite color. Some children used just one color, some used multiple colors. ( photo 2 above)
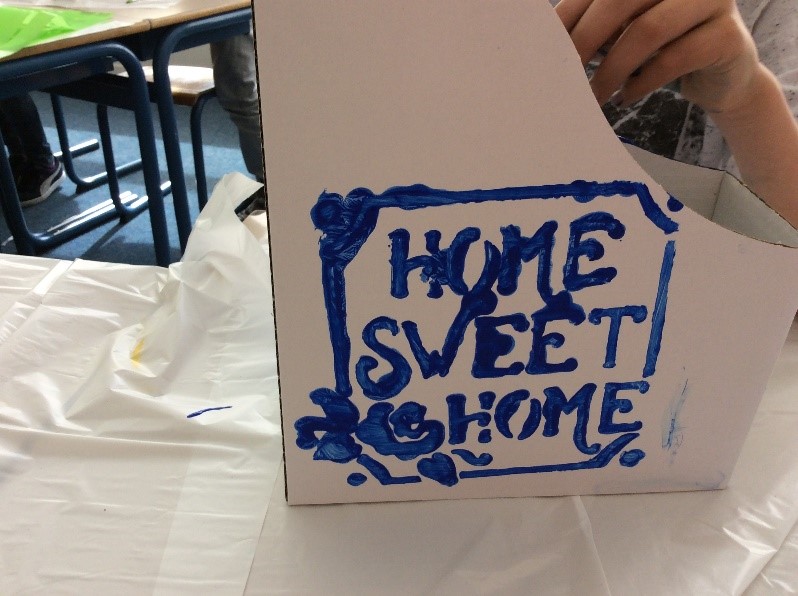
After painting many children have drawn a private template on the cardboard, then they cut them out of the template. Then pupils could paint the template on the work piece. ( photo 3 above) A pupil has drawn the letters of ‘ mama ‘ and cut to this on the side of the lever arch file stamping. ( photo 4 above)
Some results of the pupils:
Animals drawing in group 4/5:
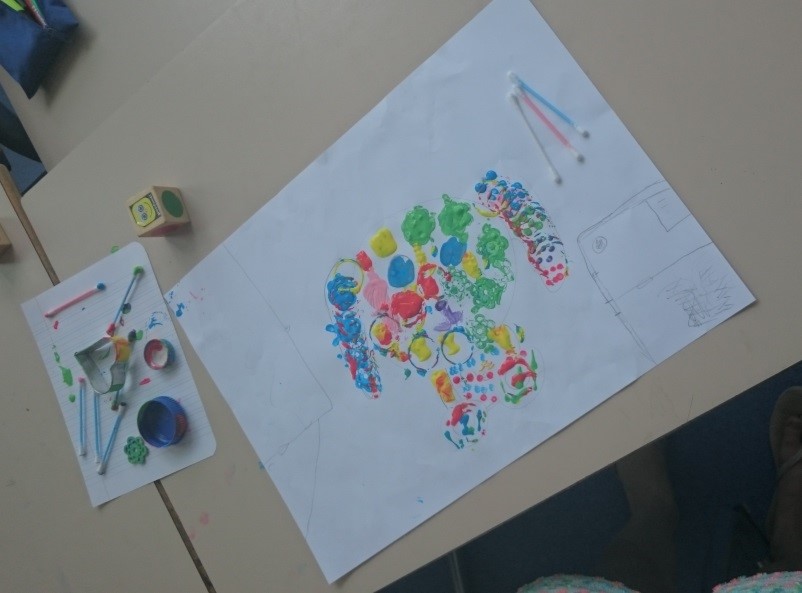
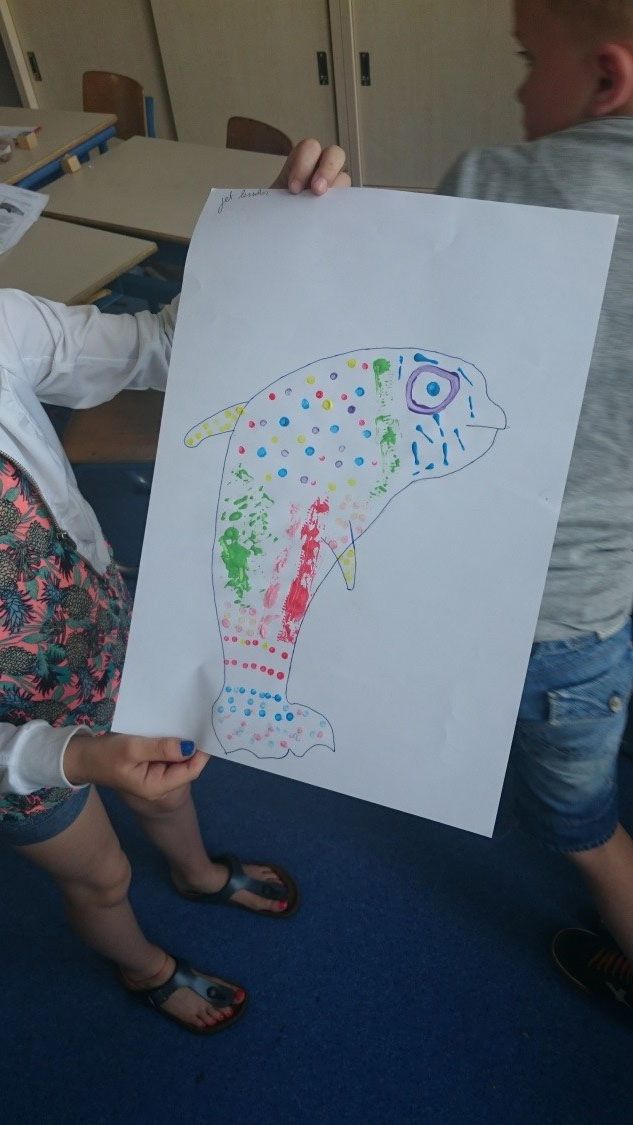
Pupils chose to draw an animal on A3 size. They went on its own initiative to the computer in order to find examples of animals. When the animal was signed the animal should be signed by colouring or using the punch technique. The children used for stamping different materials such as: cotton swabs, clothespins, wooden characters flowers, bakeware and potatoes. Some children even cut figures from the potato. When the whole animal was filled with stamps the outside of the animal was defined with a black marker. Have a look for the pictures for the result.
Fantasy animal through stamp technique group 6
On this picture you can see that the students of group 6 are brainstorming about the fantasy animal that they are going during the drawing lesson. In pairs the children work together to create ideas. The children use examples of animals drawings of other children and of the imagination.
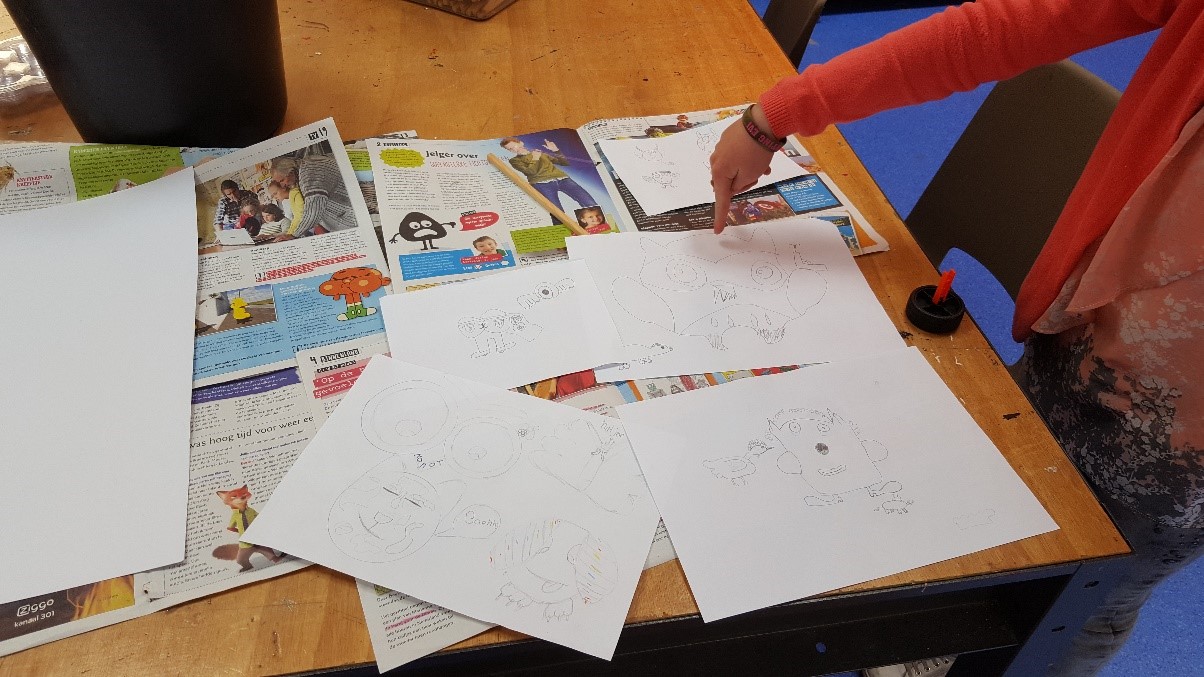 On this photo you’ll see that the pupils from year 6 go make a choice of the different fantasy animals. The pupils of each picture take the strongest points after which they combine this go to an end product.
Here you can see that the pupils from year 6 to the painting with logs (free of charge). The first forms of the fantasy animal become visible.
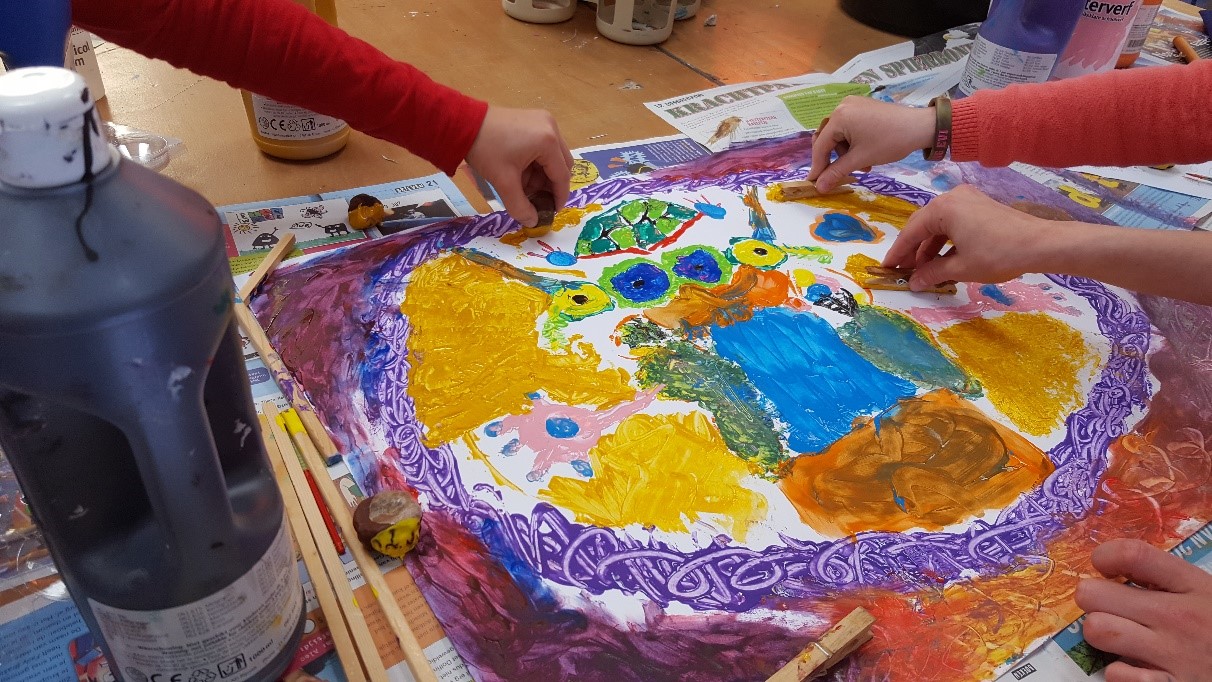 Here you can see that the pupils from year 6 are finishing the final points by using clothespins and chestnuts. Here the drawing reache almost the end point.
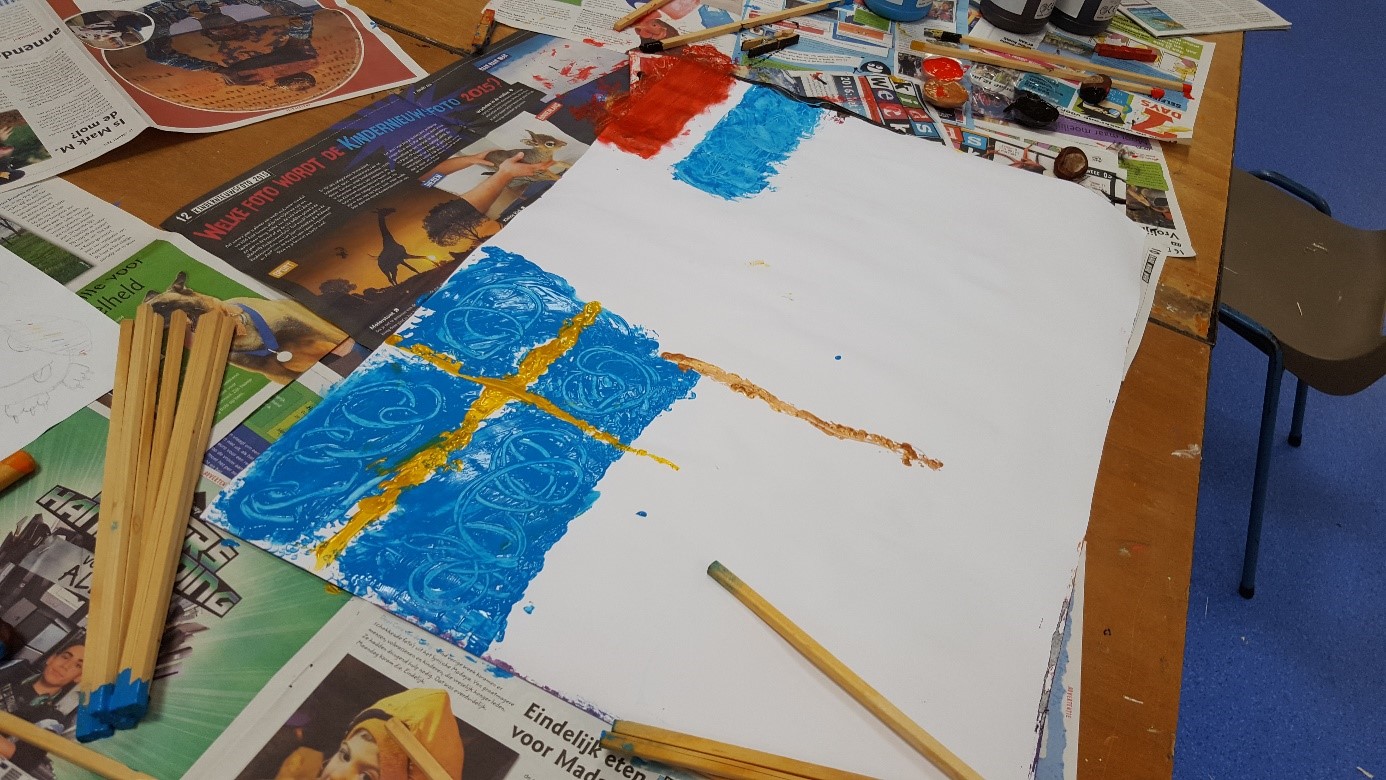 Here you’ll see a nice initiative of the children from group 6. They found the back of the drawing ‘ boring ‘. The children have chosen to the back to fill with the national flags of Sweden and Netherlands.
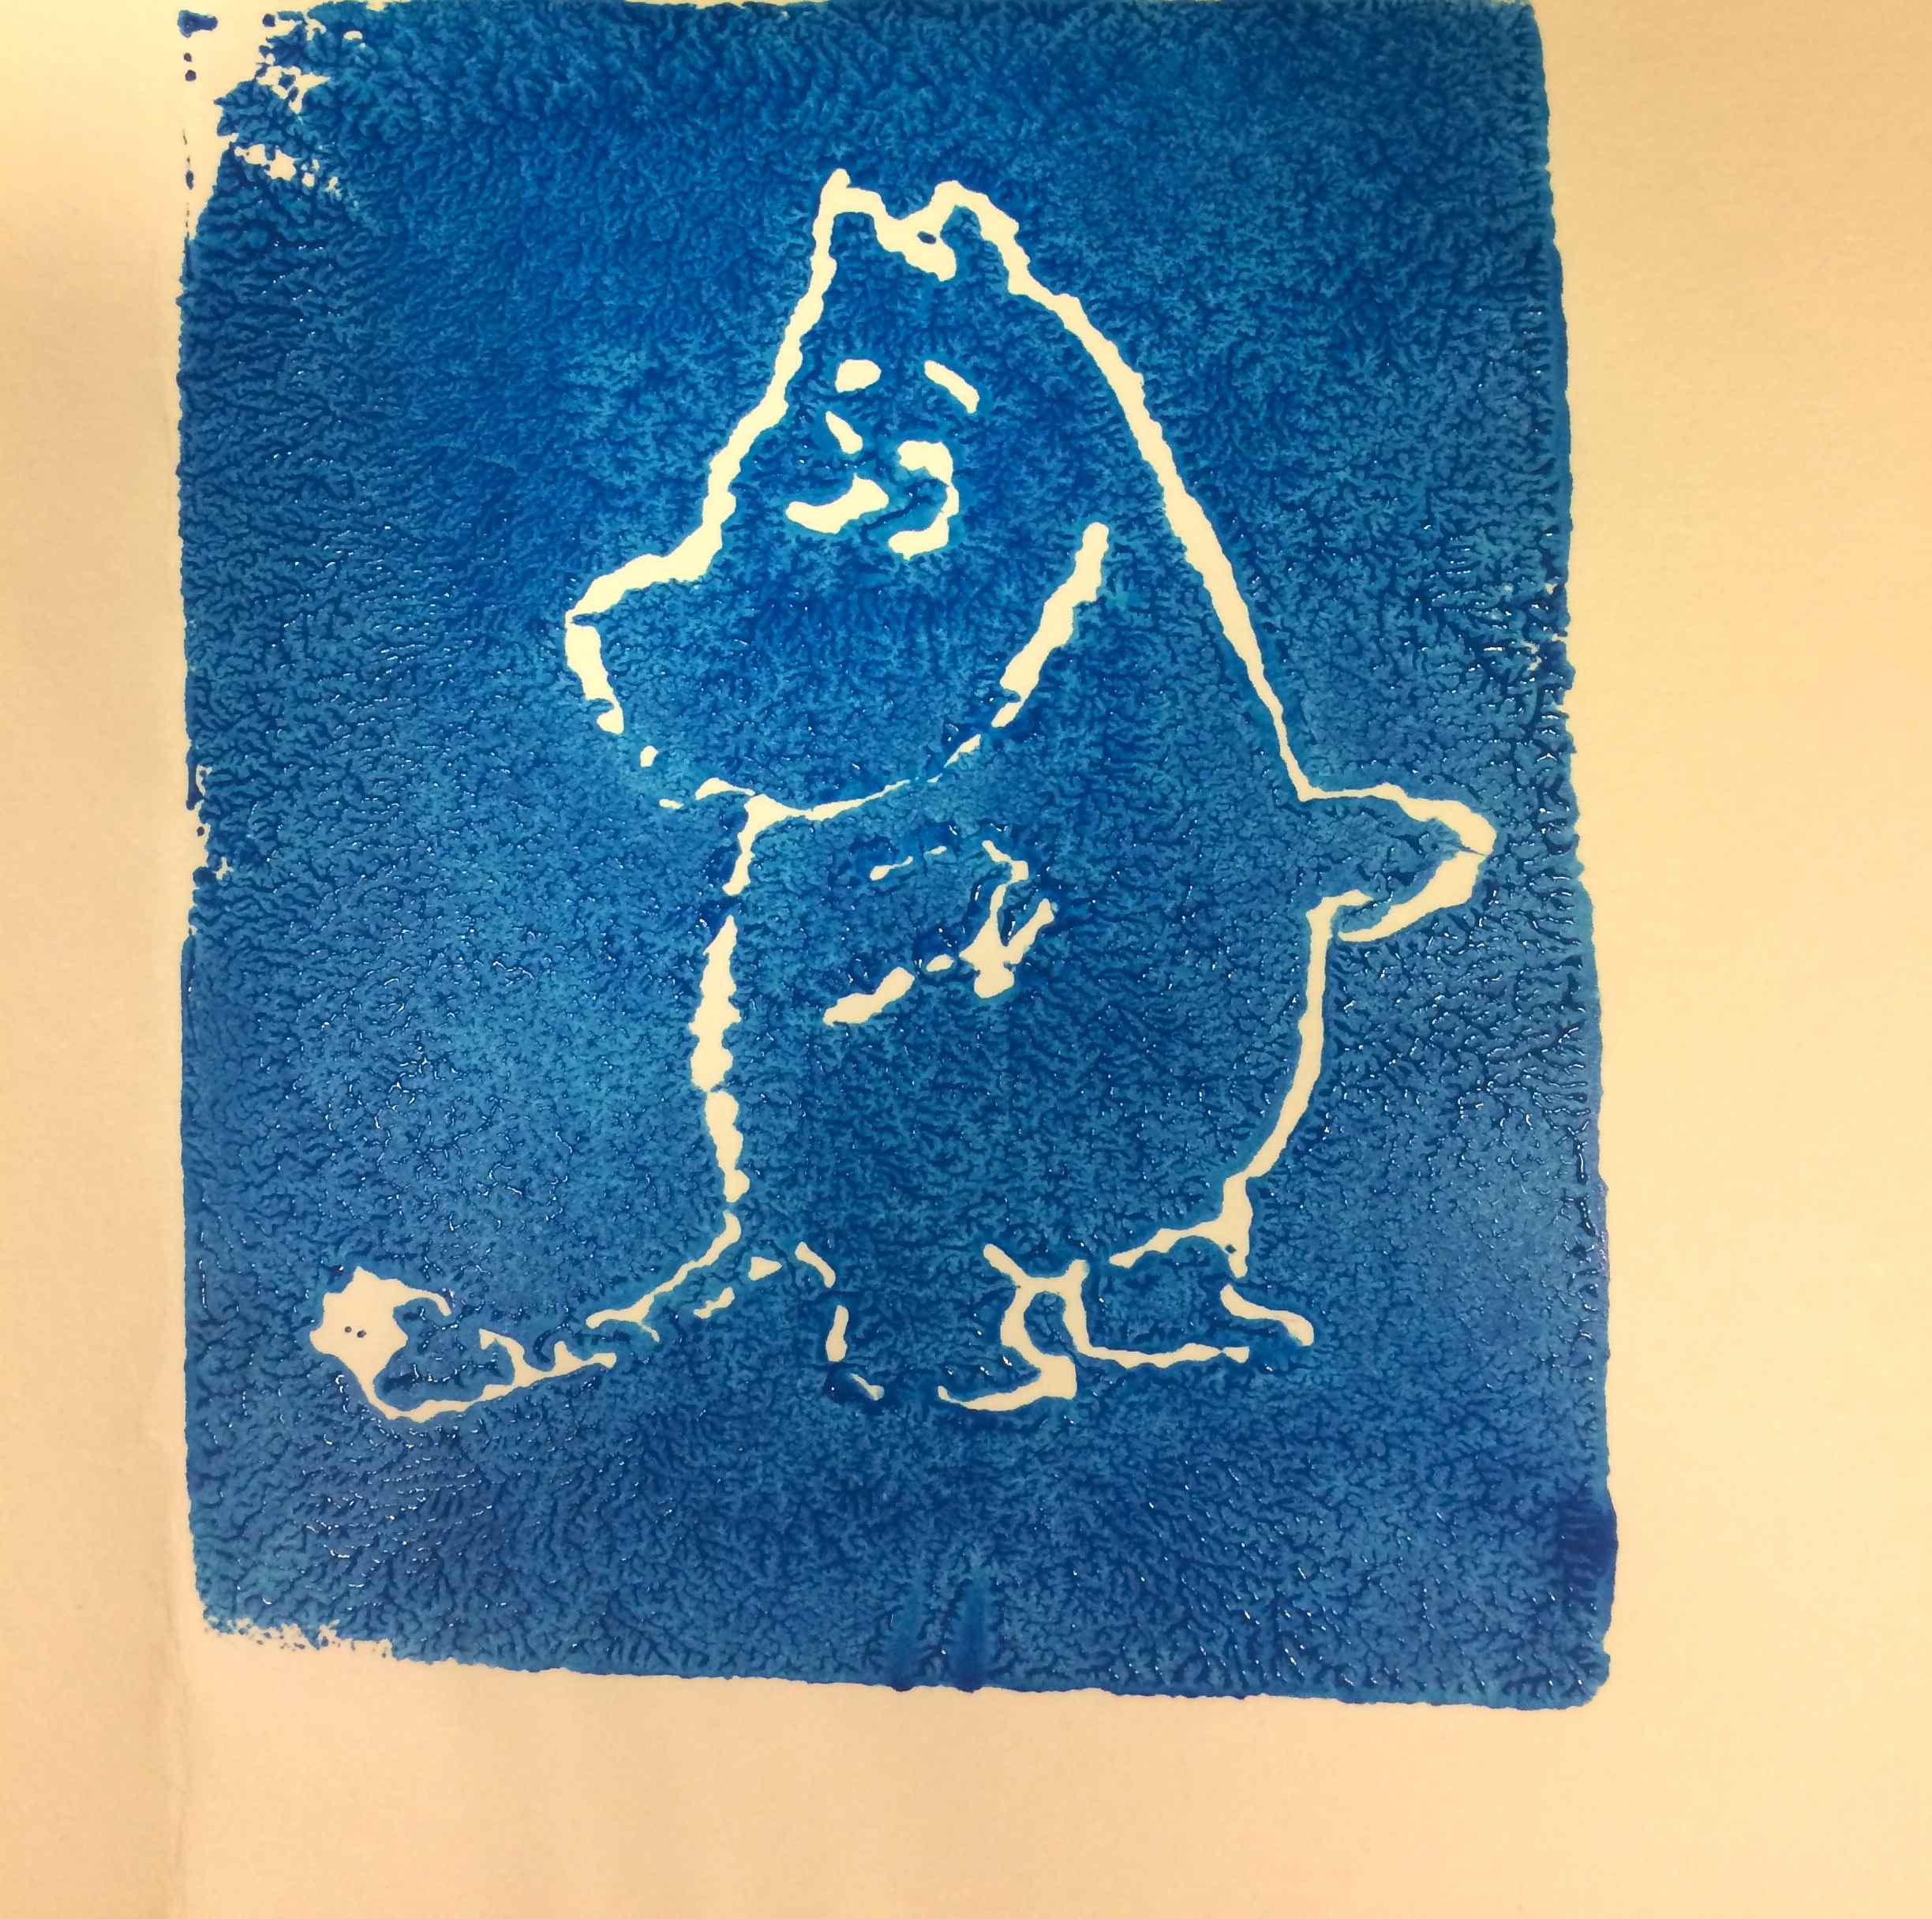
Les élèves de CE1 ont utilisé la technique de l’impression pour créer un “flip flap book” intitulé Where is Moomin ?

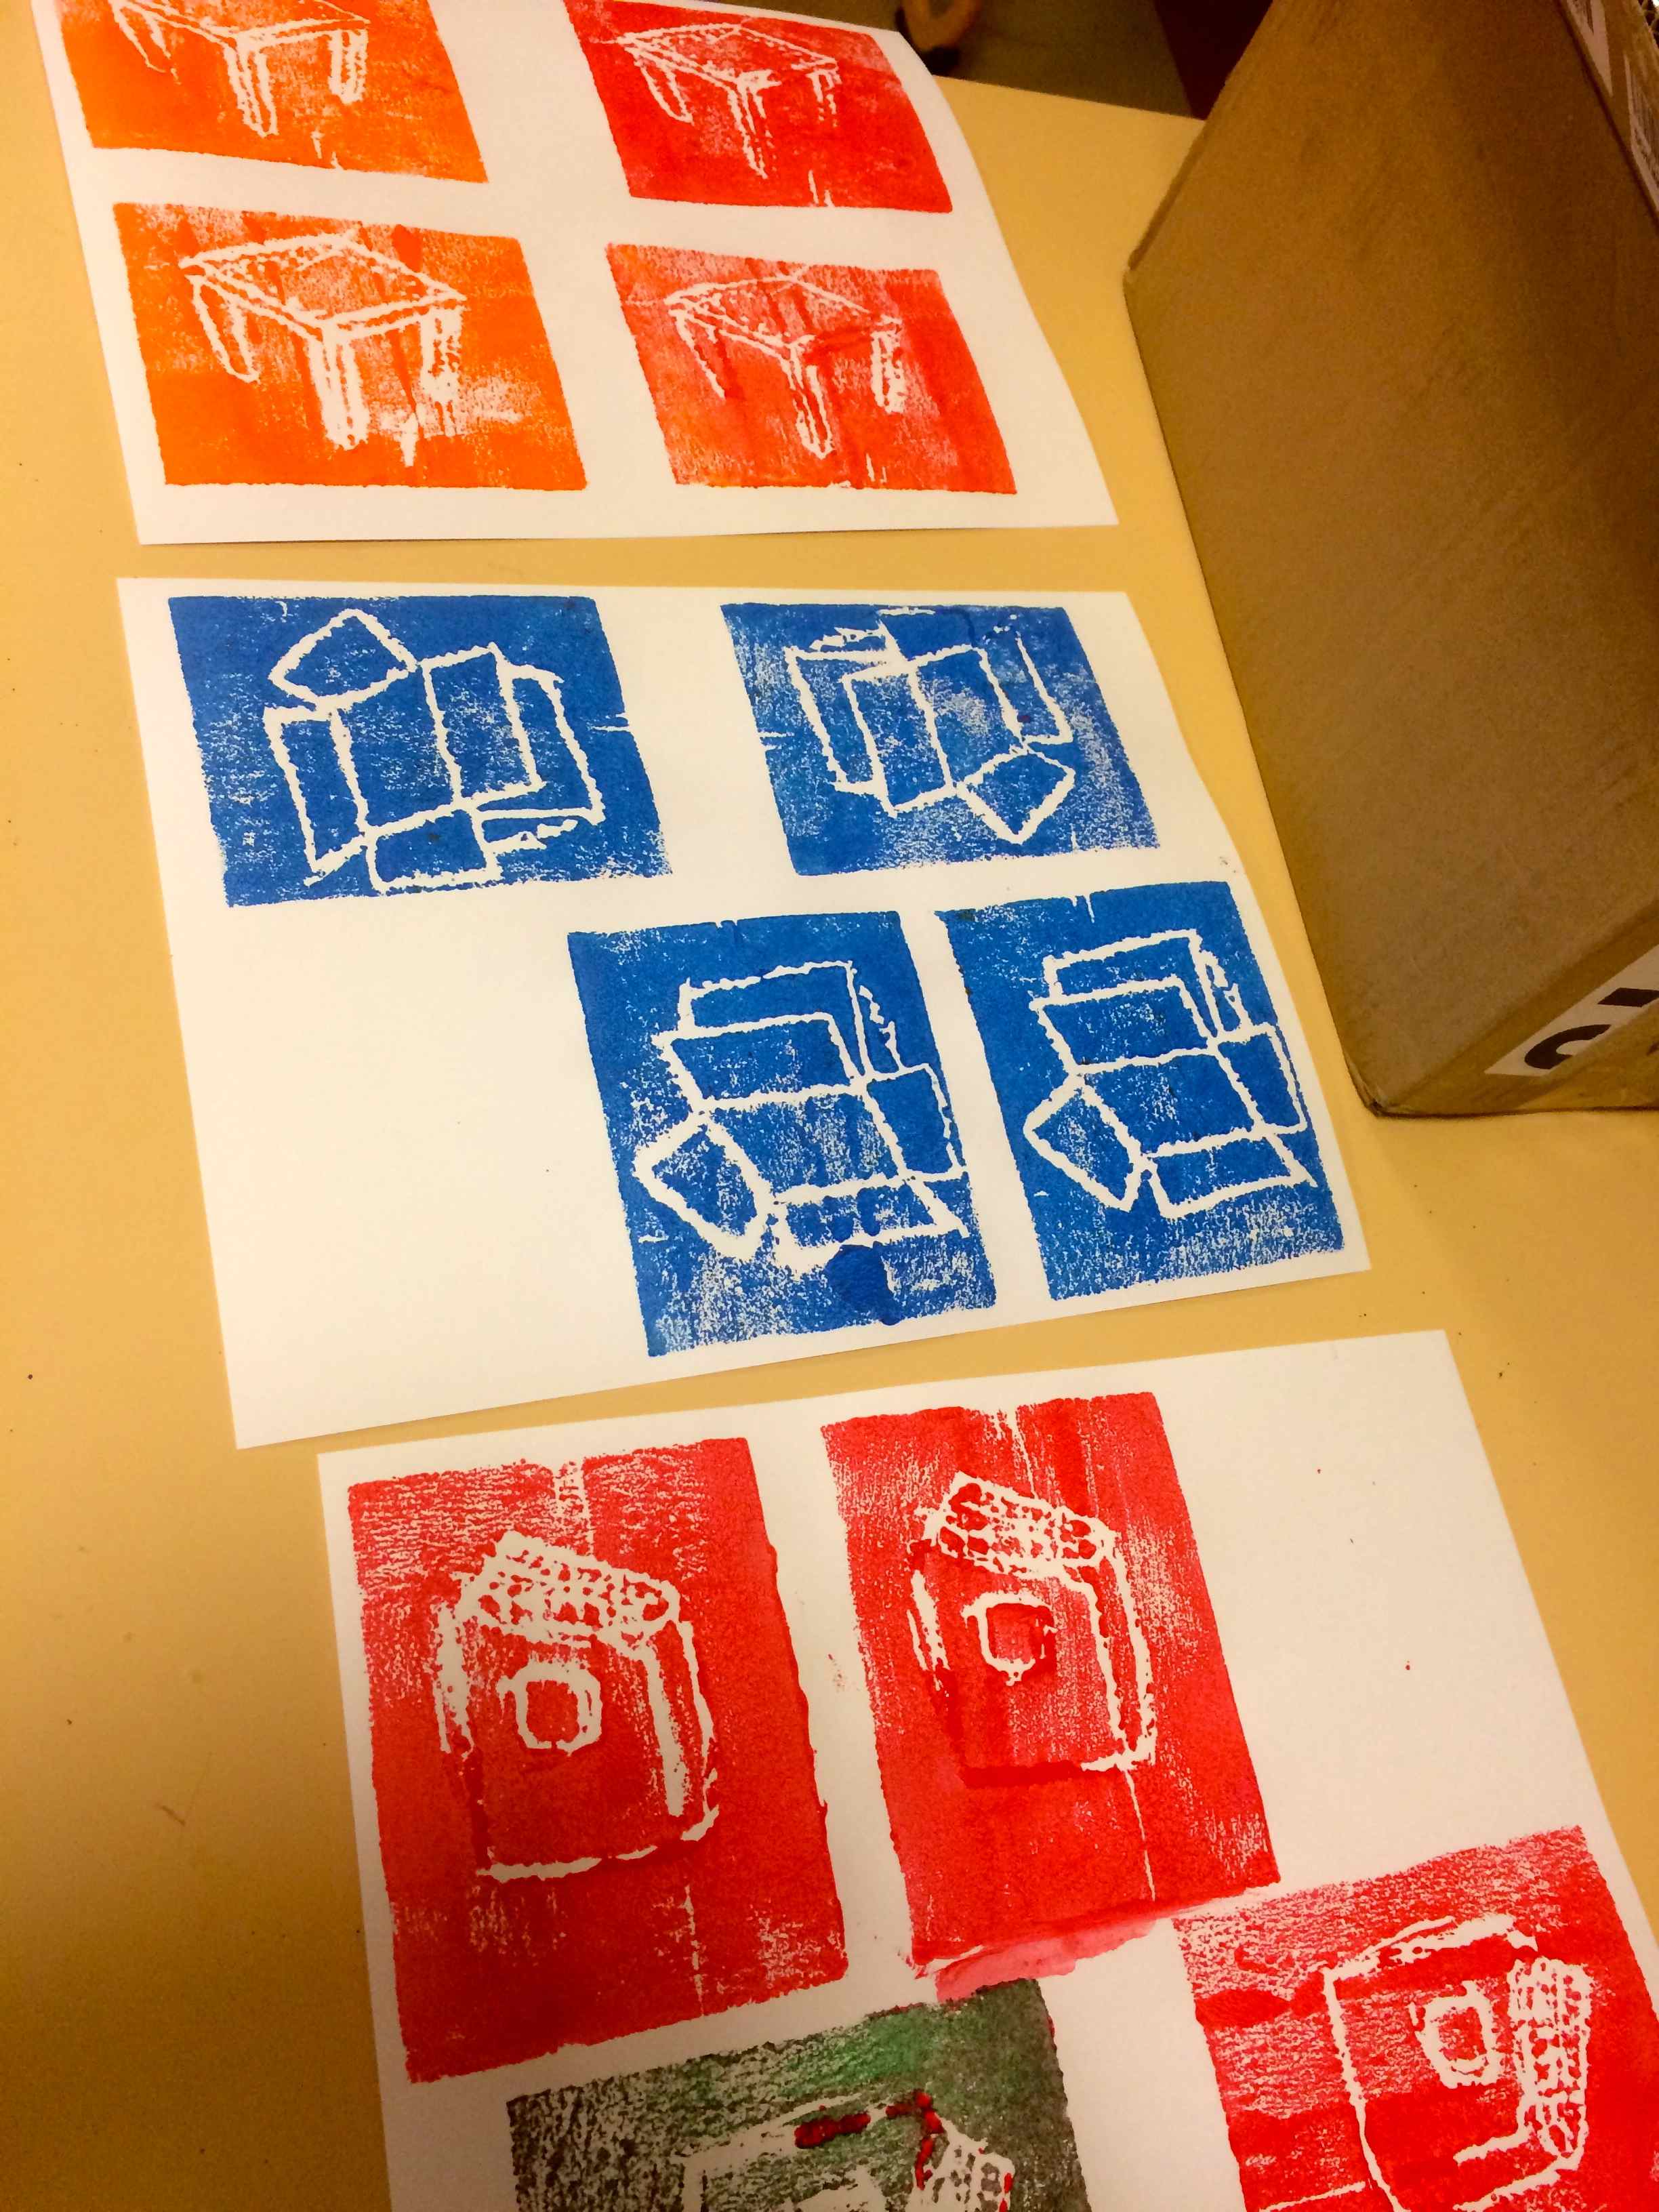
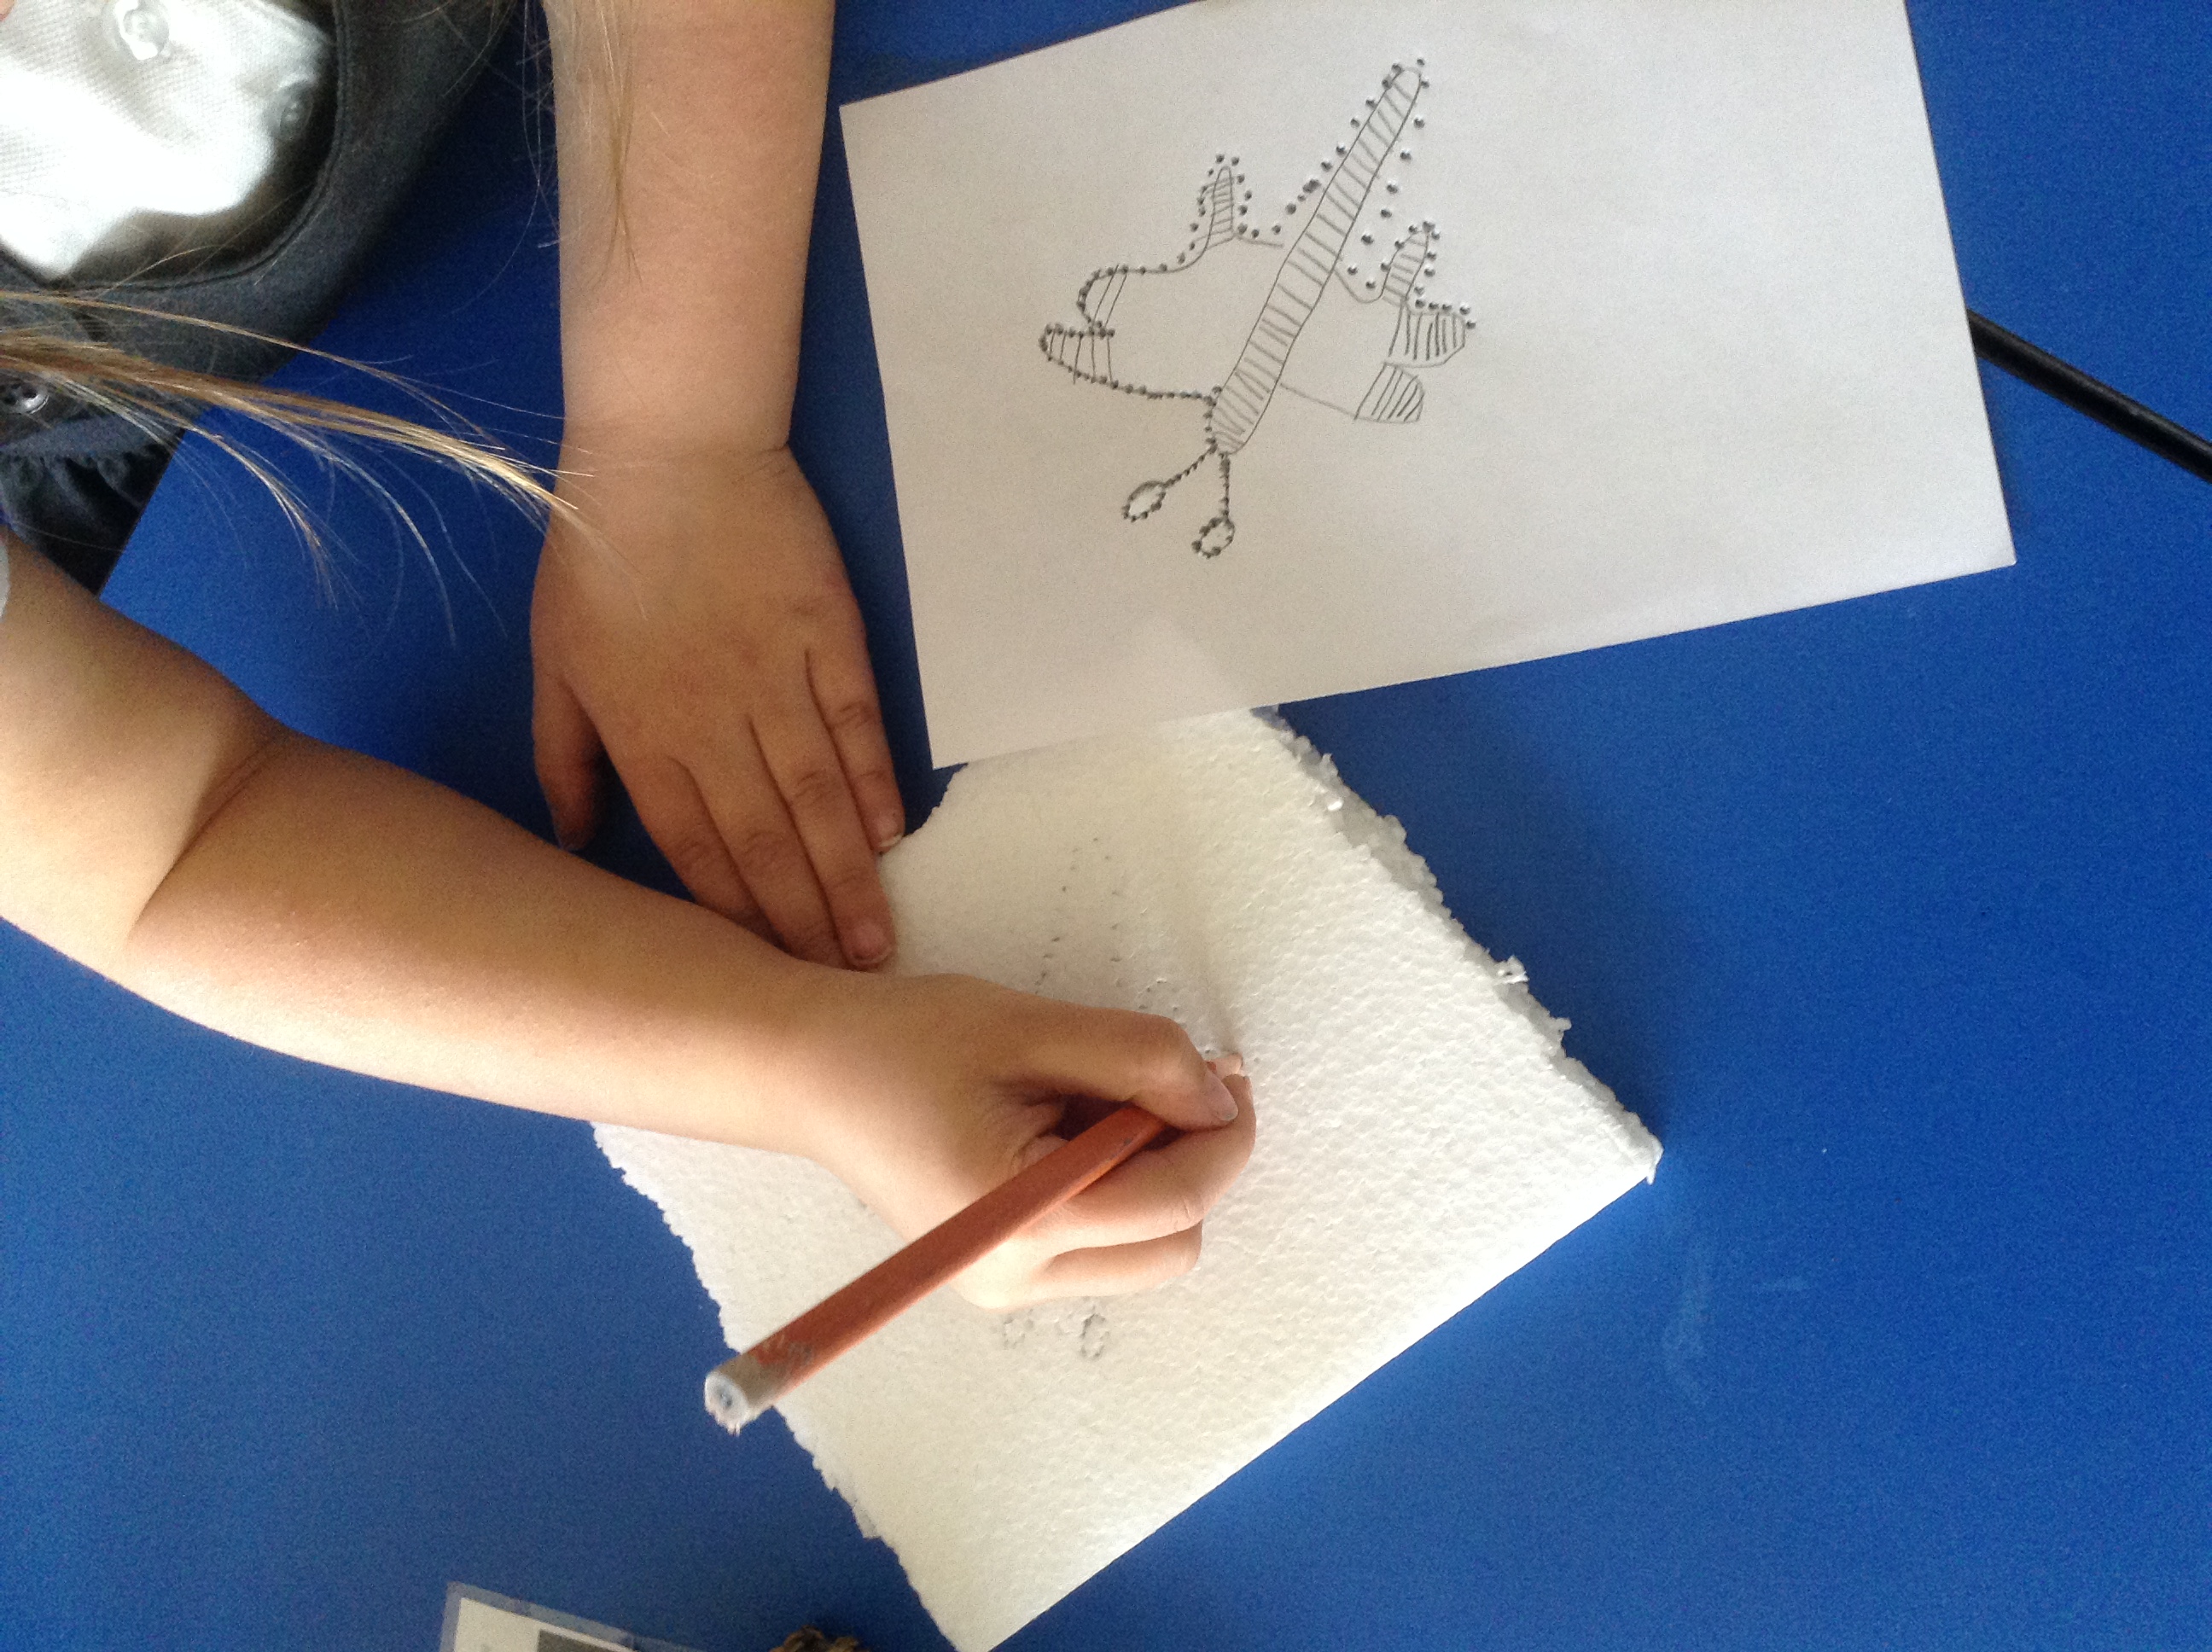
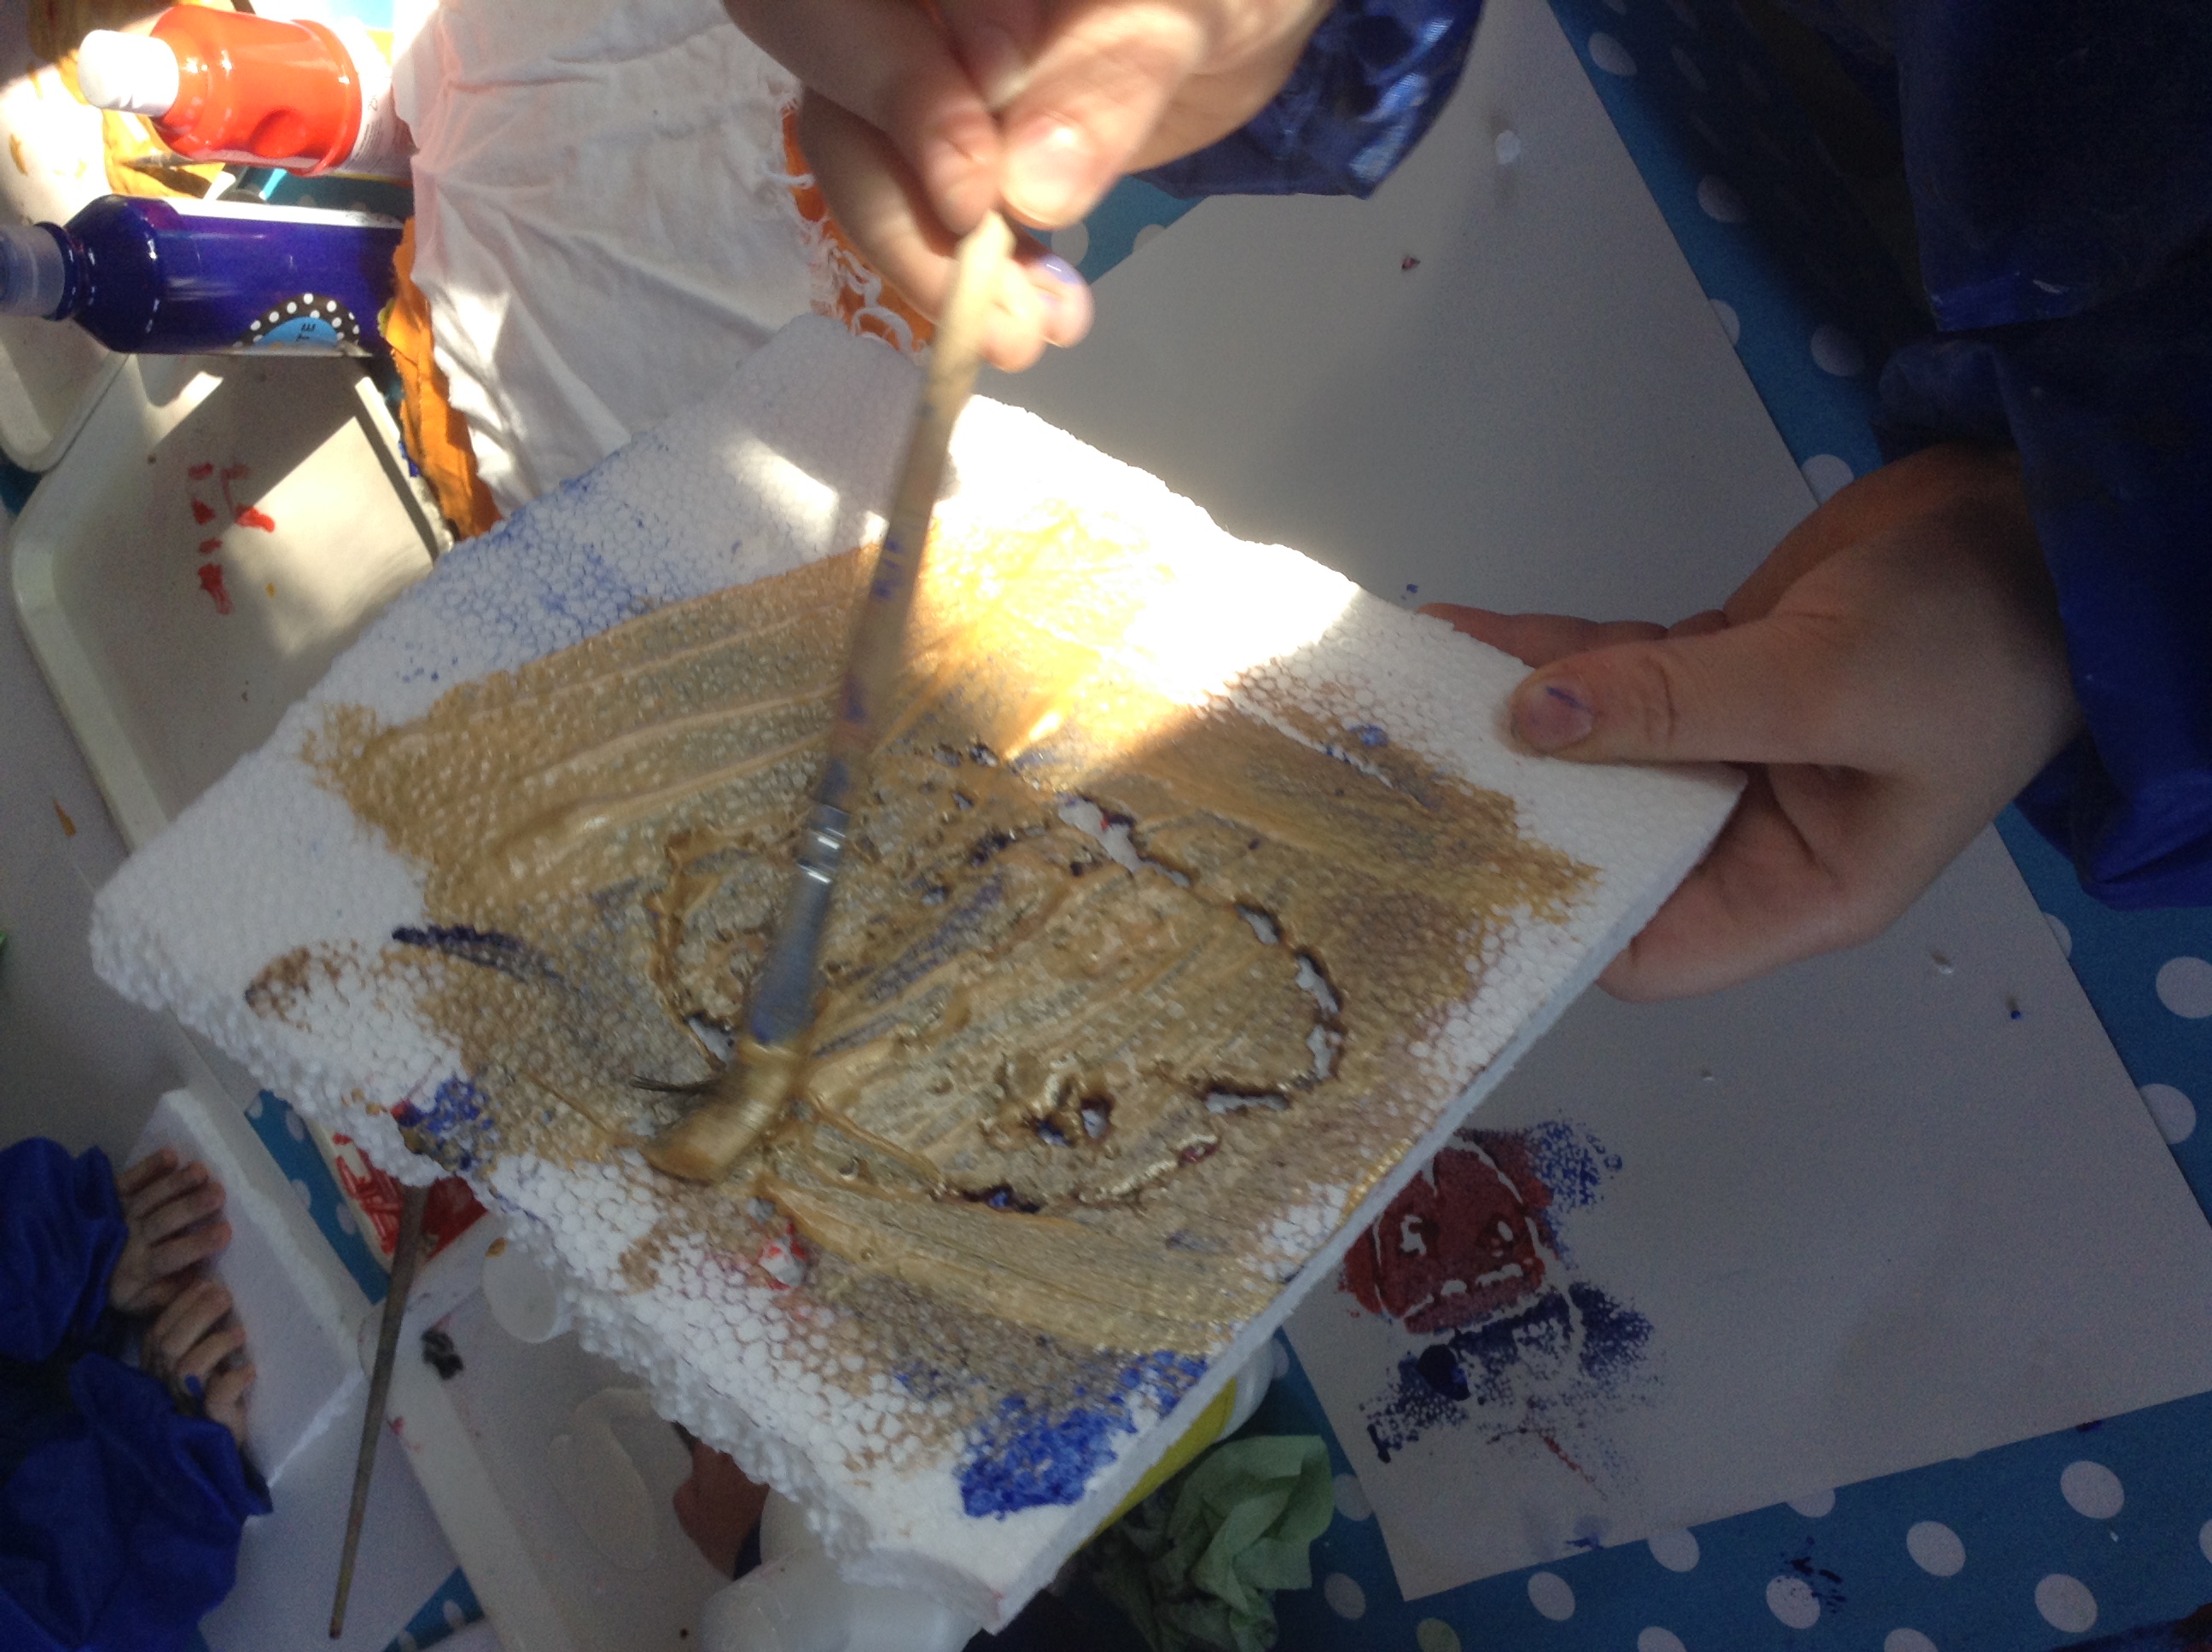
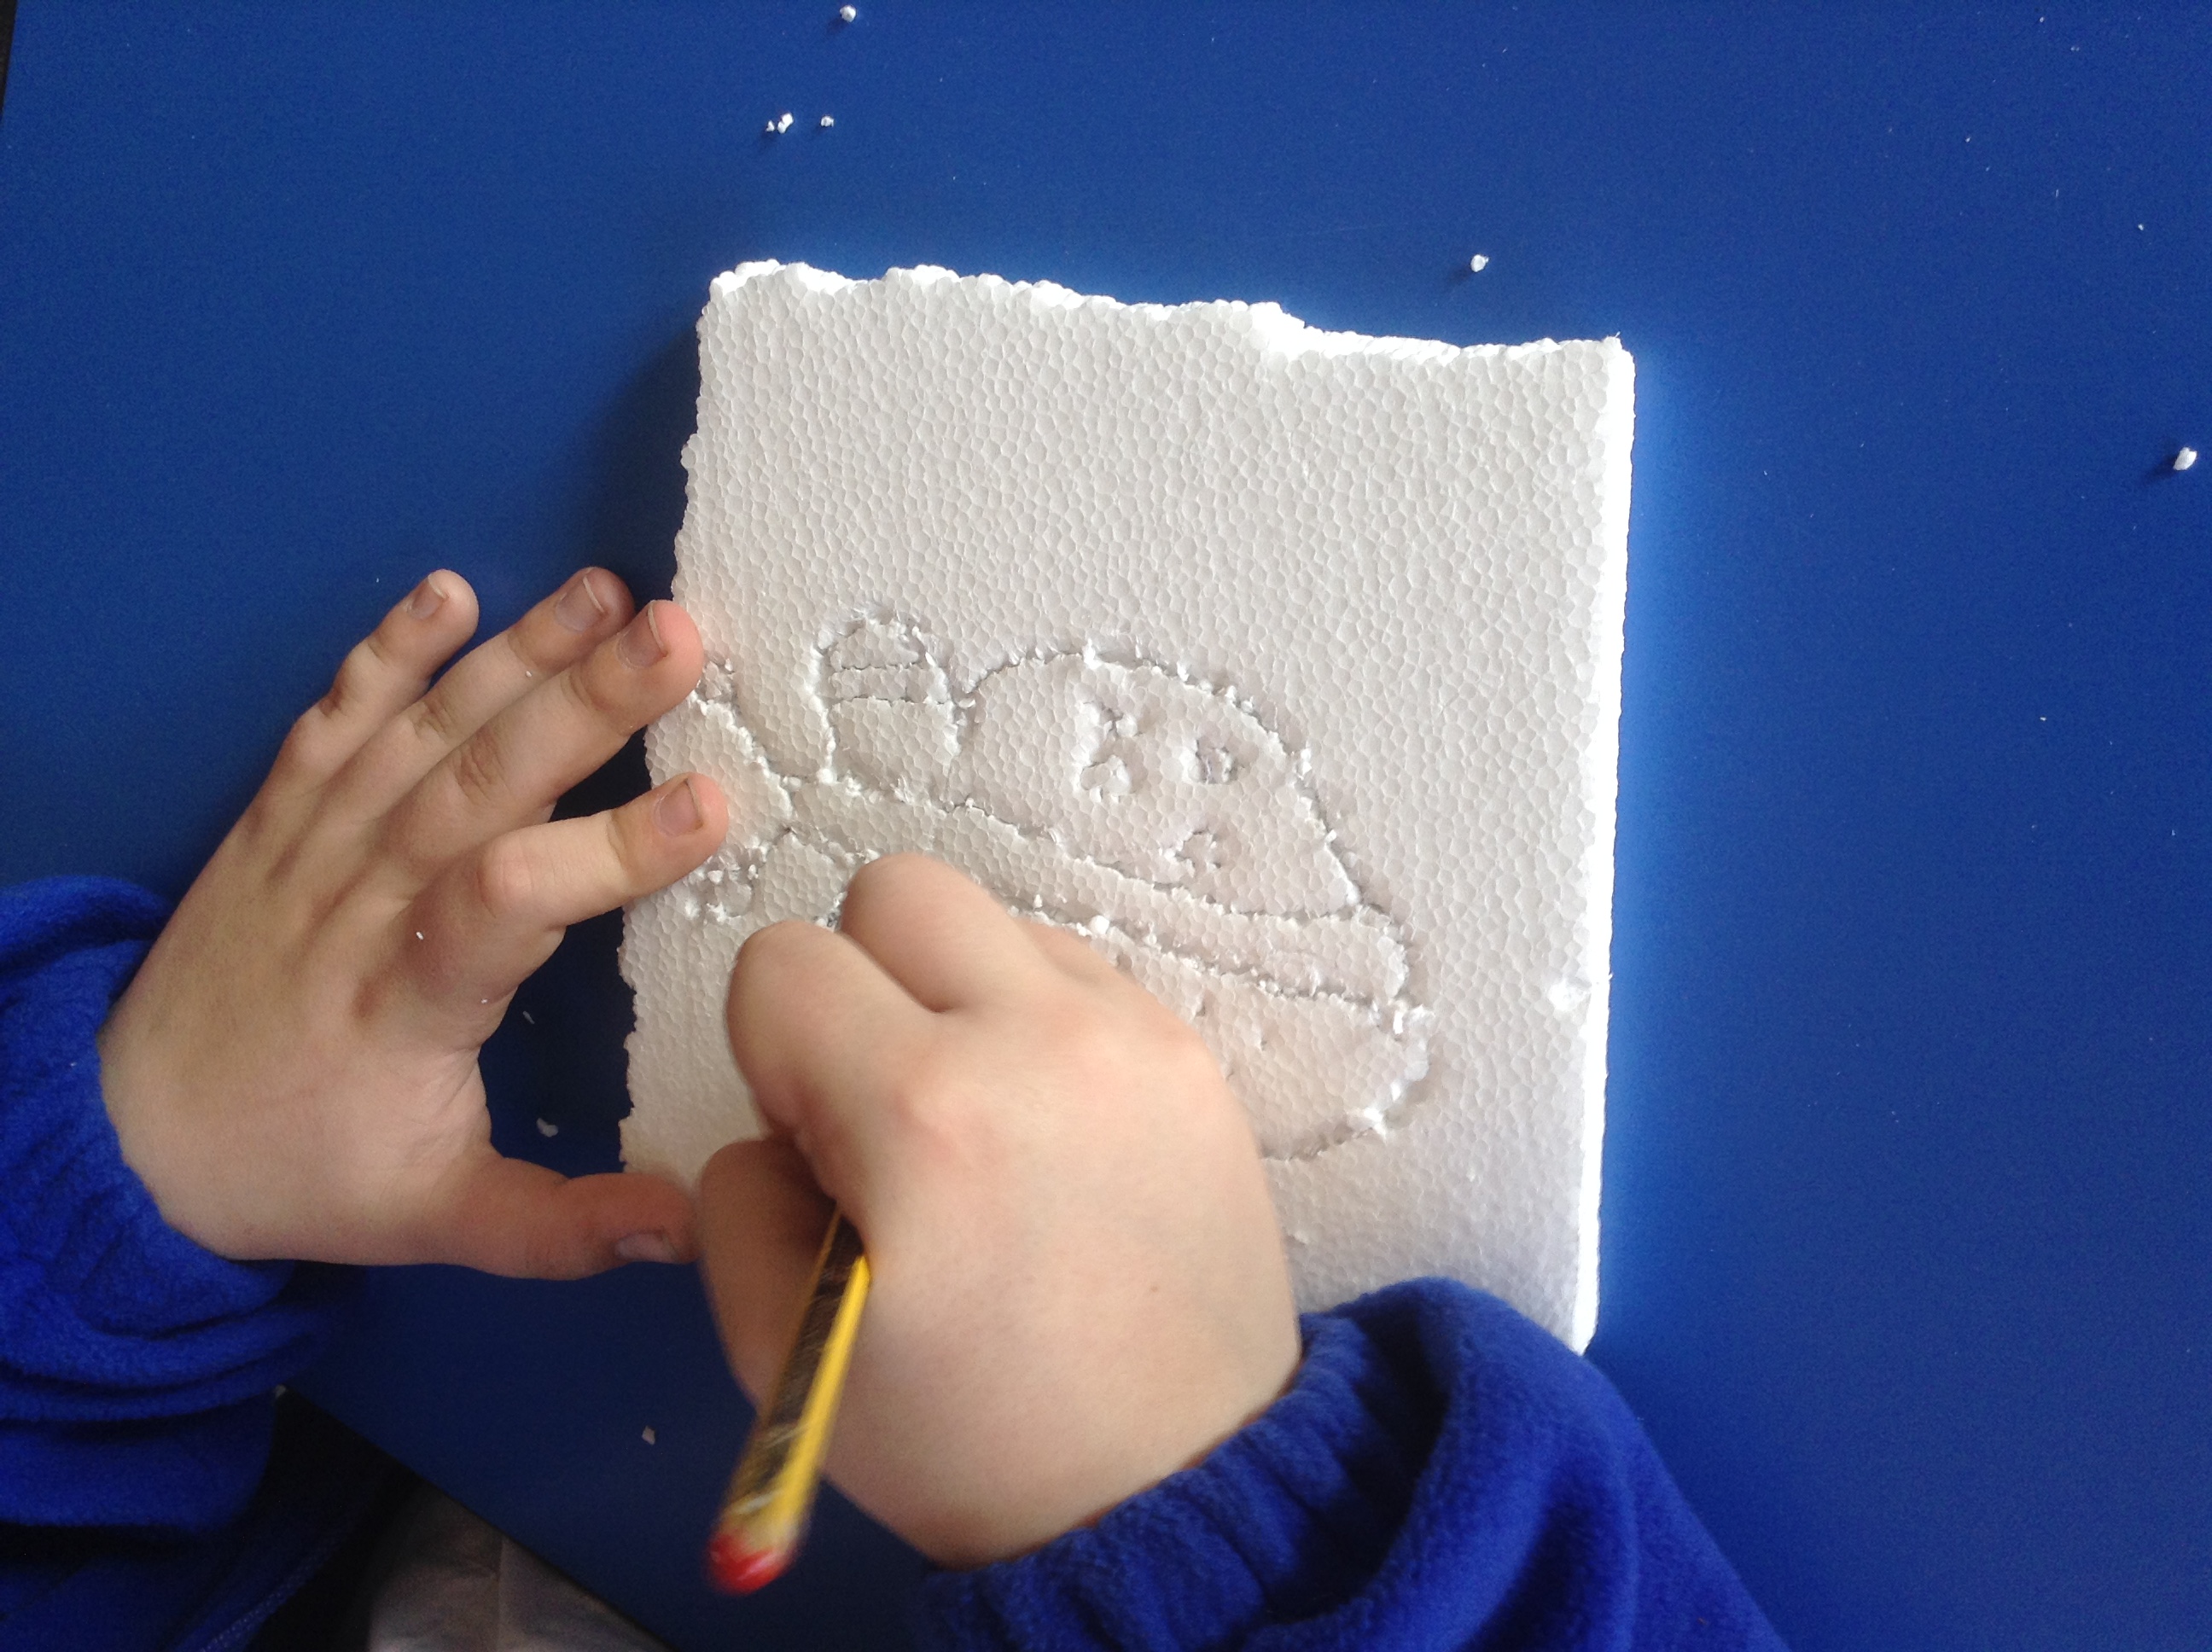
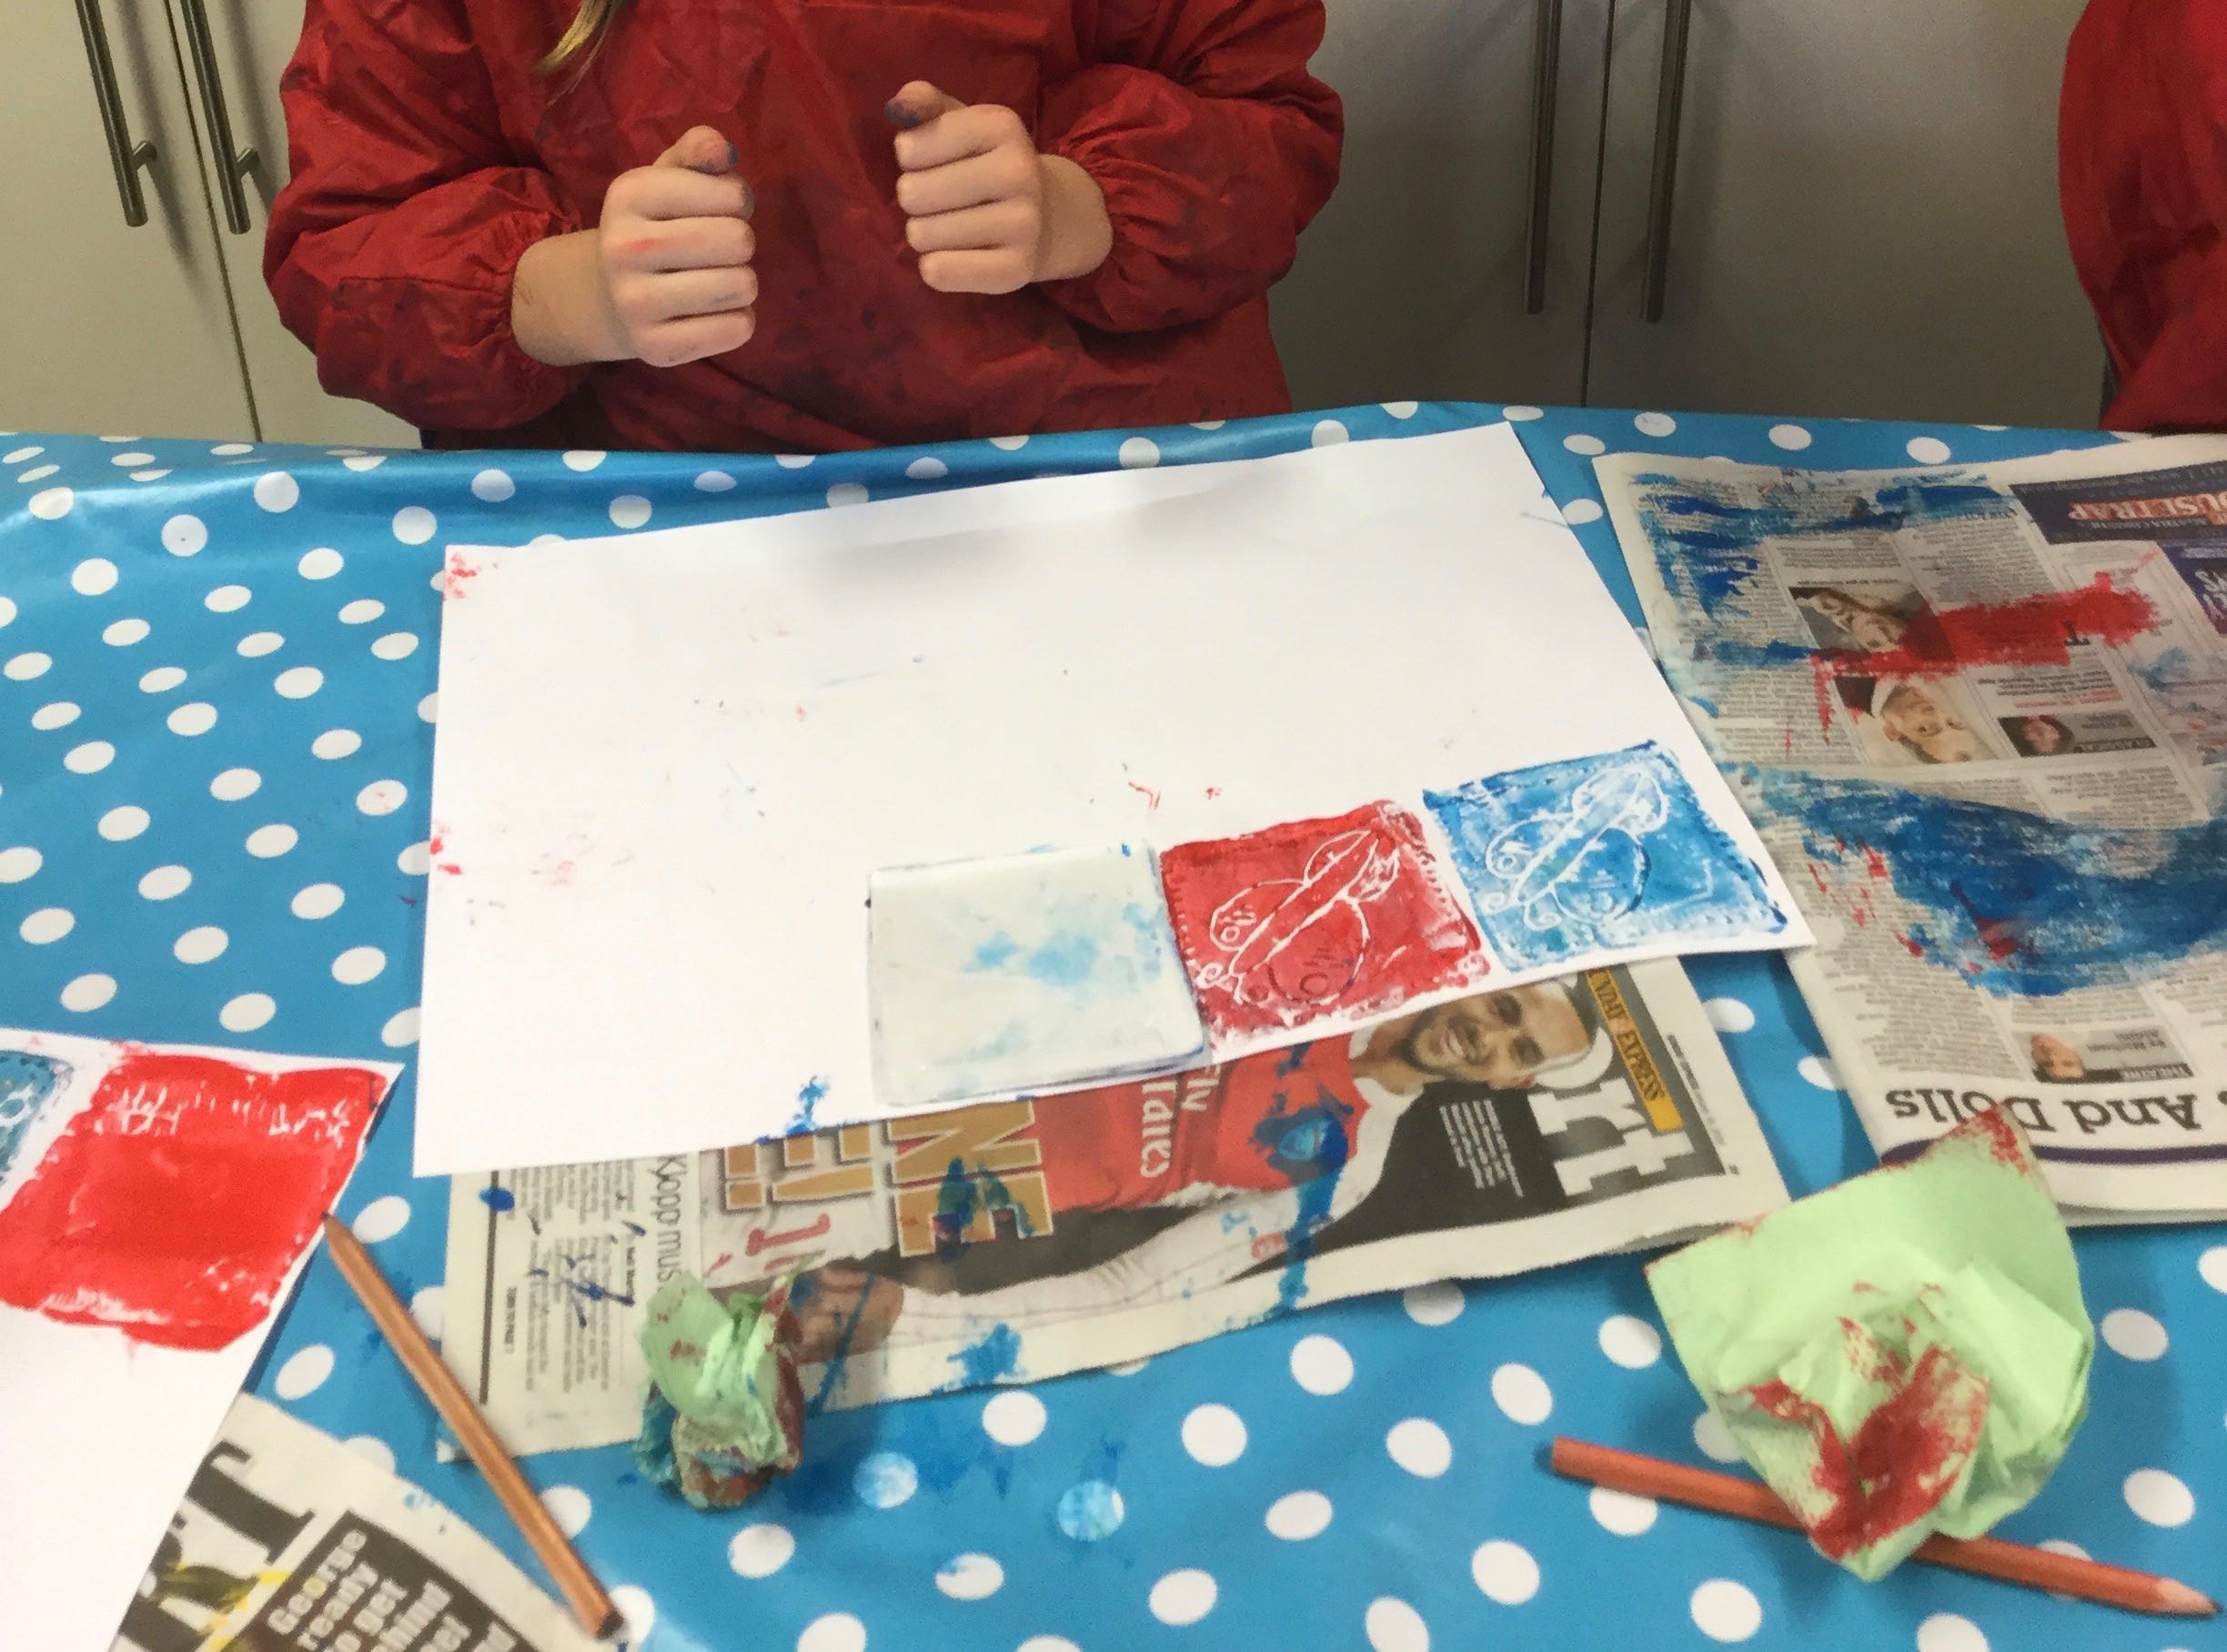
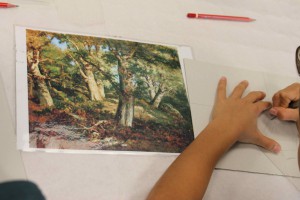
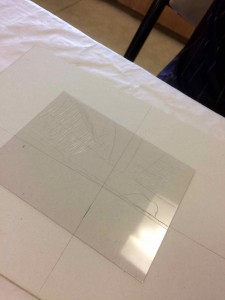
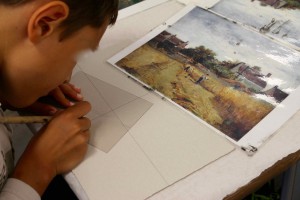
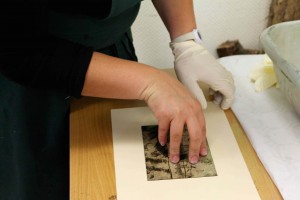
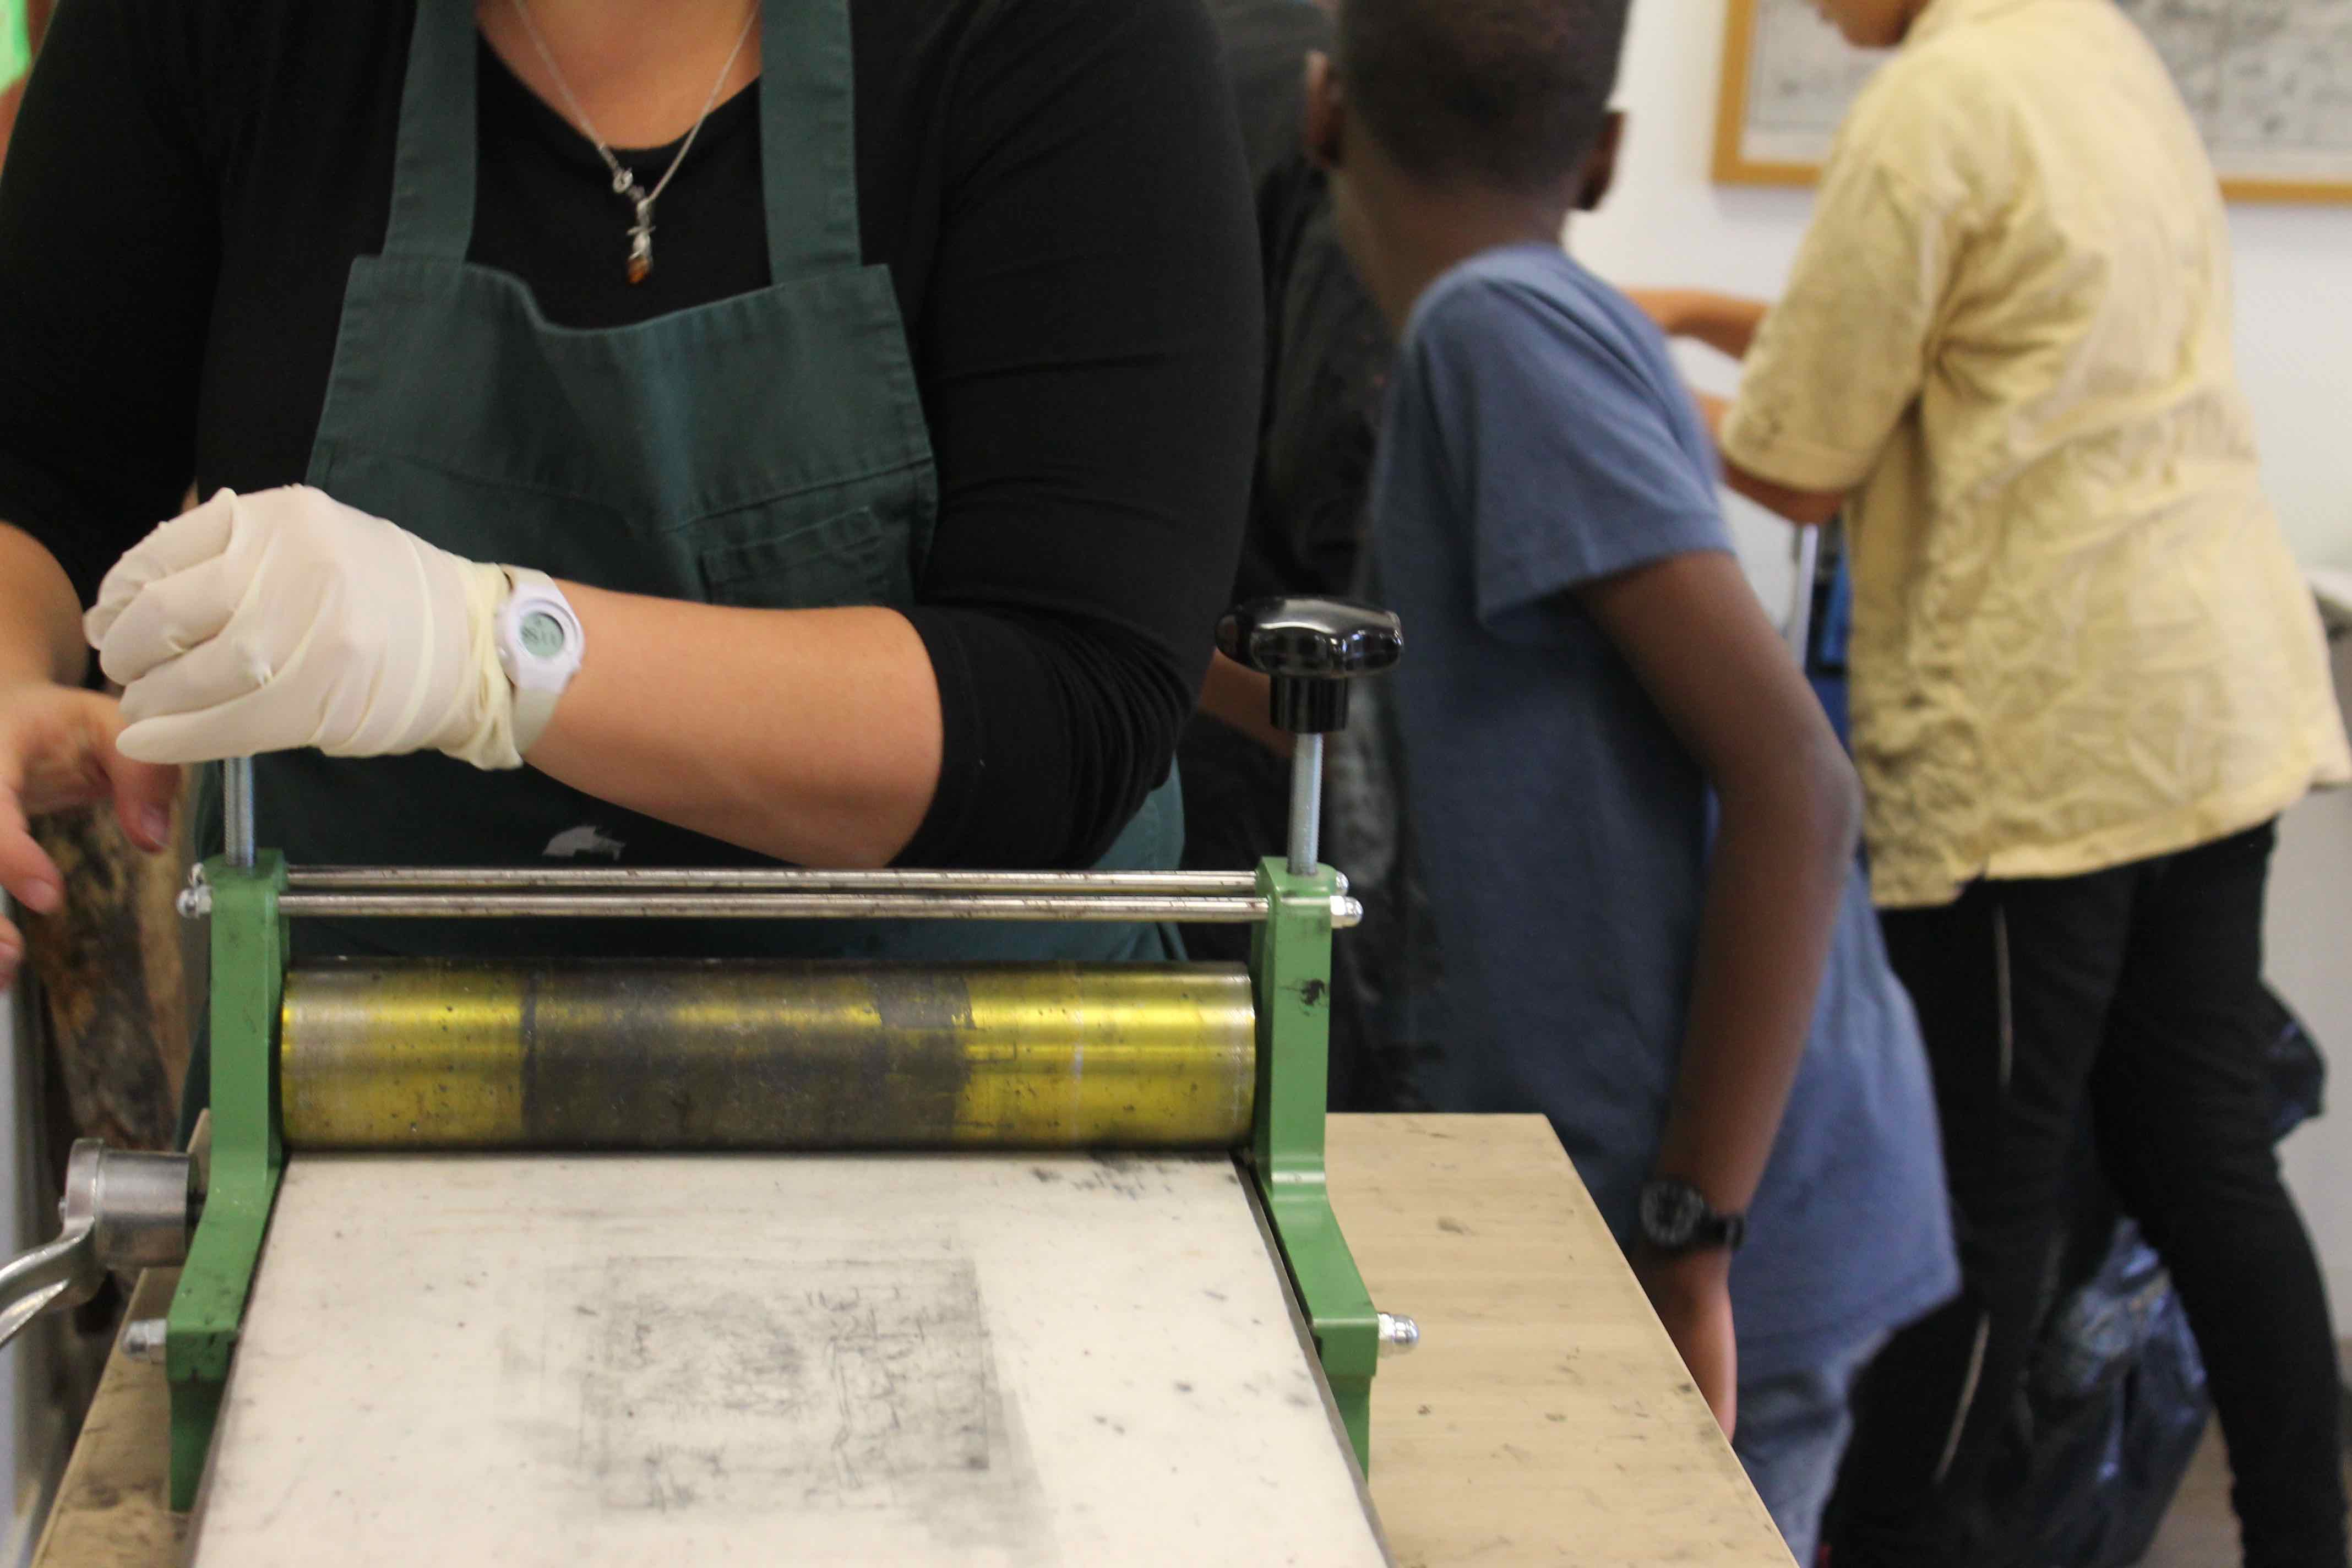
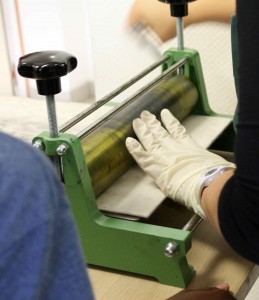
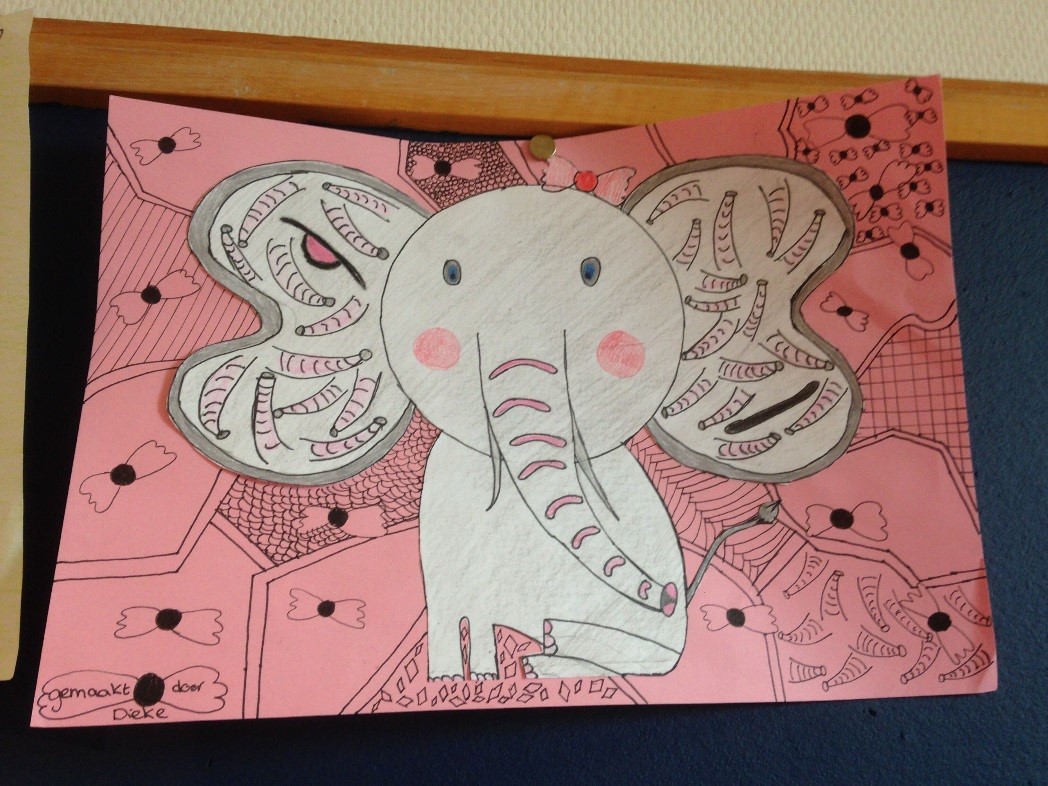
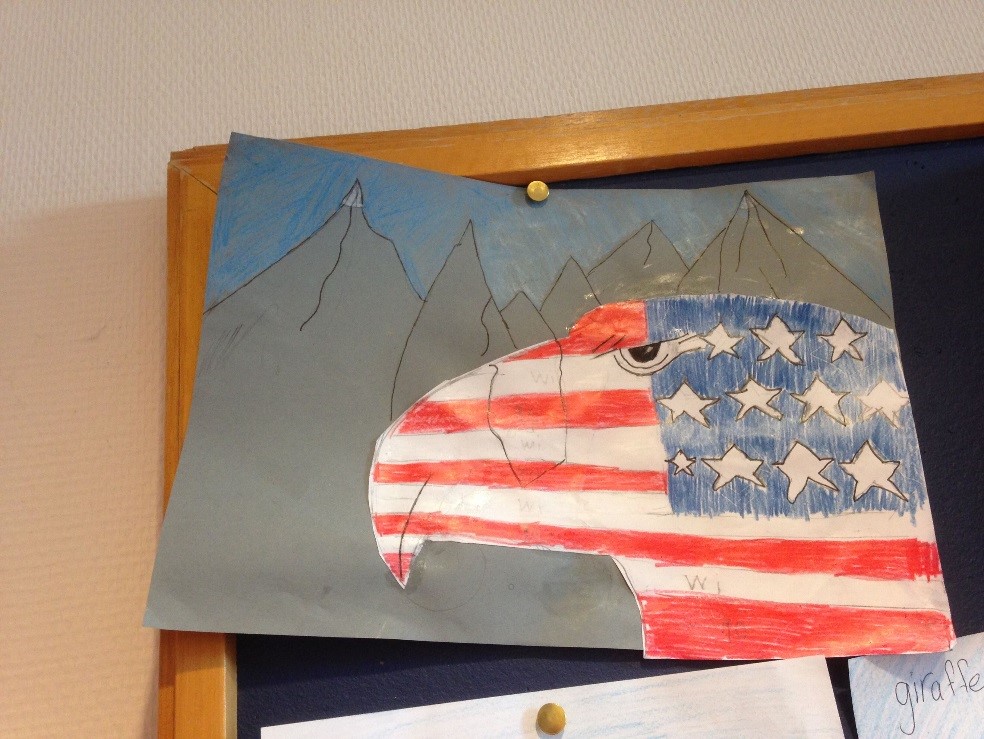
Les élèves de CM2 se sont inspirés des gravures de Kirsi Neuvonen pour créer leurs propres modèles.

Les élèves anglais ont utilisé des plaques de polystyrène pour imprimer leurs productions.